Display of input functions on the record screen, Adjusting the built-in microphone angle, Adjusting the input levels of microphones – Teac DR-1 User Manual
Page 21: 8–recording, Microphone angle
TASCAM DR-1
21
Display of input functions on the Record Screen
Adjusting the built-in microphone angle
Adjusting the input levels of microphones
8–Recording
Icons appear on the Record Screen to show the
status of the
TYPE
,
POWER
,
LOW CUT
and
LEVEL
CTRL
settings.
ST
When
TYPE
is set to
STEREO
, the
icon appears
as light letters on a dark background.
POWER
When
POWER
is
ON
, the
icon appears as light
letters on a dark background.
LCF
When
LOW CUT
is set to
80Hz
or
120Hz
, the
icon appears as light letters on a dark background.
LEVEL CTRL
When
LEVEL CTRL
is set to
AUTO
or
LMT
, the
icon appears as light letters on a dark background.
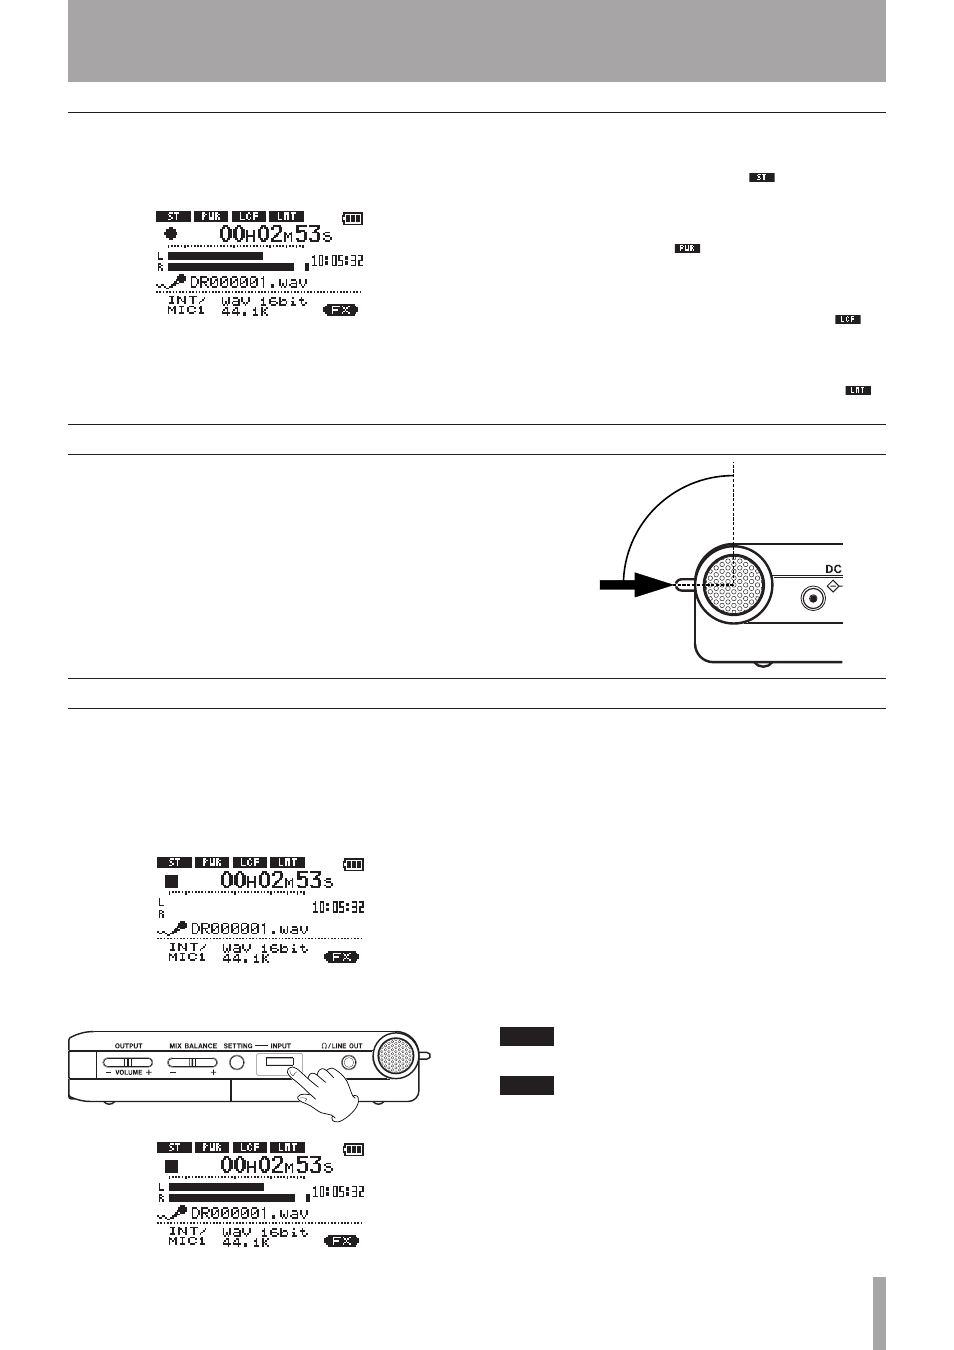
You can adjust the angle of the built-in microphone to
best suit the placement of the unit and the location of
the sound source during recording.
You can adjust the angle in a 90° range as shown in
the illustration.
Microphone
angle
90
°
You can adjust the level of each microphone input.
(The signal input level of the
LINE IN
jack is fixed.)
The following procedures explain how to use the
Record Screen to set the levels.
1 Press the
REC/PAUSE
key to begin recording
standby. The key flashes red and the Record
Screen appears.
2 Use the
INPUT
volume control on the right side of
the unit to adjust the microphone input level.
The L/R meter shows the input level. If the input is
too high, the
PEAK
indicator to the right of the display
lights and a line remains at the right end of
the indicator bar.
Set the level as high as possible without causing the
PEAK
indicator to light when the loudest sounds occur.
• When you have selected
INT/MIC1
as the input
source and are using the built-in microphone or
MIC 1
IN
jack, if you find the level to be too low even when
the
INPUT
volume is at maximum, use the INT/MIC1
Input Setting Screen to set the
GAIN
item to
HIGH
.
(See “Setting the INT/MIC1 input functions” on the
previous page.)
• When
LINE
is selected as the input source, adjust
the input level by changing the output level of the
sound source.
NOTE
Press the
STOP/HOME
key to end recording standby.
TIP
In addition to adjusting the
•
INPUT
volume, try changing
the distance and angle between the microphone
and the sound source. The angle and distance of the
microphone can also changed the character of the
recorded sound.
An easy way to set the input level is to raise it until the
•
PEAK
indicator lights while inputting as loud a noise as
you expect to record. When the
PEAK
indicator lights,
lower the input level until it no longer lights.