Removing a memory module, Testing the expanded memory – TA Triumph-Adler CLP 4721 User Manual
Page 180
A-7
Appendix
3
Open the inside cover.
4
Remove the memory module from its package.
5
With the memory connection terminal pointing toward the socket,
align the cut-out part with the socket terminal and insert directly in at
an angle.
CAUTION Before inserting a memory module in the machine, make
sure that the machine is switched off.
6
Carefully press the inserted memory down and into the machine.
7
Reinstall the right cover.
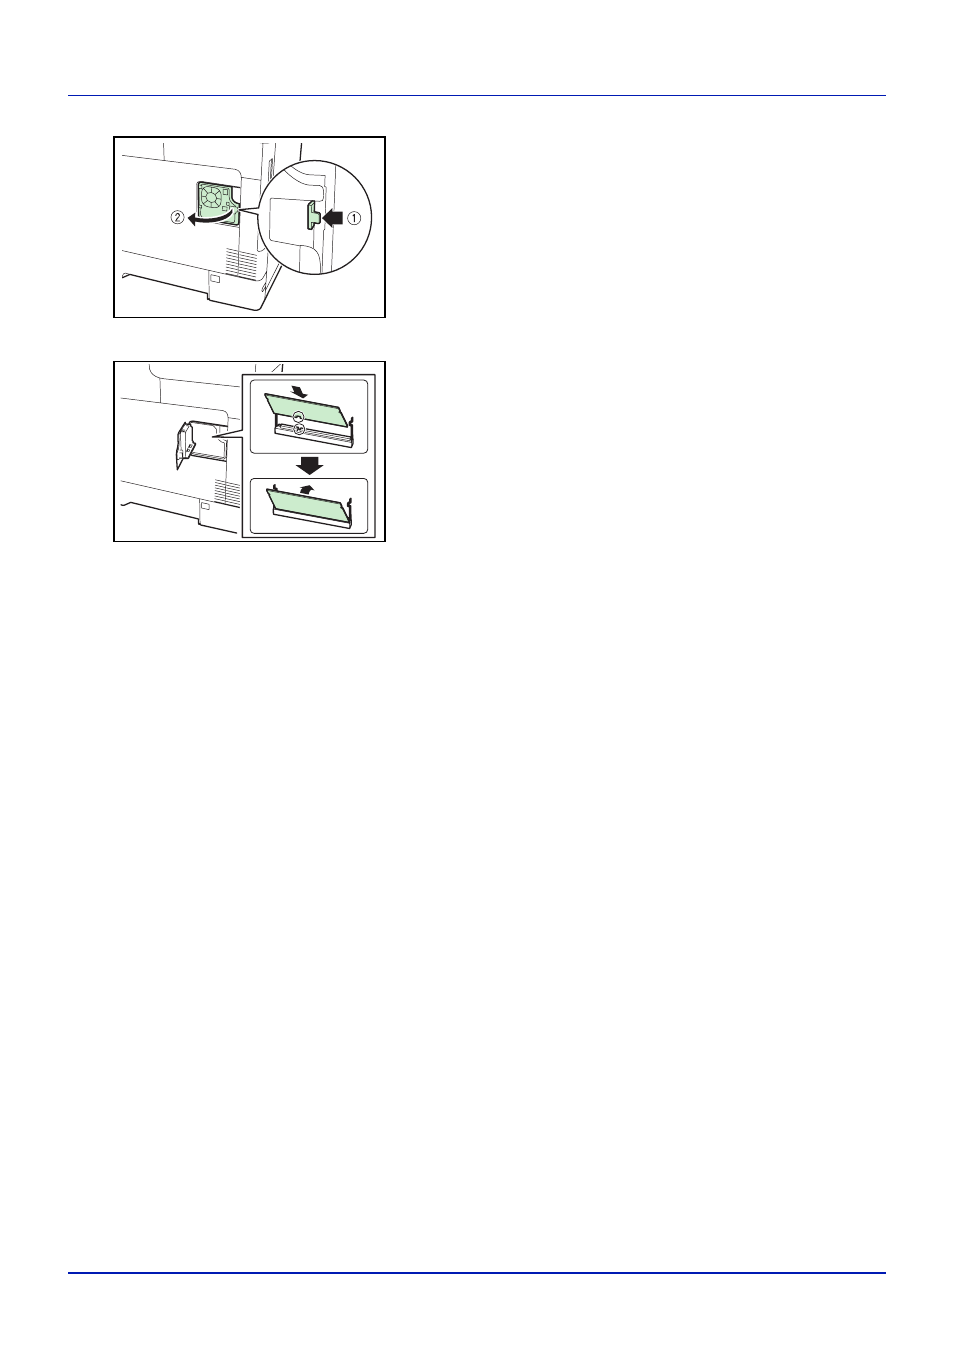
Removing a Memory Module
To remove a memory module, remove the right cover, open the inner
cover, and then carefully open the two socket clamps. Ease the memory
module out of the socket to remove.
Testing the expanded memory
After you finish installing the memory module in the printer, test the printer
to see if the installation was successful. To test the expansion memory,
proceed as follows:
1
Make sure the printer is turned off. Plug the power cord into the printer
and turn the printer on.
2
Press
[Menu] on the operation panel.
3
Press U or V repeatedly until Report Print > appears.
4
Press Z while Report Print > is displayed.
5
Press U or V repeatedly until > Print Status Page appears.
6
Press
[OK] twice.
7
If the installation was successful, the amount of memory shown on
the status page will correspond with the amount of expanded
memory. (The factory installed memory size is 256 MB.)