Configuring the alarm monitor, Filter alarm events – OpenEye RADIUS v.4.05 User Manual
Page 52
52
29677AC
Configuring the Alarm Monitor
1. Open the Alarm Monitor settings window. From the Tools menu, click Settings and then click
Alarm Monitor.
2. Select the Use check box to enable the Alarm Monitor.
Note
The Alarm Monitor uses one port to transfer the data (the Emergency Port). The port can be
adjusted inside the Network settings if necessary. It is recommended that the default setting
should be used unless the port must be changed.
3. Click Save and Close.
4. Select the DVR on the Server List and then click Device Configuration on the toolbar.
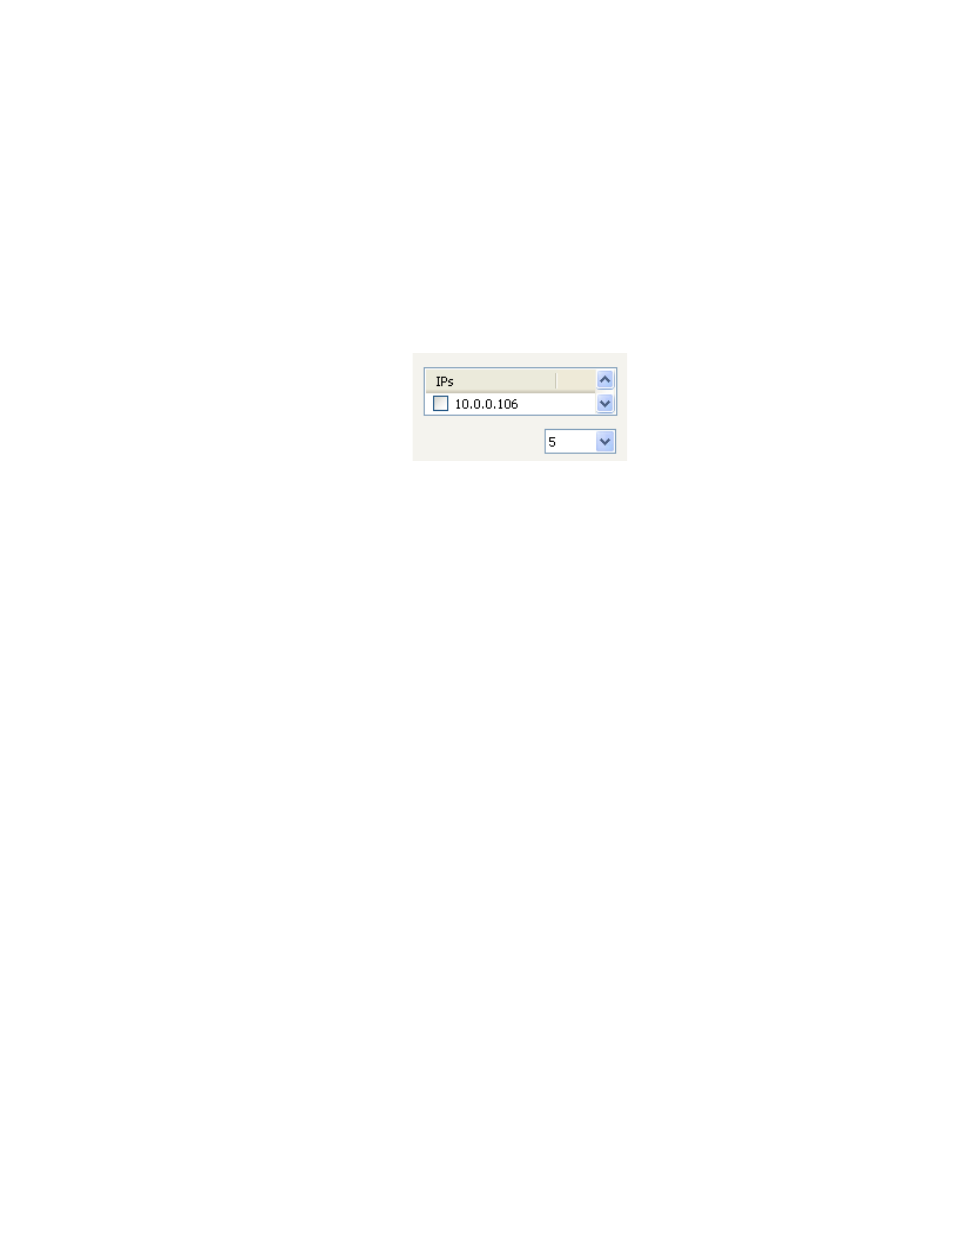
5. Click the Schedule tab. Enter the IP Address of the computer running the Radius software in the
Emergency IP list.
6. Click the check box next to the IP Address to enable it.
7. Create a schedule for the appropriate sensors and cameras.
Tip
The Alarm Monitor displays only events set up as Emergency Alarms.
8. Click Apply.
Filter Alarm Events
1. Open the Alarm Monitor display. From the Window menu, click Alarm Monitor.
2. Select one or more Status Level buttons under Filter Options.
3. Select a date.
4. Select a DVR from the Server list.
5. Select the type of alarm event or select All Events.
6. Select Normal or Emergency Alarm or select All Alarms.
7. Select a Confirmed type.
8. Select the number and size of the thumbnail results.
9. Click the On button to filter results.