How ip address changes affect unit control, Changing ip addresses – SVSi N2000 Series User Manual
Page 29
Page 29
N2000 Series User Manual
www.svsiav.com
Chapter 2. Installation
How IP Address Changes Affect Unit Control
STEP 4 CONFIGURING DECODER AND ENCODER IP ADDRESSES
(IF NEEDED)
By default, all Decoders and Encoders are preset to Auto IP mode. This means that the IP address is
pre-configured to 169.254.xxx.xxx with a subnet mask of 255.255.0.0. When an N2000 is first connected to
the network, Auto IP checks the network for available IP addresses in the 169.254.xxx.xxx range and then
makes an appropriate, static assignment to each unit. It may be beneficial in some applications to use DHCP
(Dynamic Host Control Protocol) or static IP addresses, but IP configuration changes must be done correctly
to avoid any communication disruptions with the N2000 unit.
How IP Address Changes Affect Unit Control
As discussed previously, N-Able control is dependent upon the host computer being in the same IP address
range as the SVSi devices. Therefore, before making any N2000 IP address changes, we recommend having
two statically-assigned IP addresses on your computer.
•
Configure the first IP address to be in the range of the default N-Series IP settings (i.e., in the
169.254.xxx.xxx range), AND
•
Configure a second IP address in the range of the IP address you are planning to assign to the
units (or when using DHCP, an address within the defined range for your network).
Changing IP Addresses
There are two ways to assign new IP addresses to your N2000 units using N-Able:
•
Option 1: Log in to each unit individually and make the changes on the Settings page.
•
Option 2: Export a comma-separated value (CSV) file, make changes to all units in the
resulting file, and import the CSV file into N-Able to apply the changes.
Option 1: Assigning IP Addresses Individually (using the Settings page)
1. Find the unit you wish to change in the control matrix (either on the Unit Management tab or
the Video Matrix > N2000 tab).
2. Double-click the unit and log in.
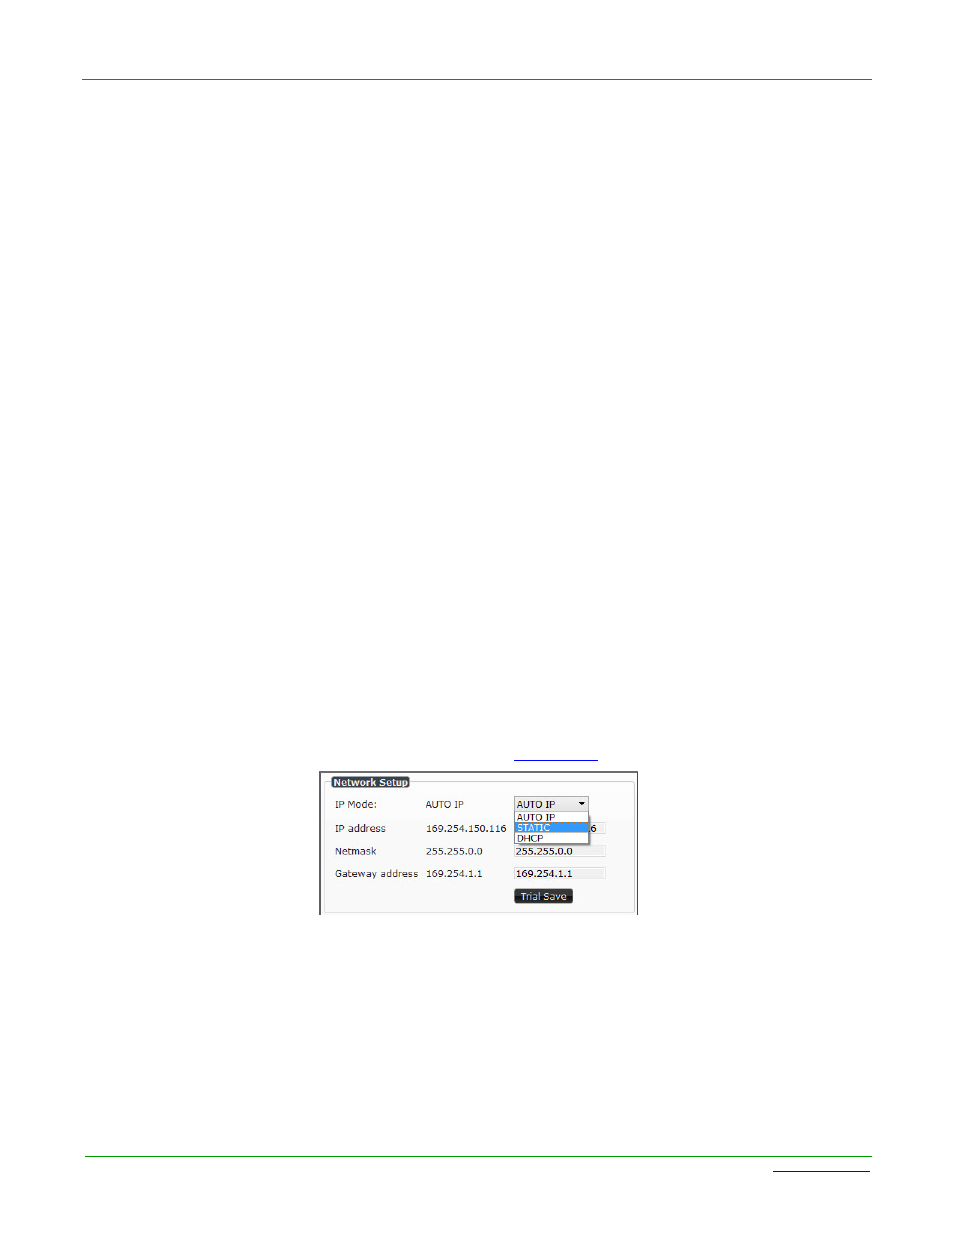
3. Go to the Settings page and make IP address changes for that unit either by setting a
STATIC address or by enabling DHCP (see
).
Figure 2-10. Network Setup Section of the Settings Page
4. Click the Trial Save button.
5. Return to the Settings page through the newly-configured IP address.
6. Once the Settings page appears (successfully using the new IP address) click the Confirm
button to lock in your changes.