Formatting a disk volume, 103 format disk(s) dialog box – Grass Valley PROFILE FAMILY v.2.5 User Manual
Page 206
Chapter 5
Using the Profile Disk Utility
206
Profile Family
Formatting a Disk Volume
Formatting disks organizes them so the Profile system can write data to and
read data from them in an orderly way. All media disks come preformatted from
the factory.
>>> CAUTION: Formatting disks removes all media and other data from the
disks. Format disks only when absolutely necessary.
To format a disk:
1. Select the desired physical volume with the tab in the lower pane.
2. Select the desired disks.
3. Choose
Disk Utilities | Format Disk(s)
or click
Format
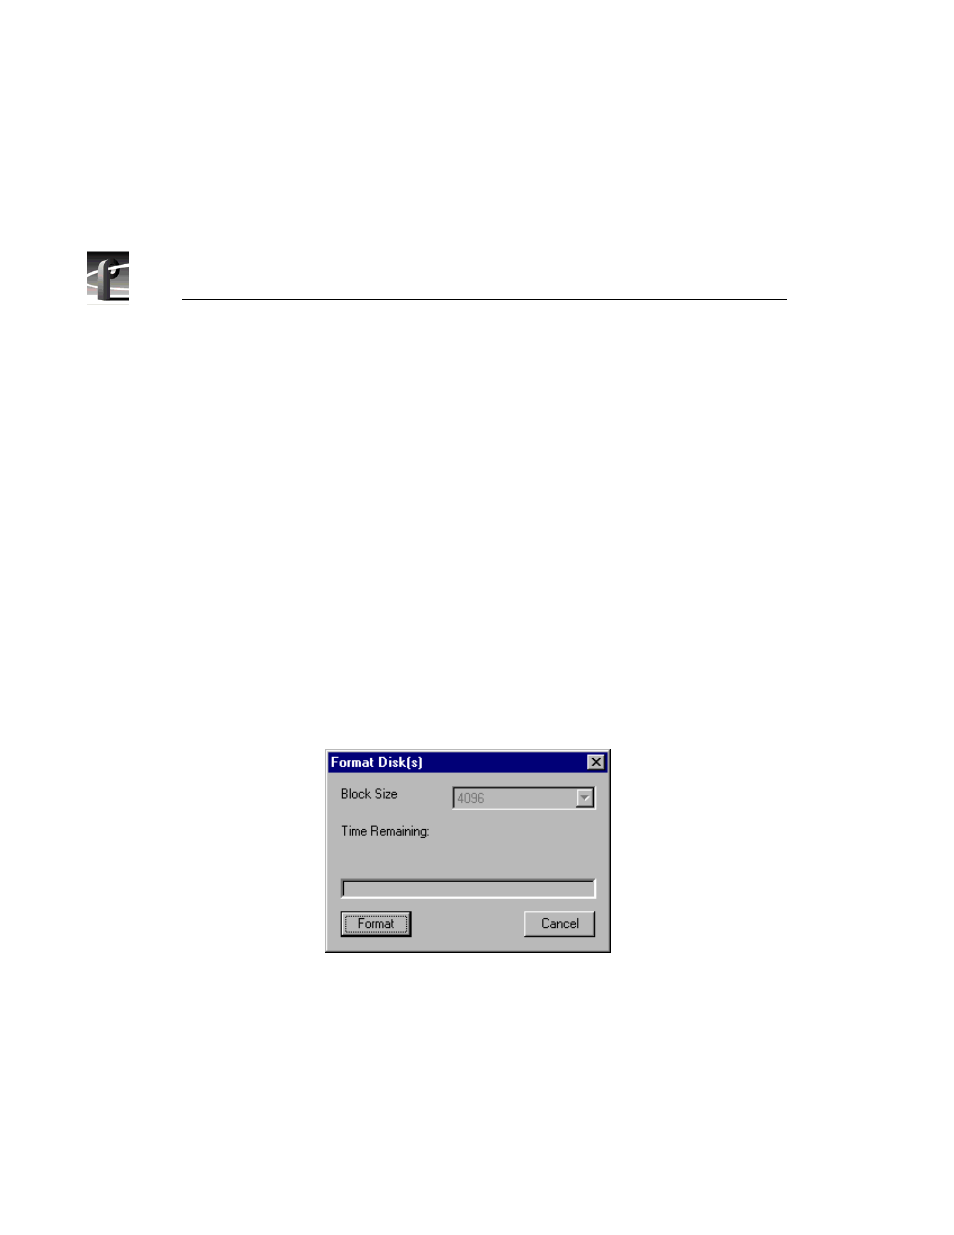
. The Format Disk(s)
dialog box appears. If disks are non-Seagate, you can select a block size. The
estimated time remaining to format the disk or disks is displayed.
4. Click
Format
on the dialog box to continue formatting the disks.
Figure 103. Format Disk(s) dialog box