Installing the software for macintosh users, Installing epson photo!4 and other software, Installing epson photo!4 and other – Epson PhotoPC 3100Z User Manual
Page 13: Software
Installing and Setting up the Software
13
Note for Windows 2000 users:
The PhotoPC 3100Z uses the USB driver included
with Windows 2000. Therefore, EPSON PhotoPC
3100Z storage driver
does not appear in the list of
software and does not need to be installed.
4.
Click OK, then follow the on-screen instructions.
5.
After installing the first software, click Finish. The
installation process begins automatically for the
next software that you selected in step 3.
6.
Follow the on-screen instructions until all the
software are installed.
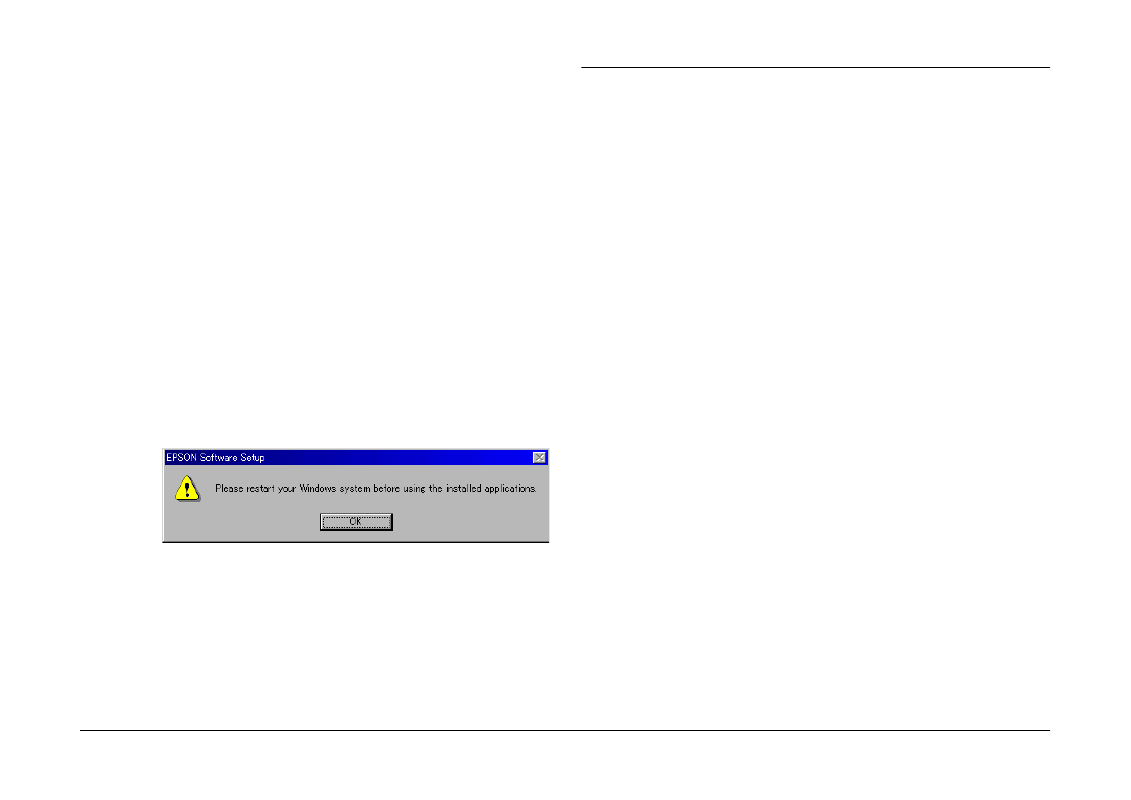
7.
When you finish installing the last software, the
following dialog box is displayed.
Click OK, then restart your computer.
Note:
Be sure to restart your computer after you are finished
installing software from the Camera Software CD-ROM.
Installing the Software for Macintosh Users
Follow the steps in the sections below to install the
software on the included PhotoPC 3100Z Camera
Software CD-ROM.
Installing EPSON Photo!4 and other software
1.
Turn on the computer and insert the included
Camera Software CD into the CD-ROM drive.
2.
In the EPSON folder that appears on your
computer’s desktop, double-click the icon of your
preferred language.
Note:
If the EPSON folder does not appear on your desktop,
double-click the EPSON icon on your desktop.