Continuous capture plenum hoods, Installation, Fig. 8 – Greenheck Waterwash (458292) User Manual
Page 8
8
April 2005
®
Hood Model
Width (in feet)
Wall Canopy
4
4.5
5
5.5
GWEW
53 lbs/ft.
56 lbs/ft.
59 lbs/ft.
62 lbs/ft.
GWFW
60 lbs/ft.
60 lbs/ft.
62 lbs/ft.
NA
GWAW
NA
60 lbs/ft.
65 lbs/ft.
70 lbs/ft.
GWCW
NA
65 lbs/ft.
70 lbs/ft.
75 lbs/ft.
GWSW
60 lbs/ft.
65 lbs/ft.
70 lbs/ft.
75 lbs/ft.
For double island hoods, multiply the weight by two.
2. RAISE ALL HOODS INTO APPROPRIATE LOCATION
AND SUPPORT PER CONSTRUCTION PLANS.
3. FASTEN TOP ANGLES TOGETHER USING 1/4 in. BOLTS &
4. FASTEN HOODS TOGETHER USING U-CLIPS, 1/4 in. BOLT
5. CAULK ALL SEAMS AS NECESSARY.
& CAP NUTS AS INDICATED.
HOOD FRONT
1. REMOVE SUPPORT ANGLE ON OPEN END PANEL.
HOOD
ACORN NUT
BOLT
U-CLIP
CAULK
Continuous Capture Plenum Hoods
Remove the support angles on the open end panels.
(See Fig. 8A) Use the installation procedure described
above, for single island hoods to install and level both
hoods. After leveling, secure the hoods together by
tack welding and/or bolting the top angles. Fasten the
hoods together using u-clips and bolts. (See Fig. 8B)
Caulk this joint with NSF approved silicone caulk (GE
SCS-1009 or its equivalent). The caulk is not provided.
Fig. 8A
Fig. 8B
INSTALLATION
NOTE: If you have a Backsupply
Plenum (BSP), this must be
installed before the hood. Please
see Page 13.
For Wall/Single Island Style
Hoods, prior to installation, check
with local authorities having
jurisdiction on clearances to
combustible surfaces, etc.
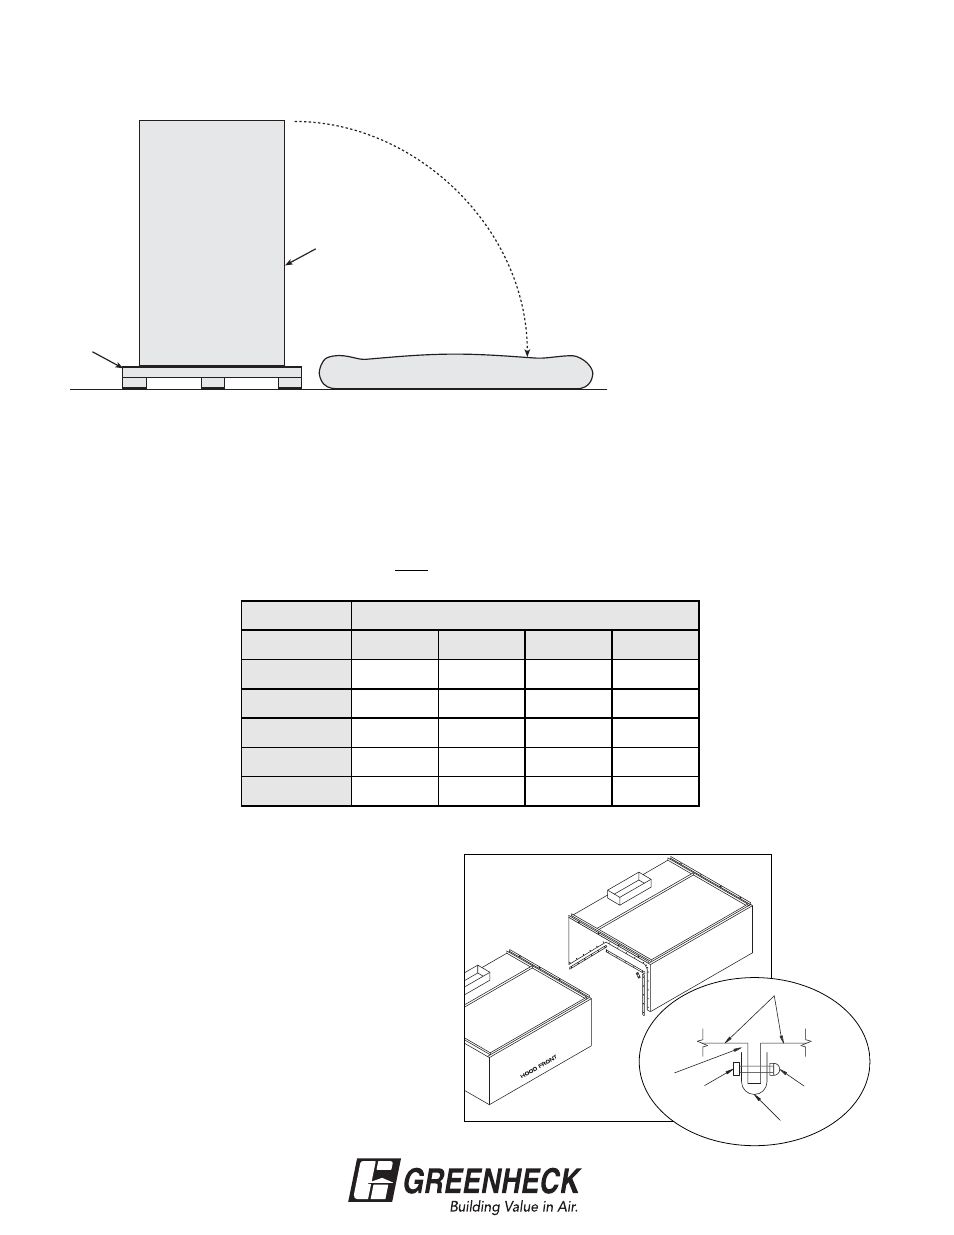
With the hood still inside its
packing crate, position the unit
beneath its installation location.
Carefully remove the packing
crate. Place some protective
material on the floor next to the crate to avoid damaging the hood as it is tipped on its side. (See Fig. 8) Tip the
hood carefully onto the protective material. If you have filler panels, install them now. Please see page 16.
If you have integral filler panels, no additional installation is needed.
Insert
1
⁄
2
in. diameter threaded rod (by others) into hanger brackets on hood top. (Fig. 9, Pg. 10) Check the
engineering drawings for proper hood height above finished floor. Greenheck recommends that the hoods be
hung 6 feet 6 inches above the finished floor. Raise and hang hood from adequate roof or ceiling supports. All
hanger brackets must be used and hood must be properly supported while lifting to prevent damage or
distortion to the hood. The hood must be hung level to or slightly pitched toward the grease drain.
Bottom
Pallet
Protective Material
Fig. 8
Note: If a utility distribution system (UDS) is part of the kitchen package, allow adequate room for it before
mounting hood(s) and welding ductwork. Check construction documents.