Ivoclar Vivadent OptraSculpt Pad User Manual
Page 2
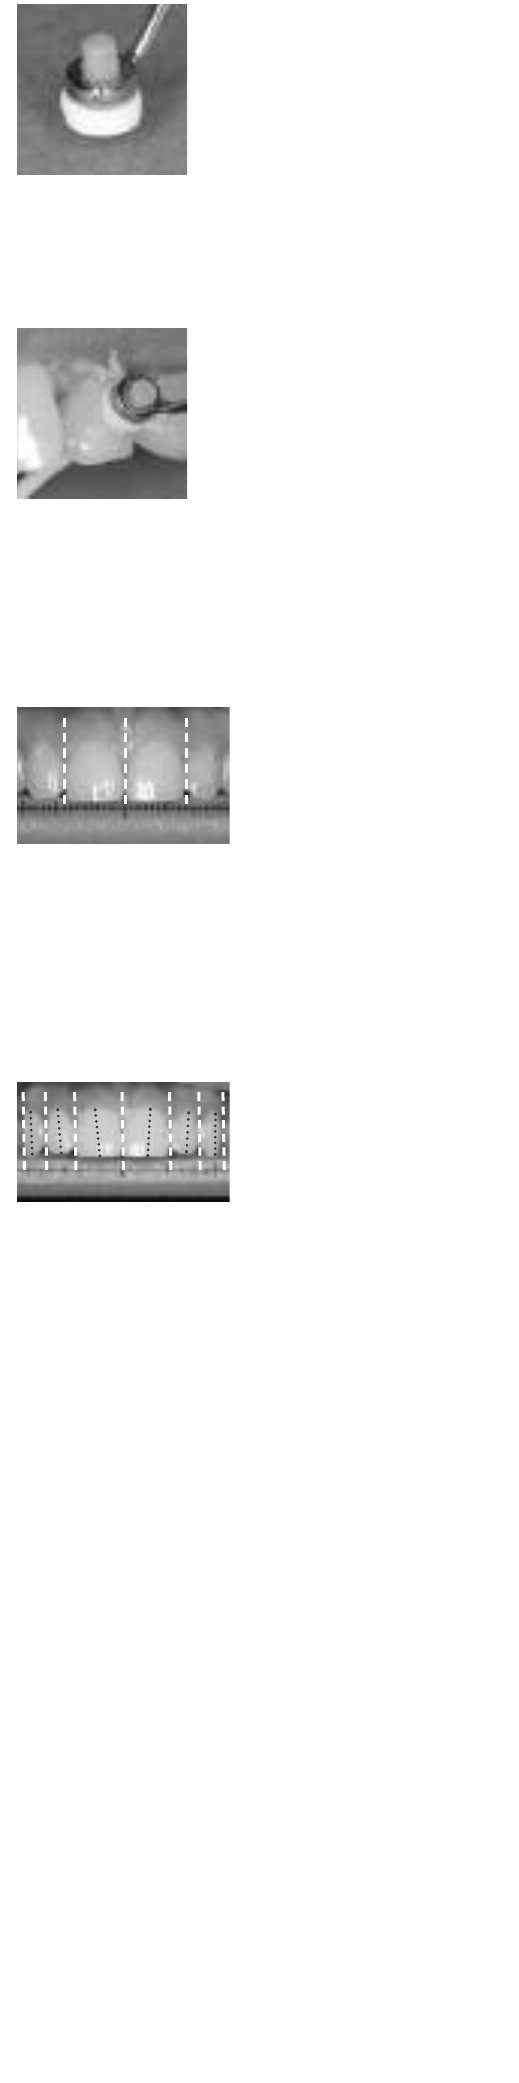
OptraSculpt Pad attachment is correctly inserted
in the holding ring.
The OptraSculpt Pad attachments are designed for single use
exclusively!
Use the metal spatula on the other side of the instrument to pick up and
place the restorative material. After placing the uncured packable composite
into the prepared cavity, adapt and contour the material with the soft
OptraSculpt Pad attachment, using a dabbing motion.
OptraSculpt Pad during clinical use. Use the pad
with a dabbing motion, applying only gentle
pressure. Place material and remove excess with
the metal spatula on the other end of the instru-
ment.
After having completed the restoration, remove the OptraSculp Pad from the
instrument and dispose of it appropriately. Subsequently, disinfect, clean and
sterilize the instrument.
Using the reference scales
The OptraSculpt Pad instrument features two reference scales.
Scale 1 provides plain reference markings to compare the tooth-to-tooth
width proportions. In addition, the horizontal line on the scale facilitates the
evaluation of the incisal edge line.
Scale 1 can be aligned with the incisal
edge to e.g. compare the contralateral
tooth width proportions and/or evaluate
the incisal edge line against the horizon-
tal line on the scale.
Scale 2 contains the markings for the ideal average anterior tooth widths
(vertical lines). This scale is used as a reference in the esthetic design of
extensive anterior reconstructions. The markings present only relative values,
from which the individual widths of the teeth can be derived or assessed in
relation to each other. The oblique dotted markings indicate the typical aver-
age position of the tooth axis in the maxillary jaw and, consequently, also
provide useful guidance in the reconstruction of harmonious anterior esthet-
ics. The scale is positioned correctly if the triangle in the middle of the scale
points towards the contact point between the central incisors and the
numbers at both sides of the scale are consistent with the quadrants under
examination. The scale is unsuitable for use in the mandibular jaw!
Scale 2 is utilized to compare the clinical
situation against the ideal average tooth
width proportions and angular align-
ments in the maxillary anterior dentition.
Consequently, esthetic enhancements can
be easily planned and areas of improve-
ment identified.
Important! This scale indicates relative values only. The marked widths and
angular alignments should not just be adopted as they are. They should be
adjusted to meet the requirements of the individual situation.
The example depicted above shows comparatively ideal tooth width propor-
tions, even if the overall tooth width may appear slightly larger than average.
The angles of the second incisors and canines appear to be a touch too
straight.
Warning
It is recommended to use a rubber dam to avoid accidental ingestion
or aspiration of small parts.
Do not use OptraSculpt Pad for purposes other than intended!
Disinfection, cleaning and sterilization
General notes:
Clean and disinfect every instrument before each use. It is strongly recom-
mended that the instruments are additionally sterilized in a steam sterilizer.
Do not use damaged instruments. Only suitably trained staff should carry out
repair and maintenance work.
Do not place the instruments in NaCl solution (to avoid the risk of pitting
and/or stress corrosion cracking).
Protective gloves and goggles complying with the requirements of directive
89/686/EEC must be worn to handle any used and contaminated instruments.
Disinfect and clean instruments immediately after use.
Generally, processing in a washer-disinfector unit is preferable to
manual cleaning.
Pre-cleaning:
Carefully remove large unhardened residues from the instruments using a
lint-free cellulose tissue. For preliminary disinfection, place the instruments
in a disinfection bath (with a lid and sieve insert) filled with aldehyde-free
alkaline disinfectant (e.g. immersion in ID 212 forte, Dürr Dental, for 15 min).
Make sure that the instruments are completely covered in disinfectant and
that the disinfectant is free of bubbles.
Only use a soft brush for the manual removal of residues. Never use a metal
brush or steel wool.
For automated processing, carefully rinse the instruments under running tap
water after preliminary disinfection.