Db110 electric - general operation/maintenance – Kreg DB55 Pneumatic Foreman Pocket-Hole Machine User Manual
Page 10
R
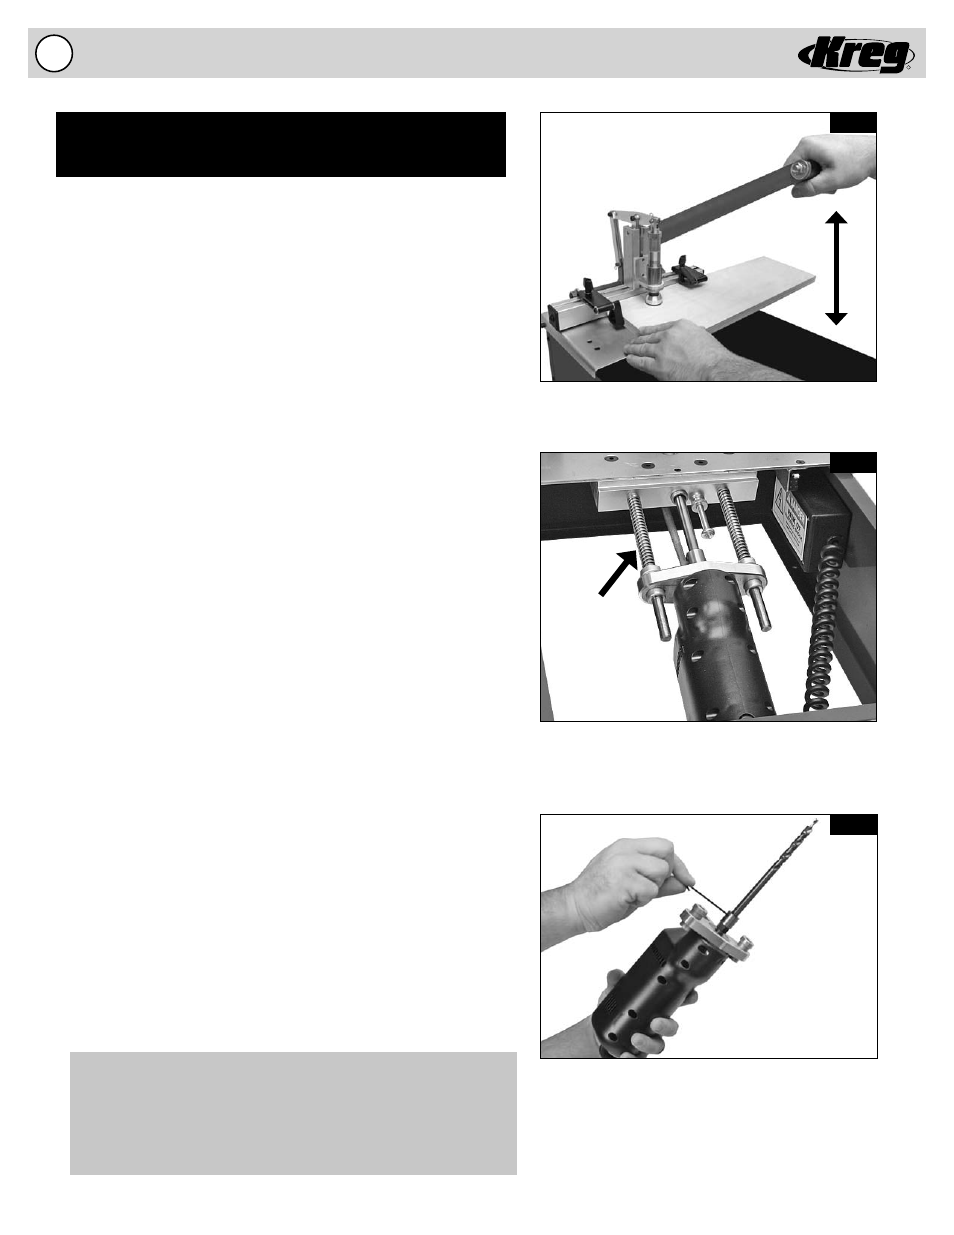
9.
The Drill Bit is held in position with set-screws
in the Drill Adapter.
Fig. 5A
Fig. 5B
Fig. 5C
Operate the FOREMAN by pulling the Handle
toward the work surface.
Lubricate the Guide Rods and mechanical linkage
for smooth operation.
Guide Rods
Semi-Automatic Electric Foreman DB110 Operation
Entirely electric, no compressed air needed.
Motor rated at 3/4-HP and 8-amps
GENERAL OPERATION
(Fig. 5A)
To operate the Electric FOREMAN, fi rst place a workpiece under
the clamping pad. Make sure that the clamping pad extends no
more than 1/8” above the workpiece in the unclamped state.
If more than a 1/8” gap exists, adjust the Clamping Pad to the
correct height. See the “ADJUSTMENTS” section – “Adjusting the
Clamping Pad” for more information. Secondly making sure all body
parts and clothing are safely away from the Clamping Pad, Drill
Guide and Drill Bit, pull the handle towards the work surface. This
action will start the Drill Motor and the mechanical action of moving
the Handle will be transferred to the clamping mechanism to hold
the workpiece in position prior to drilling. Continue to pull the Handle
slowly toward the table surface to complete the drilling cycle. Finish
the drilling process by carefully guiding the Handle back to the
starting position. This will stop the
Drill Motor and release the Clamping Pad.
MAINTENANCE
(Fig. 5B & 5C)
1. Keep motor clean. Like any electric tool the Electric FOREMAN
needs to be kept free of excessive wood chips and dust.
Routinely remove waste material from inside the cabinet or
mount the machine above an open stand that will not allow the
waste material to accumulate.
2. Lubricate Guide Rods. Periodically service the Guide Rods with
a dry fi lm lubricant like Dri-Tool™ Lubricant from Empire
Manufacturing. A dry fi lm lubricant will not collect wood chips
and dust and will extend the life of the Bearings and the Guide
Rods. See the “ADJUSTMENTS” section – “Changing the
Drill Bit” for more information on how to perform this
maintenance. The mechanical linkage associated with the
clamping mechanism should be lubricated periodically to
ensure free movement of its parts.
3. Use a sharp Drill Bit. You can expect to drill between 4,000 and
5,000 holes in Oak with your #DKDB drill bit before the bit will
need to be sharpened. This baseline was established using the
factory settings described in the owner’s manual. Adjust your
sharpening schedule for your settings and the material that you
may be drilling. Keeping the Drill Bit clean and free of pitch,
resin, and glue will signifi cantly add to the life of the Drill Bit
and increase the number of holes between sharpening. You
can easily clean the Drill Bit with a proprietary cleaner like
Blade Saver™ from Empire Manufacturing.
WARNING! Even a dirty Drill Bit can be very sharp, exercise
extreme caution when handling the cutting edges of the Drill Bit.
After cleaning you can coat the Drill Bit with a proprietary lubricant
designed for cutting wood such as OptiCut-XL™ from Empire
Manufacturing. To change the Drill Bit see the “ADJUSTMENTS”
section – “Changing the Drill Bit” for more information.
DB110 Electric - General Operation/Maintenance