Attention! - please read before use, Grease zerk, Safety guidelines – Kreg DB55 Pneumatic Foreman Pocket-Hole Machine User Manual
Page 3: High flow air fitting, Acrylic top must be secured
R
2.
Safety Guidelines
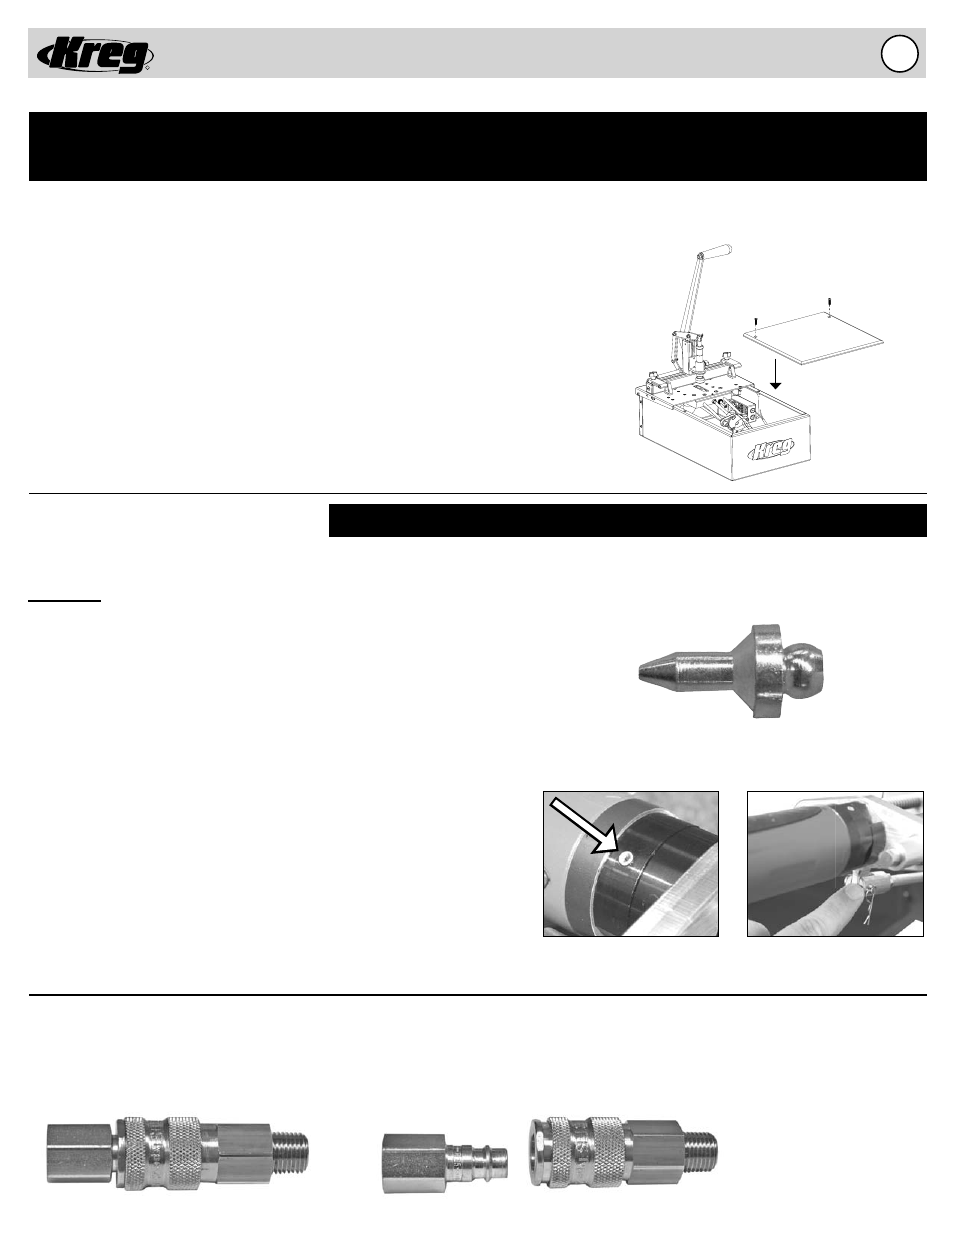
Do not operate this machine without the acrylic top positioned correctly
and secured with the two provided lock-down screws. Running the
machine without the top in place and properly secured increases your
chance of injury and is not recommended under any circumstance. Make
sure all power sources have been disconnected from this machine before
removing the acrylic top.
ATTENTION! - PLEASE READ BEFORE USE!
Note: The following is updated information for users of the Foreman Pneumatic machines. Please read
and follow the directions in order for your new machines to work and function correctly.
Grease Zerk
(DB55 ONLY)
NOTE: Grease zerk is provided so you can grease the front part of the drill (Planetary Gear). Insert zerk in
grease gun, with Extreme Pressure Moly-Graph Multi-Purpose Grease., grease gear with a couple of pumps
MONTHLY.
If you can’t get to your grease zerk, please follow the instructions below.
Grease Zerk fi tting
included with machine.
Insert the Grease Zerk fitting
here on the motor.
Removing Clevis and Cotter Pin
from the Connecting Rod.
High Flow Air Fitting
(DB55 ONLY)
It is very important to make sure you use the high fl ow fi tting provided with your machine, this fi tting is necessary to get the
correct volume of air to the machine for use. It is also important not to restrict air fl ow anywhere else coming to the machine.
To make sure you are getting the maximum amount of air to the machine, we don’t recommend using a hose extension.
1. Disconnect the machine from the air supply.
2. Remove the Black Acrylic Top to gain access to the inside of the machine.
3. Disconnect the air supply line from the Air Motor by pushing in the collar on
the inlet fitting of the Air Motor and simultaneously pull out the tubing.
4. Lift the Tool Plate as it pivots on the hinges till the Safety Latch
engages to hold the Tool Plate in position.
5. Remove the Clevis and Cotter Pin from the Connecting Rod to
disconnect the Connecting Rod from the Drill Motor Mounting Block.
6. Remove the Drill Motor and Motor Mount assembly and grease it.
NOTE: Now is a good time to clean and lubricate the Guide Rods
according to the “MAINTENANCE” section of this manual.
7. Re-install the Drill Motor and Motor Mount assembly on the Guide Rods.
8. Connect the Clevis and Cotter Pin through the Connecting Rod
and Drill Motor Mounting Block.
9. Lift the Tool Plate to disengage the Safety Latch and lower the Tool Plate
into position.
10. Make sure the air supply line for the Air Motor is free of debris
then connect the air supply line to the Air Motor by pushing in the
tubing until it seats in the inlet fitting of the Air Motor.
11. Place the Black Acrylic Top back on the machine.
WARNING! - Disconnect all air supply before working on machine.
Acrylic Top Must Be Secured
(DB55 & DB110)