Quintum Technologies Tenor Call Relay 60 User Manual
Page 32
P/N 480-0076-00-00
3-5
Chapter 3: Installation
Attach the unit to the wall as follows:
1. Determine the wall area to mount the unit. With chalk or a soft pencil, mark the install area
according to
.
NOTE:
Ensure the unit is level.
Figure 3-2 Wall Mounting Dimensions
7 3/4” (19.9cm)
3/16”
2. Position and attach one mounting bracket to the unit using a screw existing in the system and one
screw included with the package. See
3. Position and attach the other mounting bracket using a screw existing in the system and the
remaining screw in the package. See
.
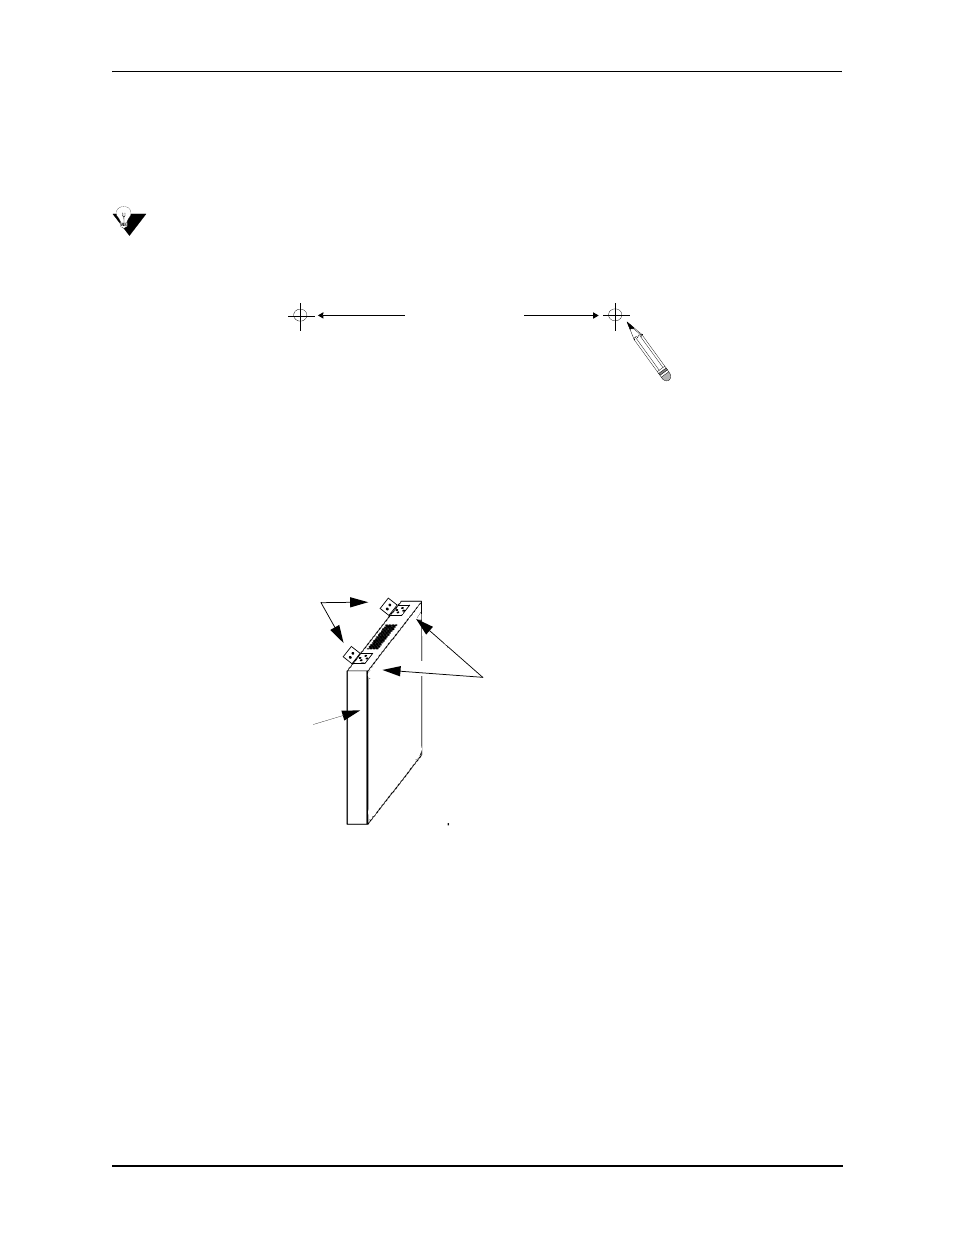
Figure 3-3
Mounting
Brackets
Note: Ensure unit is level.
Attach each bracket to the
unit using 1 screw already installed
and 1 screw already included
in the unit (unscrew and re-insert)
with the package.
Unit front
Wall Mount Installation
4. Mount the unit to the wall using the four remaining screws included with the system.
5. Ensure the unit is firmly mounted against the wall.