Grass Valley Trinix NXT v.3.3.1 User Manual
Page 426
426
Trinix NXT — Installation and Service Manual
Section 13 — Trinix Fiber Option
Follow these steps to install the Trinix fiber option:
1.
Remove the coaxial Input or Output boards from the front of the
routing switcher. Move to the rear of the router.
2.
Remove the standard BNC rear panel from the rear of the Trinix frame.
a.
Remove the top and bottom screw for the rear panel (
).
Hold the rear panel in place to prevent possible damage from it
falling.
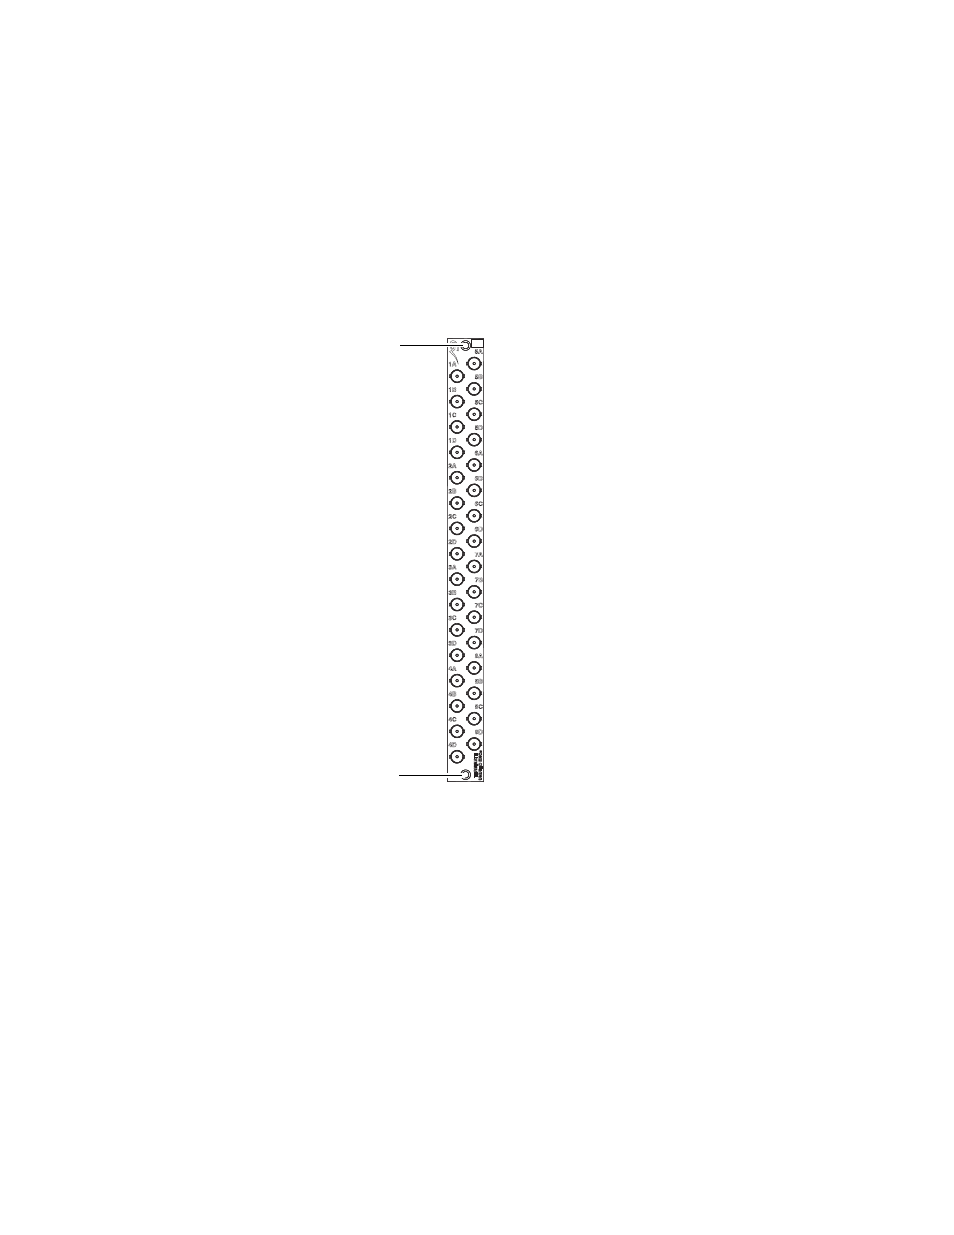
Figure 286. Remove the Screws from the Standard Rear Panel
b.
Remove the BNC rear panel from the frame.
3.
Install the preferred SFP modules to the rear panel. These modules may
include transmitters with different light frequencies for Coarse
wavelength division multiplexing (CWDM) operation.
Note
For the Installation instructions for the SFP, see the documentation that came
with the SFP.
4.
Place the Fiber-Optic rear panel into the slot where the BNC rear panel
was removed.
a.
Verify that the SFPs will unplug from the panel, before installing the
rear panel. It is easier to remove a stuck SFP if the panel is not
installed in the frame.
071827612_Fiber_Inst_BNC
Remove the top screw
Remove the bottom
screw