Epson PhotoPC 3100Z User Manual
Page 49
Using Other Included Software
49
2.
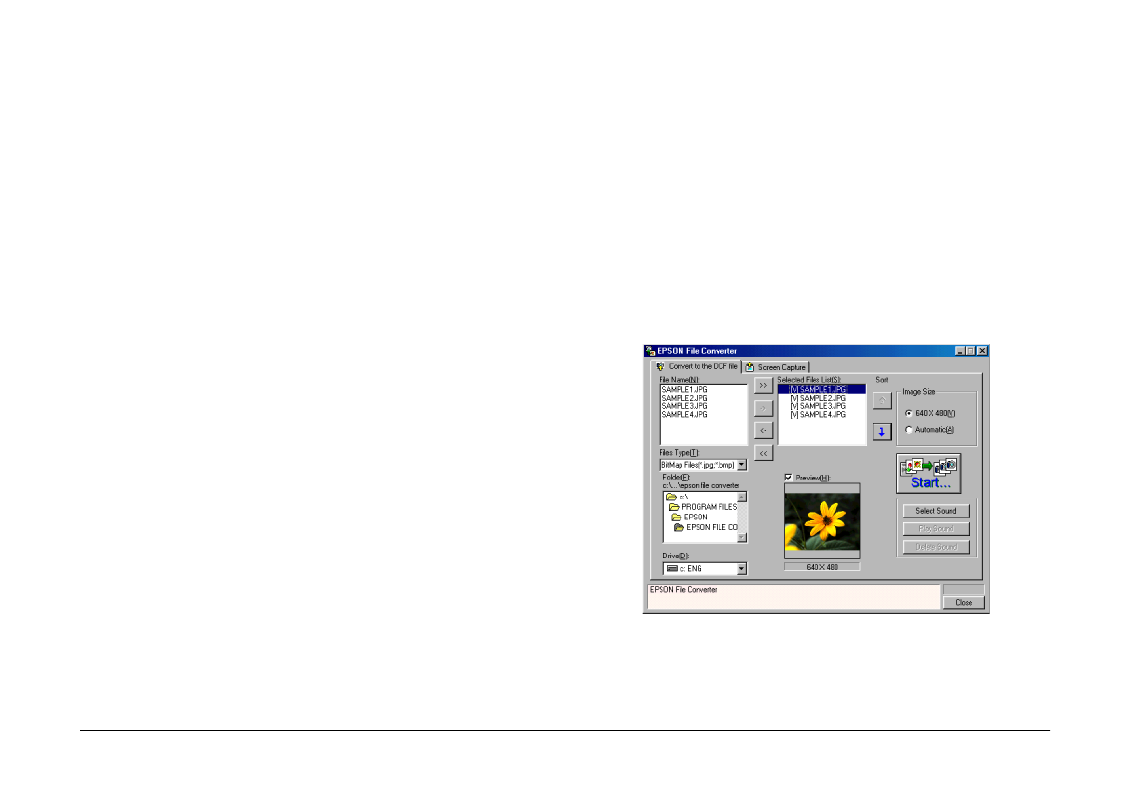
From the Files Type list, select the current file
format of the file that you want to convert. Then,
using the Drive and Folder lists, specify which
folder contains the images that you want to
convert. Double-click the appropriate folder. The
files in that folder that are available for converting
are displayed in the File Name box.
Note:
To convert images that are saved on a network drive,
you may need to map the drive before opening EPSON
File Converter. See your Windows documentation for
details.
3.
Select an image that you want to convert from the
File Name list. Then click the -> button. Repeat
this procedure until all of the files that you want
to convert are shown in the Selected Files List. If
you want to convert all of the images in the File
Name list, click the >> button.
To remove a file from the Selected Files List, click
the <- button. To remove all of the files from this
list, click the << button.
To change the order in which the files will be
saved on your camera’s memory card when you
upload them to your camera using EPSON
Photo!4, select the image that you wish to move,
then click the
↑
or
↓
Sort arrow.
Note:
To preview the selected image and confirm its size,
select the Preview check box.
4.
For each file that is displayed in the Selected Files
List, select an image size from the Image Size box.
To convert and save the selected image at a size
of 640
×
480 pixels, select 640
Ч
480.