Basic settings, Performing a recording – Amprobe PQ55A Power-Analyzer User Manual
Page 23
Basic Settings
The data and the sampling rate should be set before starting the recording.
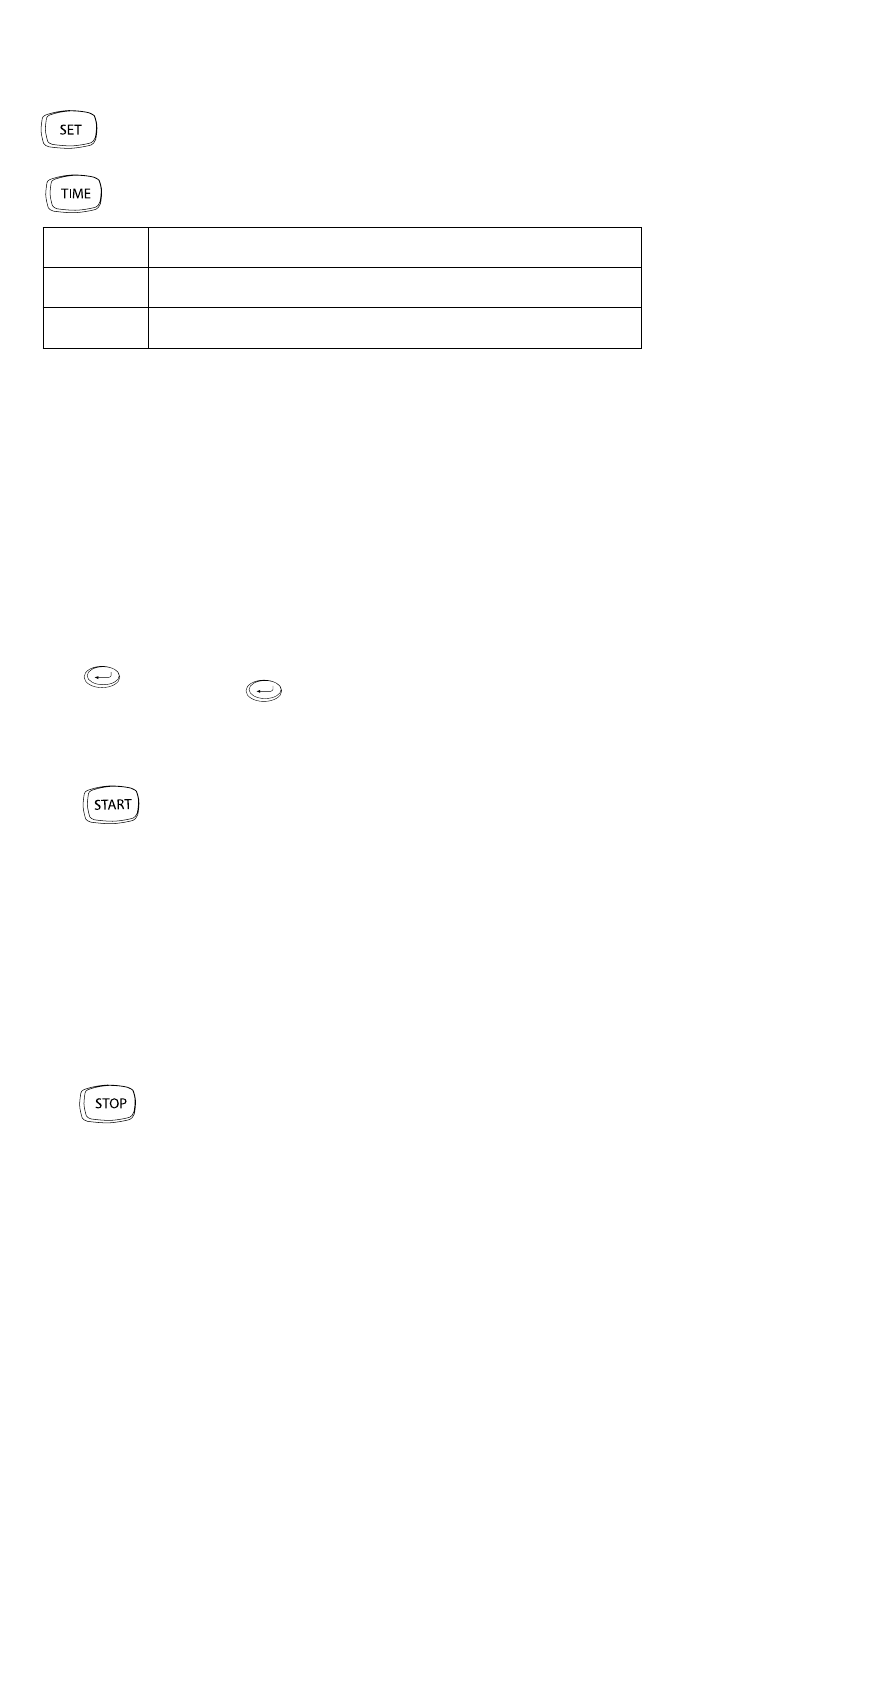
For time setting, simultaneously press the “SET” (14) and “TIME“ keys (15).
The TIME” symbol (5.44) is displayed and the line “Date and Time” is indi-
cated with the following assignment:
Y-M
(5.24) display for year (Y) and month (M)
D-h
(5.27) display for day (D) and hour (h)
m-s
(5.31) display for minute (m) and second (s)
1) The respectively blinking value may now be modified using the navigation
keys “
5
“ and “
6
“ (16).
2) The navigation keys “
4
“ and “
3
“ (16) may be used to change to the fol-
lowing or previous field.
3) If the setting is correct, the entry is terminated pressing the “ “ key (16a).
Now, the symbol “INTV” (5.42) is displayed as well as the field to enter the sam-
pling rate (5.32).
4) The value can be set using the navigation keys “
5
“ and “
6
“ (16).
☞
The following settings are possible: 5 s, 30 s, 1 min, 2 min.
5)
After having entered the sampling rate, the basic setting is terminated
with the “
“ key (16a).
Performing a Recording
1) Perform the measurement
2)
Press the “START” key (17) to start the measurement.
☞
The symbol [M] (5.10) is displayed which will be briefly hidden during auto-
matic saving, depending on the pre-set sampling rate.
☞
T he number of the current measurement series (5.9) is displayed below the
symbol [M].
☞
It is possible to save maximum 10 measurement series.
☞
Maximum 12,000 measurement values can be saved within one measurement
series.
☞
The memory is full if FF is displayed.
3)
Terminate the recording by pressing the “STOP” key (18).
☞
If the instrument is switched off during running measurement, the recording
data will be lost.
23