PLANET ICA-W8100 User Manual
Page 15
Wireless Cube Fish-Eye IP Camera
ICA-W8100
15
Only use the power adapter supplied with the IP camera; otherwise, the product may be
damaged.
Step 4. Ensure the power adaptor specification matches the power system (110V or 220V) and
connect the adaptor to the outlet.
Step 5. Connect the LAN port (RJ45) of the camera to a network router.
Step 6. You can skip Installation Guide Wizard and start CloudLync registration process.
(In the following pages) If the upper LED did not turn green, we recommend you use
the “Cloud Quick Installation Guide” to easily guide you to changing proper setting
of your camera to make it connected to Internet.
(For ICA-W8100-CLD model only)
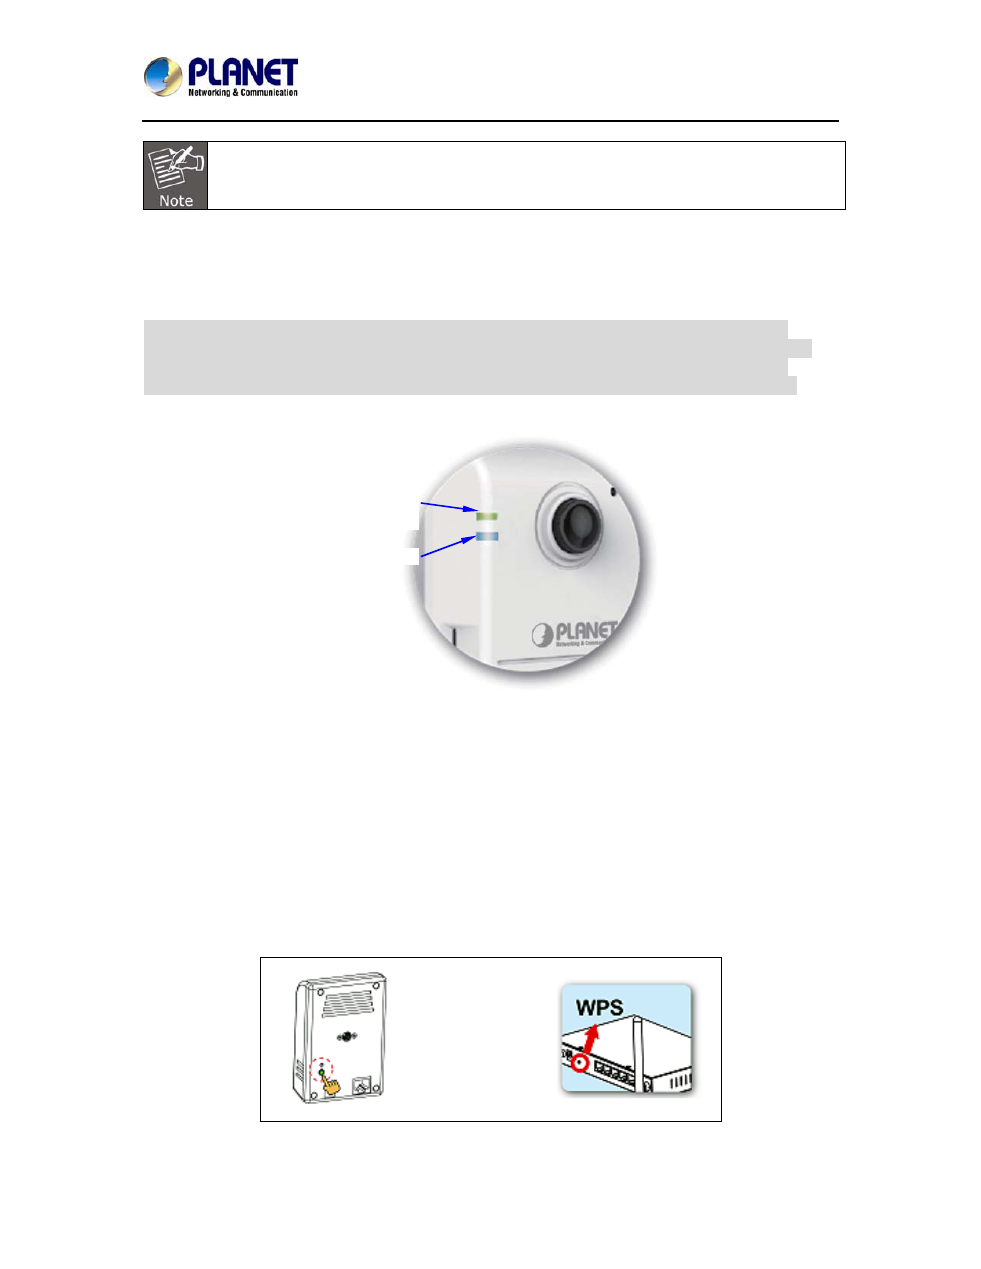
Power/Network LED Indicator should
light up in green to indicate
successful link to the Internet
Wireless LED Indicator
If the upper LED does not turn green, refer to the “Installation Guide Wizard” application program
in the CD which will further guide you in detail on how to properly set up your camera for Internet
connection.
2.2.3 Through Wi-Fi Protected Setup (WPS)
To connect the camera in wireless mode, you need to have a Wi-Fi router with WPS button.
Step 1. With camera power connected and switched on, press and hold the WPS button (at the
back of the camera) for 3 to 4 seconds and then release the button. The wireless LED Indicator
(lower LED) will then start to flash and keep on flashing in blue once every second.
Step 2. Within one minute, press the Wi-Fi router WPS button to interface with the camera.
Step 3. When successful connection is established between the camera and Wi-FI router, the
lower LED Indicator will then stabilize and light up in blue while the upper LED remains lit in green.