10 - mark functions, 10 - 1 mark types, 10 - 2 adding marks – Tascam Portacapture X6 32-Bit 6-Channel Multitrack Field Recorder User Manual
Page 45: Adding marks manually, Adding marks automatically (auto mark), Adding marks when peak levels occur (peak mark), 10 - 3 deleting marks, Deleting all marks, 10 - 4 jumping to set marks (mark skipping), 10 - 5 dividing files at every mark
TASCAM Portacapture X6
45
10 - Mark functions
10 - 1 Mark types
The types of marks and conditions when they are added are as follows.
Manual
Marks added manually
LEVEL
Marks added when input signal exceeds specified level
TIME
Marks added when set time elapses
PEAK
Marks added when input signal exceeds peak level
BOF
Marks added when microSD card write errors occur during recording
10 - 2 Adding marks
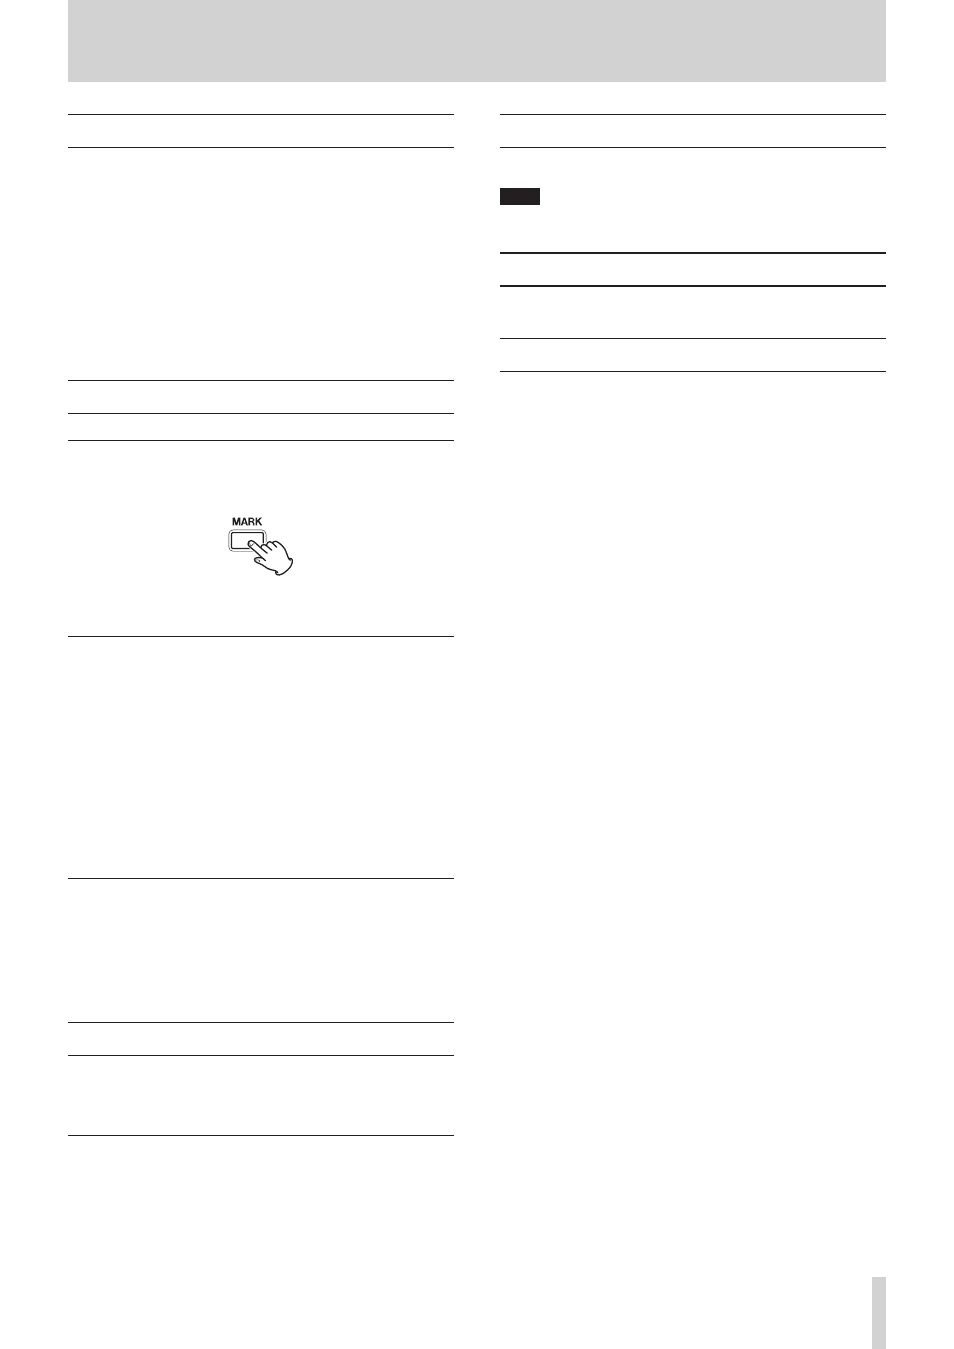
Adding marks manually
When playing, recording or in recording standby, press the unit MARK
button to add a mark at any point.
When a mark is added, a pop-up with mark information appears at the
bottom of the display.
Adding marks automatically (AUTO MARK)
Set this with the GENERAL SETTINGS screen > OTHER SETTINGS page >
AUTO MARK item.
OFF
Marks will not be added automatically.
LEVEL
Marks will be added automatically when the input signal exceeds the
set level.
TIME
Marks will be added automatically when the set time elapses during
recording.
Adding marks when peak levels occur (PEAK MARK)
Set this with the GENERAL SETTINGS screen > OTHER SETTINGS page >
PEAK MARK item.
When this is on, marks will be added automatically when input signals
exceed the peak level during recording. This can be used after recording
to find parts where the peak level was exceeded.
10 - 3 Deleting marks
A mark can be deleted by pressing the MARK button when stopped or
paused at its position. When a mark is deleted, a pop-up with informa-
tion about the deleted mark appears at the bottom of the display.
Deleting all marks
See “Deleting marks” on page 44.
10 - 4 Jumping to set marks (mark skipping)
See “Jumping to mark locations” on page 42.
NOTE
Marks in different files cannot be skipped to.
10 - 5 Dividing files at every mark
See “Dividing files (DIVIDE)” on page 44.
10 - 6 Opening mark lists