Configuration procedure, Configuring the fpga in jtag mode, Fpga – Altera Cyclone II FPGA Starter User Manual
Page 40
5–2
Altera Corporation
Cyclone II FPGA Starter Development Kit User Guide
October 2006
Configuring the Cyclone II FPGA
Configuration Procedure
For both the JTAG and AS programming methods, the Cyclone II FPGA
Starter board connects to a host computer via a USB cable. Because of this
connection type, the host computer identifies the board as an Altera
USB-Blaster
device. The following sections describe the JTAG and AS
programming steps.
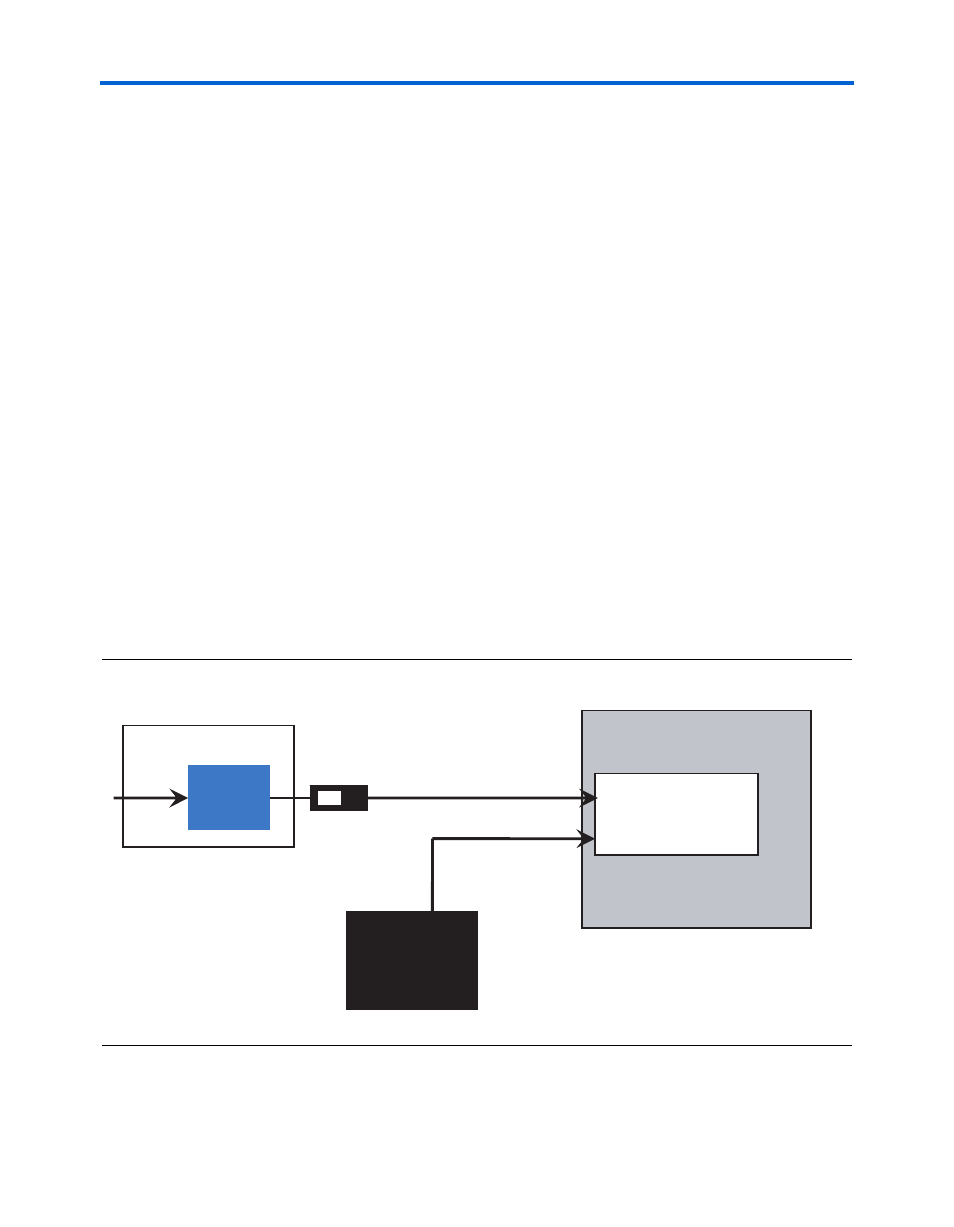
Configuring the FPGA in JTAG Mode
illustrates the JTAG configuration setup. To download a
configuration bit stream into the Cyclone II FPGA, perform the following
steps:
1.
Ensure that power is applied to the Cyclone II FPGA Starter board
2.
Connect the supplied USB cable to the USB-Blaster port on the
board
3.
Configure the JTAG programming circuit on the board by setting
the RUN/PROG switch (on the left side of the board) to the RUN
position
4.
To program the FPGA, use the Quartus II Programmer module to
select a configuration bit-stream file with the .sof filename extension
Figure 5–1. The JTAG Configuration Scheme
USB Blaster Circuit
MAX
3128
USB
FPGA
JTAG Config Port
EPCS Serial
Configuration
Device
RUN/PROG
RUN”
Auto Power on Config