As a reminder, the path to the, Shown above is, Button for several seconds.) – Proceed PDSD User Manual
Page 36
36
3
MOVE TO “CONN:” WITH THE VOLUME BUTTONS, PRESS ENTER TO WORK
WITH IT, AND CYCLE THROUGH THE LIST OF CONNECTORS UNTIL YOU
SEE THE ONE YOU USED; PRESS ENTER TO SAVE THIS SETTING, AND
MENU TO RETURN TO THE PREVIOUS/HIGHER MENU
As mentioned during the Quick Start for CD, you can connect any source
component to any appropriate connector, and then simply tell the system
what you have done. It is helpful to have written down what components
are connected where during initial hookup, so you don’t have to try to peer
around the back of the system with a flashlight later. A form for this pur-
pose is included at the back of this manual. (Use a pencil, in case some-
thing changes in the future.)
example: setting up
a laserdisc player
A laserdisc player, as mentioned earlier, has several more connections that need to
be handled than a simple CD transport. We will run through these additional set-
tings next, without repeating the sections that remain the same.
DEFINE BUTTON LD
NAME: LD
TYPE: A/V
VID: LD COMP
CONNECTOR: LD
TYPE: COMP
MODE: PRO LOGIC
RECORD DEVICE: NO
AUDIO CONNECTORS:
1: DIGITAL, DIG 11(RF
AUDIO: DIGITAL
CONN: DIG 11 (RF)
2: DIGITAL, DIG 5
AUDIO: DIGITAL
CONN: DIG 5
3: ANALOG, LASER
AUDIO: ANALOG
CONN: LD
INPUT OFFSET: -6
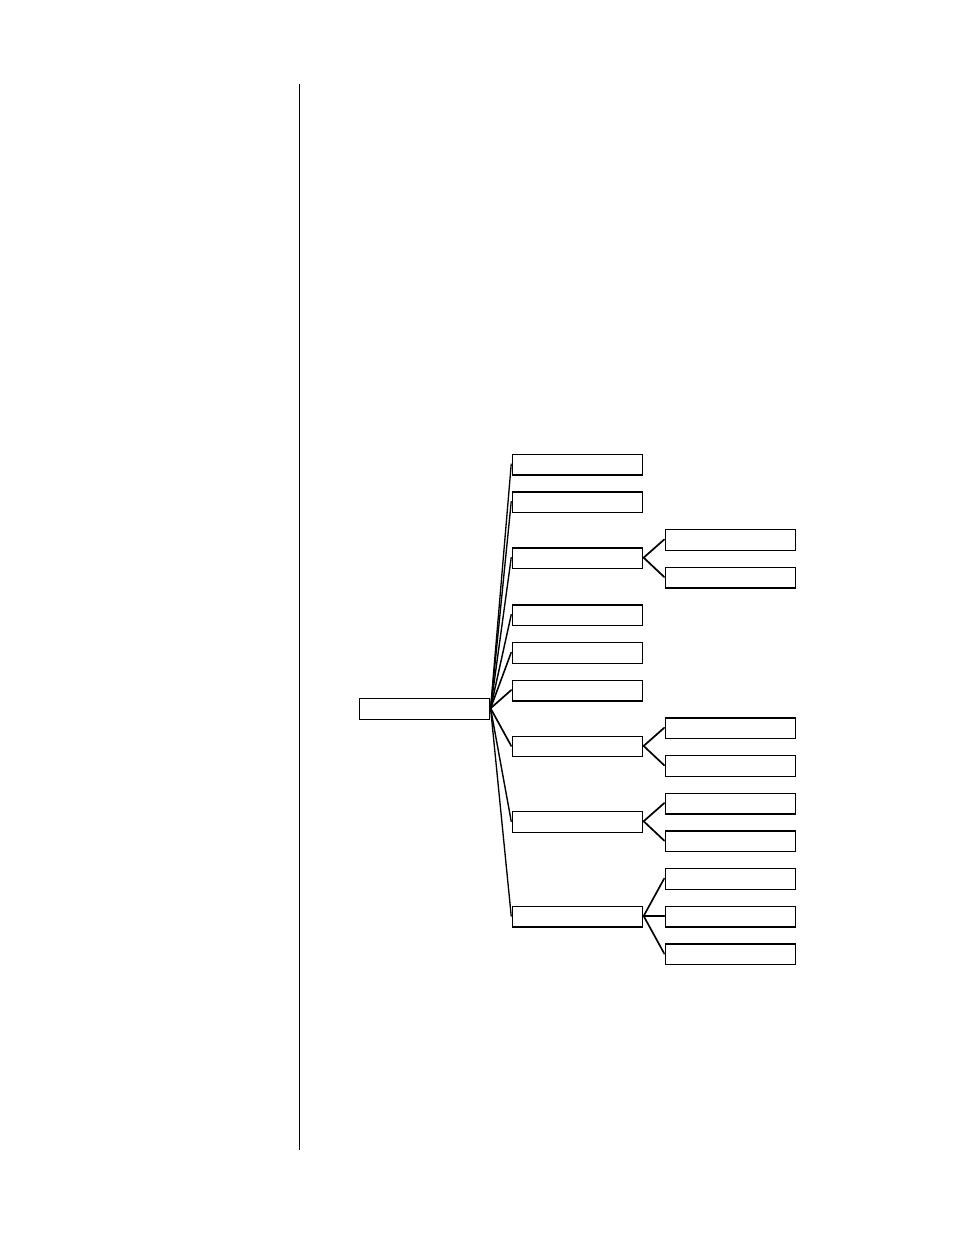
(As a reminder, the path to the
define button ld menu
shown above is
main
menu/setup/set source buttons/ld
—but you can get there faster by pressing and
holding the
laserdisc
button for several seconds.)