Re corde r, Saving the recorded audio file, Confirming the save – Kawai MP10 User Manual
Page 59: Using the metronome with the audio recorder
59
Re
corde
r
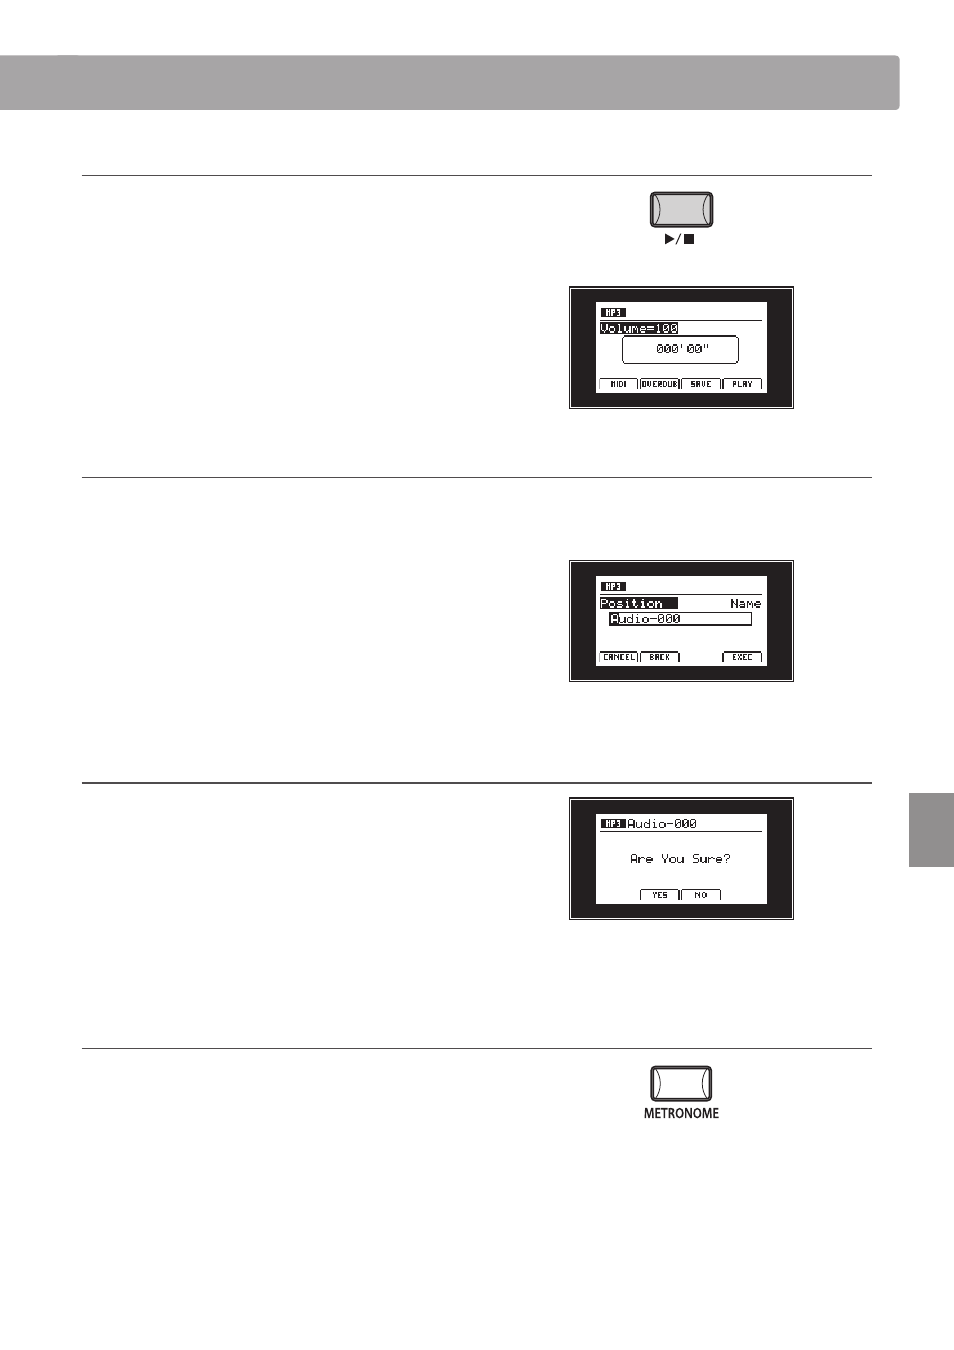
4. Stopping the audio recorder, auditioning the recording
Press the
f/ button.
The LED indicator for the
z button will turn OFF, and recording
will stop.
After a brief pause, the Audio player screen will be shown in the
LCD display.
Press the F4 function button (PLAY) to audition the recording
before saving.
* For more information about the player controls, please refer to page 60.
5. Saving the recorded audio file
While the Audio player screen is shown in the LCD display:
Press the F3 function button (SAVE).
The Save Audio screen will be shown in the LCD display.
Turn control knobs A and B to move the position of the cursor
and change the character.
* Saved audio files are limited to a maximum name length of 18 characters.
* The saved audio file will be stored in the root folder of the USB memory
device. It is not possible to store the file in a different folder.
6. Confirming the save
Press the F4 function button (EXEC).
The save confirmation screen will be shown in the LCD display.
Press the F2 function button (YES) or F3 function button (NO) to
confirm or cancel the save audio operation.
After saving the audio file, the Audio record/play screen will be
shown in the LCD display.
Using the Metronome with the Audio Recorder
The metronome can be enabled to allow rhythm patterns to be
recorded while playing. When enabled, a one bar count-in will
be added before recording begins.
To record using the metronome to assist with timing, yet without
being added to the audio file, first use the Song Recorder (with
the metronome enabled), then the Convert to Audio function to
create the audio file.