Microcom LDSII User Manual
Page 27
Chapter 1
Designing Using LDSII
LDSII Programming Guide - 880015-0123
11
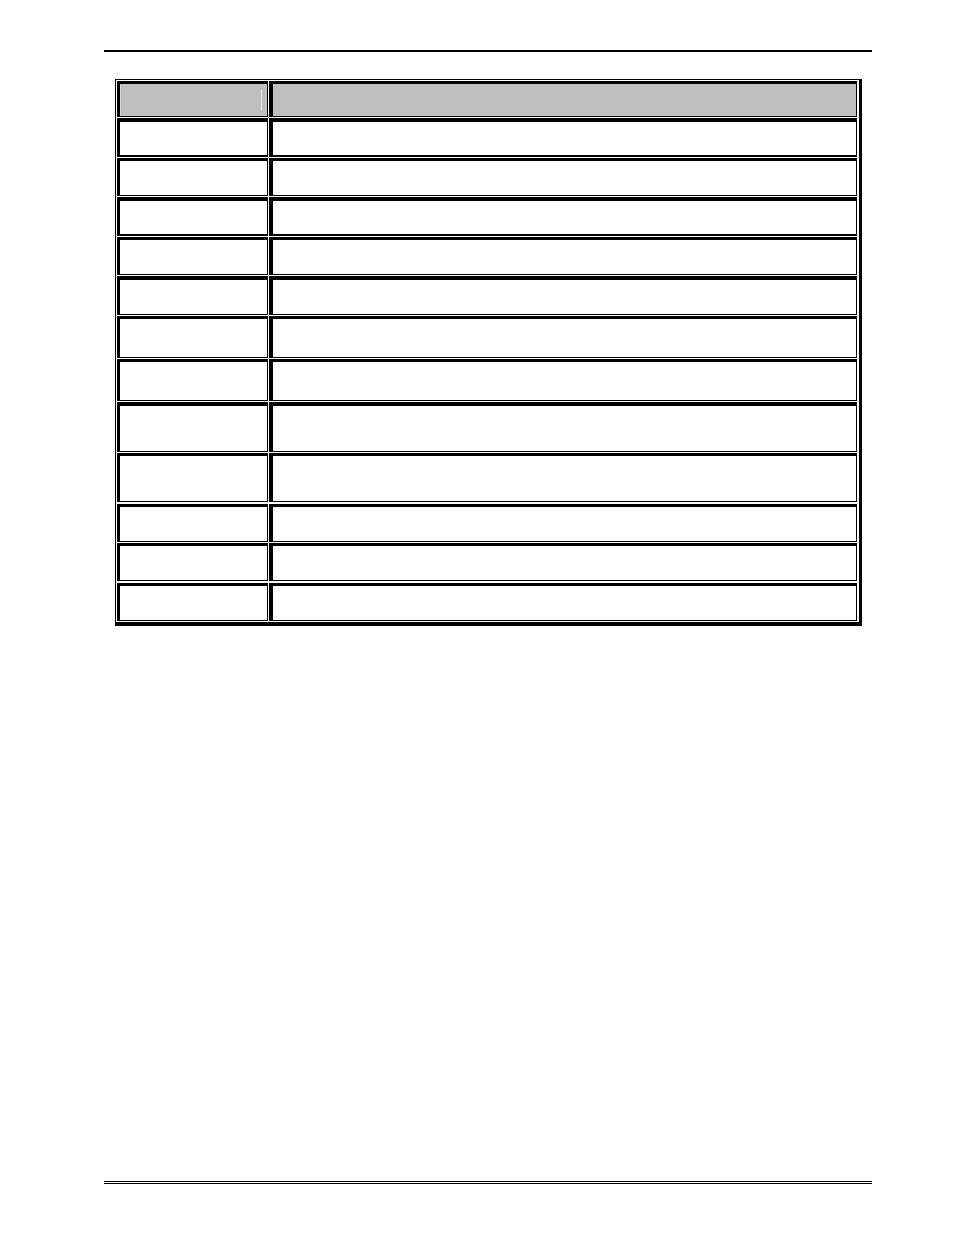
CI - Font Name
Font Sample
@bold_12
12 Point – 01234567890ABCDEFGHIJKLMNOPQRSTUVWXYZa
@normal_14
14 Point – 01234567890ABCDEFGHIJKLMNOPQRSTU
@bold_14
14 Point – 01234567890ABCDEFGHIJKLMNOPQRST
@normal_16
16 Point – 01234567890ABCDEFGHIJKL
@bold_16
16 Point – 01234567890ABCDEFGHIJKL
@normal_20
20 Point – 01234567890ABCDEFGHIJ
@bold_20
20 Point – 01234567890ABCDEFGHI
@normal_24
24 Point – 0123456ABCDEGabc
@bold_24
24 Point – 012345ABCabcdefgh
@ocra_12
12 Point – 0123456789ABCDEFGHIJKLMNOPQRUSTUWXYZabc
@ocrb_08
8 Point – 1234567890ABCDEFGHIJKLMNOPQRSTUVWXZYabcdefghijklmnopqr
@ocrb_12
12 Point – 1234567890ABCDEFGHIJKLMNOPQRSTUV
Table 1
Resident Bitmapped Fonts
Font File Type Example:
If a normal 8 point font is
desired then “@normal_08” should be entered for the CI
parameter in order for the proper font to be printed. Fonts are accessed by entering the
system character “@”, font name followed by the underscore character and then the point
size into the CI parameter.
Line Draw
The line draw
feature is selected by entering “@line” into the CI parameter. The line draw
feature easily creates lines by using the XB and YB coordinates as an insertion point for the
line to start and then adjusting the SW and SH parameters to define the width and the
height of the line.
Line Draw Example:
^A)
^D200)3.3, 1.9, 0.125, 1.063, 5, 1
^F1)1.0, 1.0,@line, 1.11, 0.01
^F1)1.0, 1.0,@normal_14
^T1)Line Draw Feature
^D300)1
^Z)