Setting up your speed dial list, Setting up your phone number, Creating a new speed dial list – Epson Stylus DX9400F User Manual
Page 13: Editing a speed dial entry
Faxing a Photo or Document
13
English
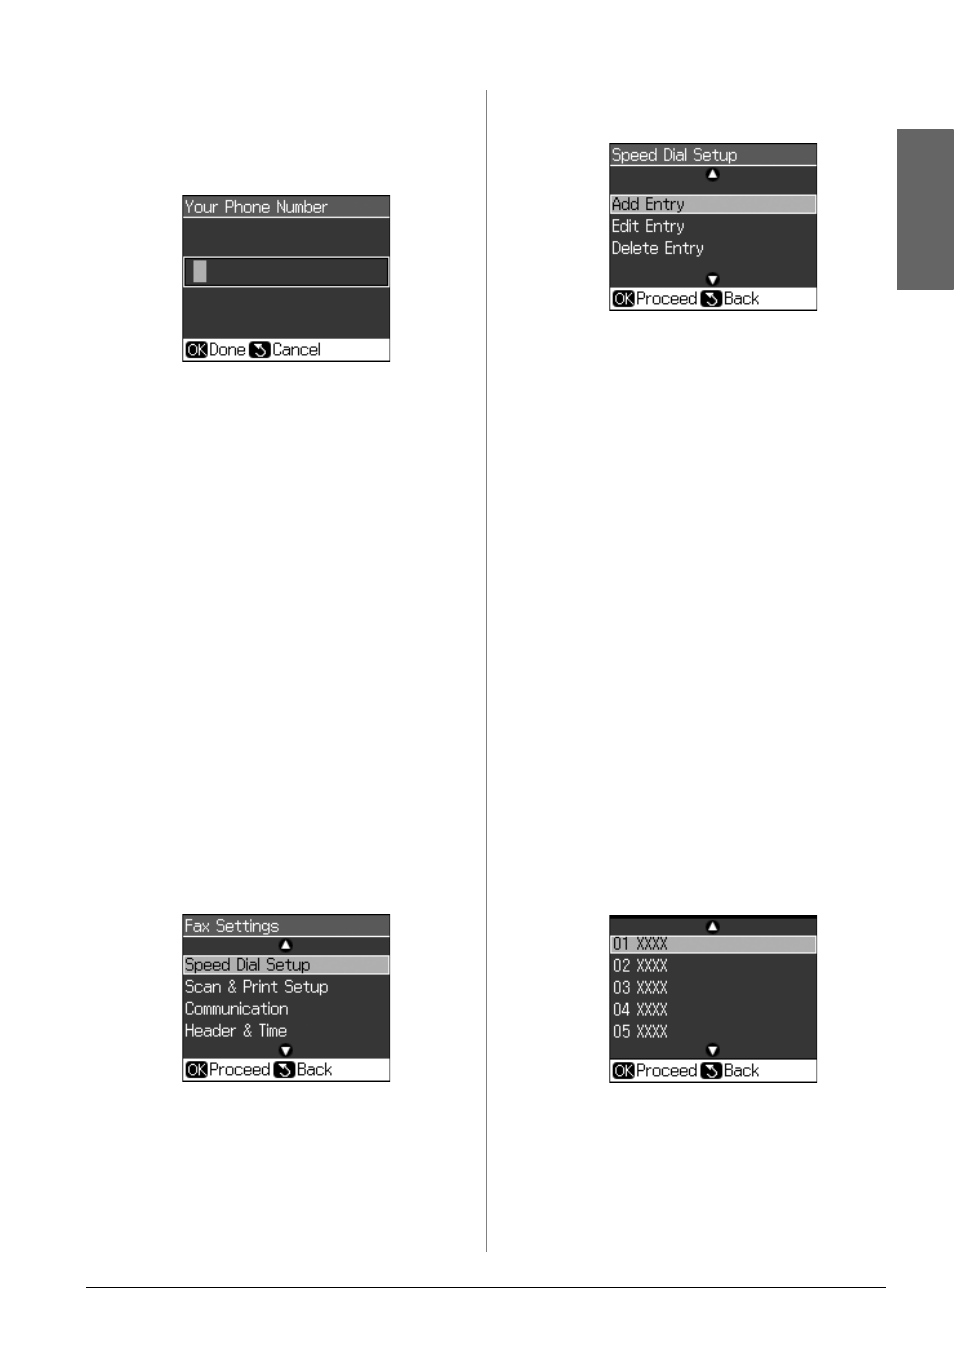
Setting up your phone number
1. Select Your Phone Number from the
Header & Time menu, then press OK.
You see the phone number input screen.
2. Use the numeric keypad with other
buttons on the control panel to enter
your phone number (& “Using control
panel buttons in fax mode” on page 11).
You can enter up to 20 digits.
Note:
When entering your phone number, the "*"
button does not work, and the "#" button
functions as a "+" (international phone calls)
button.
3. Press OK. You return to Header & Time.
Setting up your speed dial
list
You can create a speed dial list of up to 60
fax numbers so you can quickly select them
for faxing. You can also add names to
identify the recipients and print the speed
dial list.
Creating a new speed dial list
1. Press F Setup.
2. Select Fax Settings, then press OK.
3. Select Speed Dial Setup, then press OK.
4. Select Add Entry, then press OK. You see
the available speed dial entry numbers.
5. Select or type the speed dial entry
number that you want to register. You
can register up to 60 entries.
6. Press OK.
7. Use the numeric keypad with other
buttons on the control panel to enter
your phone number (& “Using control
panel buttons in fax mode” on page 11).
You can enter up to 64 digits.
8. Press OK.
9. Use the numeric keypad with the other
buttons on the control panel to enter a
name to identify the speed dial entry
(& “Using control panel buttons in fax
mode” on page 11). You can enter up to
30 digits.
10. Press OK. You return to Speed Dial
Setup.
11. If you want to add another speed dial
entry, repeat steps 4 through 10.
Editing a speed dial entry
1. Select Edit Entry from the Speed Dial
Setup menu, then press OK. You see the
registered speed dial entry numbers.
2. Select or type the speed dial entry
number that you want to edit, then press
OK.