Aligning the print head – Epson Stylus DX9400F User Manual
Page 31
Maintenance
31
English
4. Press x Start.
The printer begins cleaning the print
head. Follow the message on the LCD
screen.
c
Caution:
Never turn off the printer while head cleaning
is in progress. You may damage it.
5. When cleaning finishes, a message is
displayed on the LCD screen. Press
x
Start to print a nozzle check pattern to
check the results (& “Checking the print
head” on page 30).
If there are still gaps or the test patterns
are faint, run another cleaning cycle and
check the nozzles again.
Note:
If you do not see any improvement after
cleaning about four times, turn off the printer
and wait for at least six hours. This lets any
dried ink soften. Then try cleaning the print
head again. If quality still does not improve,
one of the ink cartridges may be old or
damaged and needs to be replaced
(& “Removing and Installing Ink Cartridges”
on page 27).
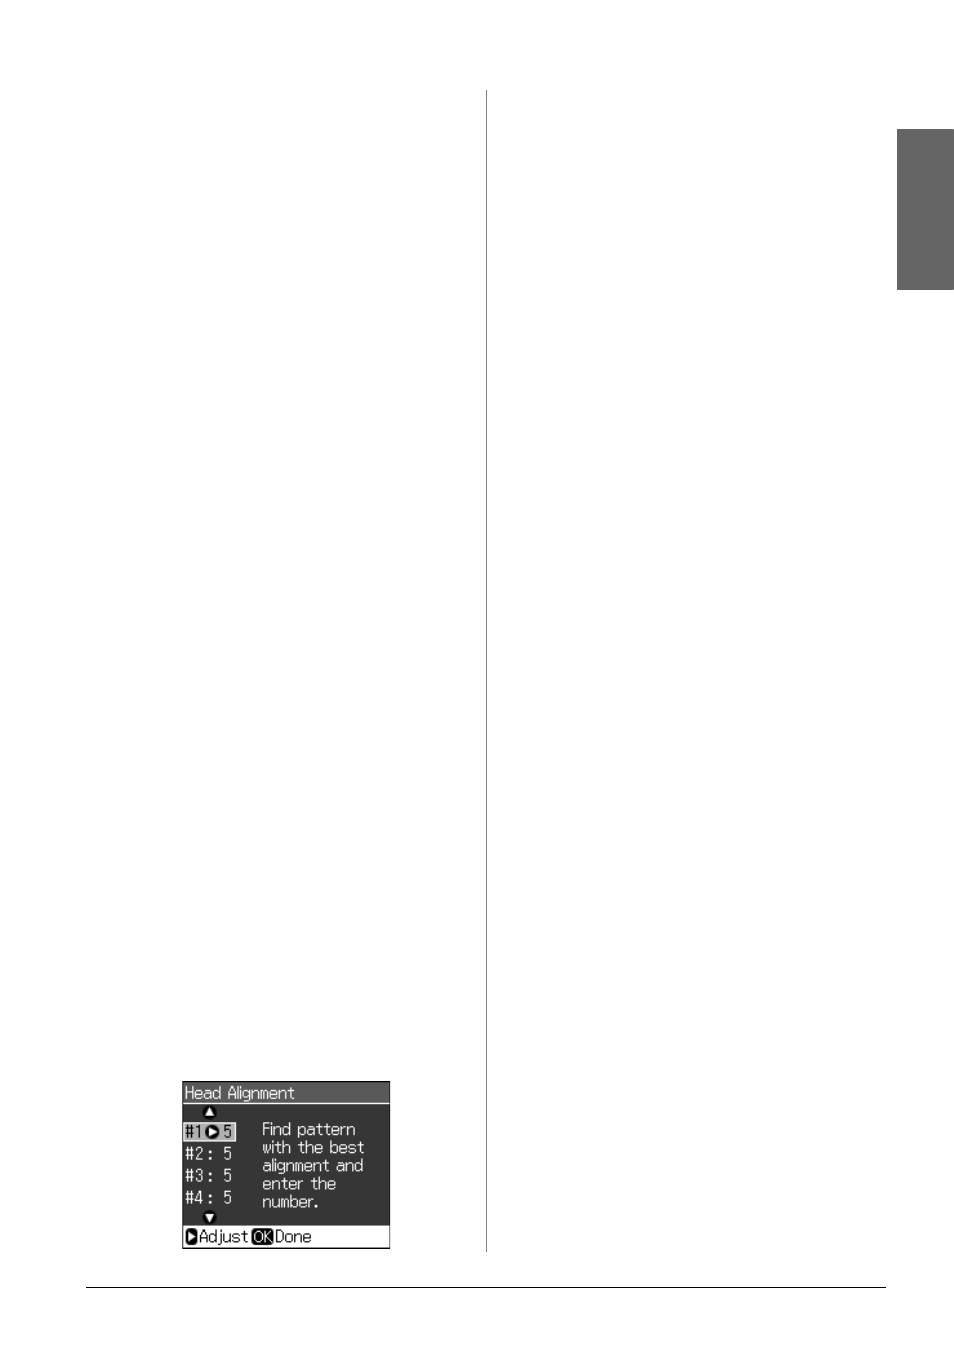
Aligning the Print Head
If your printouts contain misaligned vertical
lines or horizontal banding, you may be
able to solve this problem by aligning the
print head.
1. Load A4-size plain paper (&
2. Press F Setup.
3. Select Maintenance, then press OK.
4. Select Head Alignment, then press OK.
5. Press x Start. Four rows of alignment
patterns are printed.
6. Look at pattern #1 and find the patch
that is most evenly printed, with no
noticeable streaks or lines.
7. Select the number for that patch, then
press OK.
8. Enter the numbers for the other patterns
in the same way.
9. When you finish, press OK and you see a
message indicating alignment is
complete.