Sending faxes from the connected phone, Receiving faxes, Selecting the paper size – Epson Stylus DX9400F User Manual
Page 16: Switching receive mode
16
Faxing a Photo or Document
Sending faxes from the
connected phone
If your phone is connected to the product,
you can send fax data after the connection is
made.
1. Place your original document or photo
on the document table (& “Copying” on
page 19).
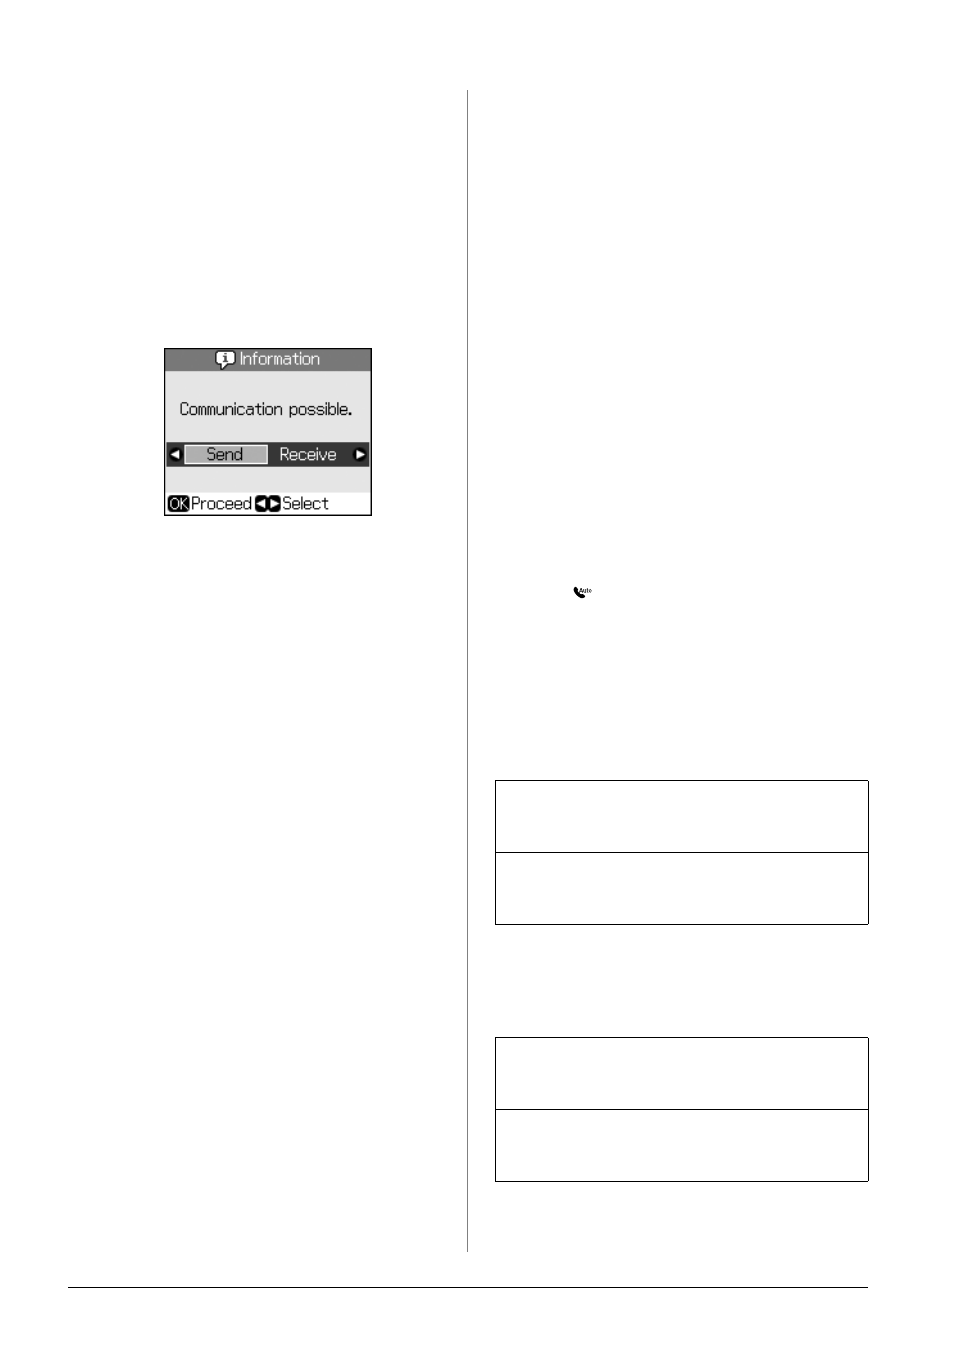
2. Dial a number from the phone connected
to the printer. You see this screen.
3. Select Send, then press OK.
4. Follow steps 4 through 7 from Sending a
Fax (& “Entering or redialing a fax
number” on page 14).
5. Put the phone down on the hook.
Note:
If you need to cancel faxing at any time,
press y Stop/Clear.
Receiving Faxes
The product automatically receives and
prints faxes in Auto Answer mode.
Selecting the paper size
Before receiving a fax, make sure you load
plain paper and set the Paper Size setting to
the size of paper you have loaded. Also
make sure the Automatic Reduction setting
is set to receive faxes at the size you want
(& “Selecting Send/Receive Settings” on
page 17).
Note:
Make sure you selected the Paper Size setting
that matches the size of paper you have loaded.
If the incoming fax pages are larger than the
paper size you loaded, the fax size is reduced to
fit or printed on multiple pages, depending on
the Auto Reduction setting you select
(& “Selecting Send/Receive Settings” on page
17).
Switching receive mode
When a telephone with an answering
machine is connected, you can set the
answer time for the telephone and the
product, and a connection is made after the
other party (fax or caller) responds. If it is a
fax, you can set it to automatically start
receiving.
1. Press F Setup.
2. Select Fax Settings, then press OK.
3. Select Communication, then press OK.
4. Select Rings to Answer, then press r.
5. Set the number of rings before
answering, then press OK.
6. Make sure you set the number of rings
before the answering machine picks up
to a value less than the Rings to Answer
setting.
See your telephone's documentation for
the setup method.
7. Press [Auto Answer/Space], and
turn on Auto Answer mode.
For example, use the following procedure if
the Rings to Answer is set to five, and the
answering machine is set to four.
When the phone is answered before the
fourth ring, or when the answering
machine picks up on the fourth ring
When it continues to the fifth ring when
the connected telephone does not have an
answering machine, or the answering
machine is switched off
If the other party is a fax, it automatically
connects to this product and begins receiving
the fax.
If the other party is a caller, the phone can be
used as normal or they can leave a message
on the answering machine.
The product connects to the telephone line. If
the other party is a fax, it receives and begins
printing the fax.
The product connects to the telephone line. If
the other party is a caller it still enters fax
mode.