Sending a fax, Entering or redialing a fax number, Deleting a speed dial entry – Epson Stylus DX9400F User Manual
Page 14
14
Faxing a Photo or Document
3. Use the numeric keypad with other
buttons on the control panel to edit the
phone number (& “Using control panel
buttons in fax mode” on page 11).
4. Press OK.
5. Use the numeric keypad with the other
buttons on the control panel to edit the
name for the speed dial (& “Using
control panel buttons in fax mode” on
page 11).
6. Press OK. You return to Speed Dial
Setup.
Deleting a speed dial entry
1. Select Delete Entry from the Speed Dial
Setup menu, then press OK. You see the
registered speed dial entry numbers.
2. Select or type the speed dial entry
number that you want to delete, then
press OK.
3. You see a confirmation message. Press
OK to delete the entry, or press y Back
to cancel. You return to Speed Dial
Setup.
Sending a Fax
Before sending a fax, place your original on
the document table or the automatic
document feeder (& “Copying” on page
19). Then send your fax by entering a fax
number, redialing the previous fax number,
or selecting an entry from your speed dial
list.
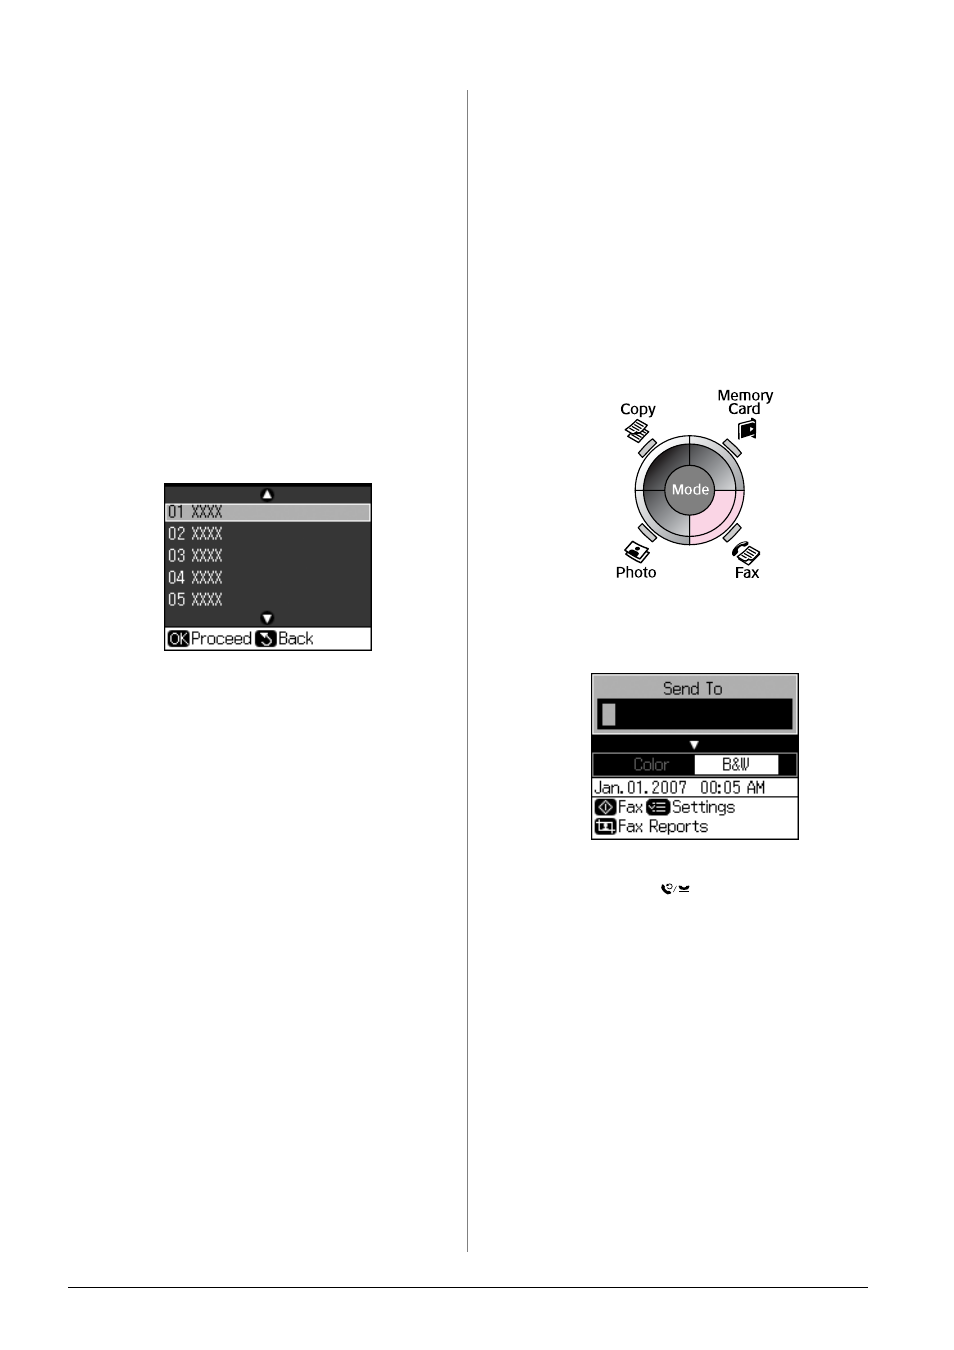
Entering or redialing a fax
number
1. Press Fax to enter Fax mode.
2. Use the keys on the numeric keypad to
enter the fax number. You can enter up
to a maximum of 64 characters.
If you want to redial the last fax number
you used, press
[Redial/Pause]
instead of entering a fax number. The
last fax number is displayed on the LCD
screen.
3. Press d.
4. Select Color or B&W.
If you want to change resolution or
contrast, press x Menu. You can set or
change these settings.
You can also set the time that you want
to send your fax (& “Transmission
timer” on page 15).
5. Press OK. You see the sending
information screen.
6. Press x Start.