Using audio files, Importing an audio file, Playing back audio clips – Roland P-20HD Video Instant Replayer User Manual
Page 29: Setting an audio clip, Pad operations
29
Pad Operations
Using Audio Files
Audio files that you created on your computer can be imported into the P-20HD as materials. The imported audio can then be played back by
pressing the pads.
Supported files
Format
WAV (linear PCM, 48 kHz, 16-bit, stereo/ 44.1 kHz,
16-bit, stereo)
File name
Must be single-byte alphanumeric characters, up
to 32 characters long including the extension.
The extension (“.wav”) must be added.
No. of files
Max. of 16 per project
Importing an Audio File
To begin, save the audio files (materials) you created on your
computer to the root directory of a USB storage device.
1 .
Connect the USB storage device containing your
materials to the USB 3.0 port of this unit.
2 .
Press the [AUDIO] button
The AUDIO CLIP MENU screen is shown.
3 .
Use the [VALUE] knob to move the cursor to the
position of the audio clip to import.
4 .
Press the [VALUE] knob.
The audio clip setting screen is displayed.
5 .
Select “Import” and press the [VALUE] knob.
The Import Audio screen appears.
6 .
Select the files you want to import, and press the
[VALUE] knob.
7 .
A dialog appears, select “OK,” and press the [VALUE]
knob.
The import begins, and the audio clips are arranged on the screen.
Playing Back Audio Clips
1 .
Press the [AUDIO] button
2 .
Press a pad from [1]–[8] corresponding to the
position of the audio clip you want to play back.
The audio clip plays back.
MEMO
You can individually set the loop, volume and so on from the
menu in the AUDIO CLIP MENU screen.
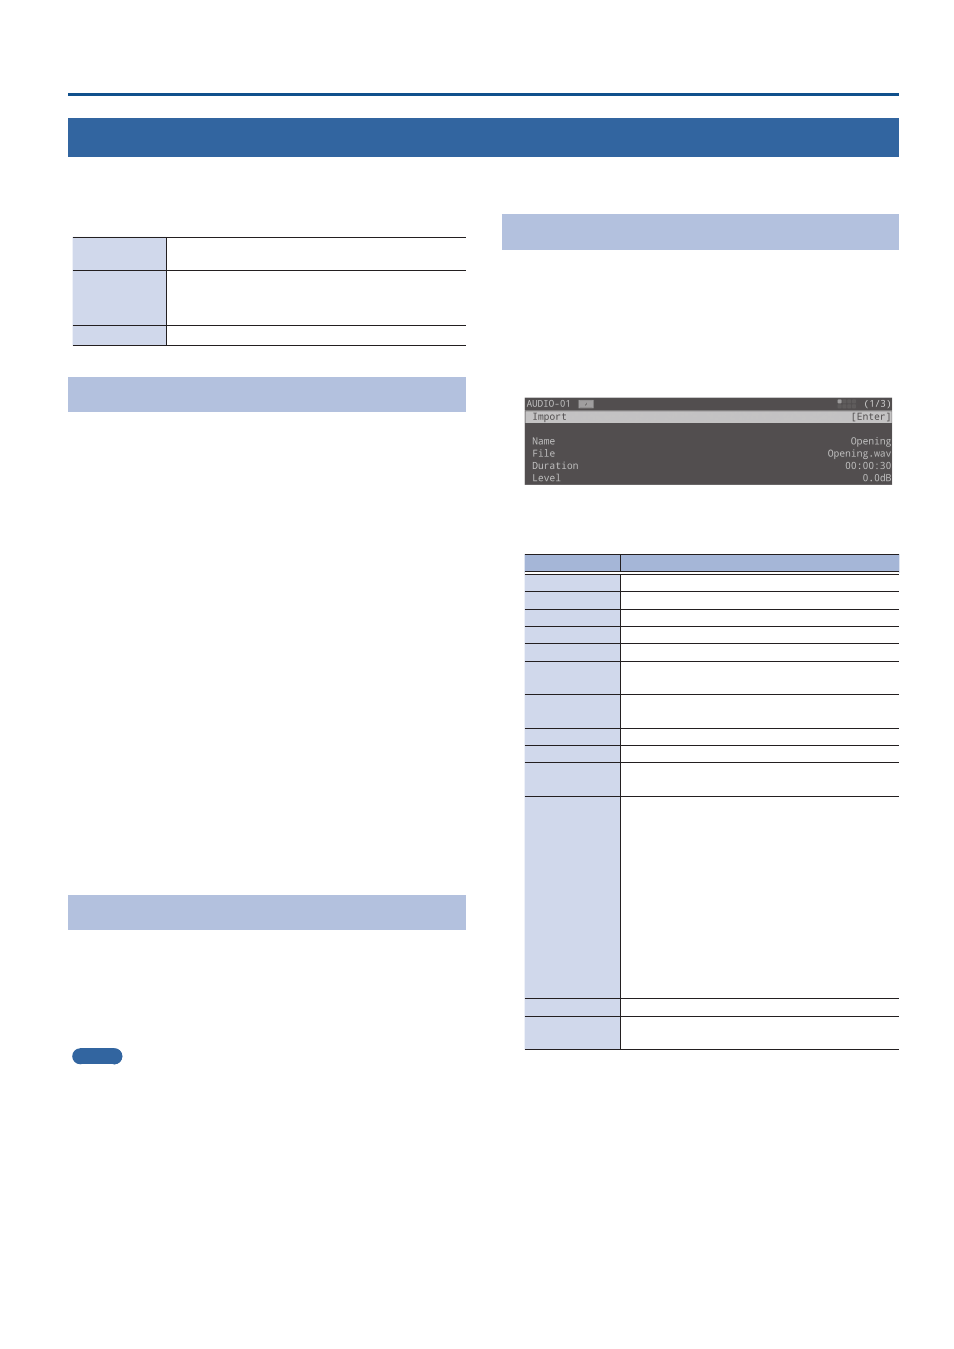
Setting an Audio Clip
1 .
Press the [AUDIO] button
2 .
Turn the [VALUE] knob to move the cursor and
select the audio clip.
3 .
Press the [VALUE] knob.
The audio clip setting screen is displayed.
4 .
Select a menu item shown below, and press the
[VALUE] knob.
Menu
Explanation
Import
Imports the audio.
File
Shows the audio file name.
Name
Shows the audio clip name.
Duration
Shows the audio clip length.
Level
Sets the volume of the audio clip.
On/Off
Sets what happens when the audio clip plays
back.
Offset
Sets the playback start position of the audio
clip.
Fade In
Sets the fade-in time.
Fade Out
Sets the fade-out time.
Loop
When this is set to “On,” the audio clip plays
back in a loop.
Swap with
Swaps audios.
1 .
Select “Swap with” and press the [VALUE]
knob.
This displays the audio clip list.
2 .
Select the destination, and press the [VALUE]
knob.
3 .
Select “Swap,” and press the [VALUE] knob.
A confirmation message appears.
4 .
Select “OK,” and press the [VALUE] knob.
This confirms the swap.
Delete
Deletes the audio.
Color
Set the color of the label that's shown in the
audio clip.
* For details on the menu items, refer to “AUDIO” (p. 67).
5 .
Change the value of the setting and execute the
operation.
6 .
Press the [MENU] button to close the menu.