Audio operations, Adjusting the volume, Applying effects to the input audio – Roland P-20HD Video Instant Replayer User Manual
Page 32: Level meter display, Delay, High-pass filter (hpf, 75 hz), Noise gate (gate)
32
Audio Operations
Adjusting the Volume
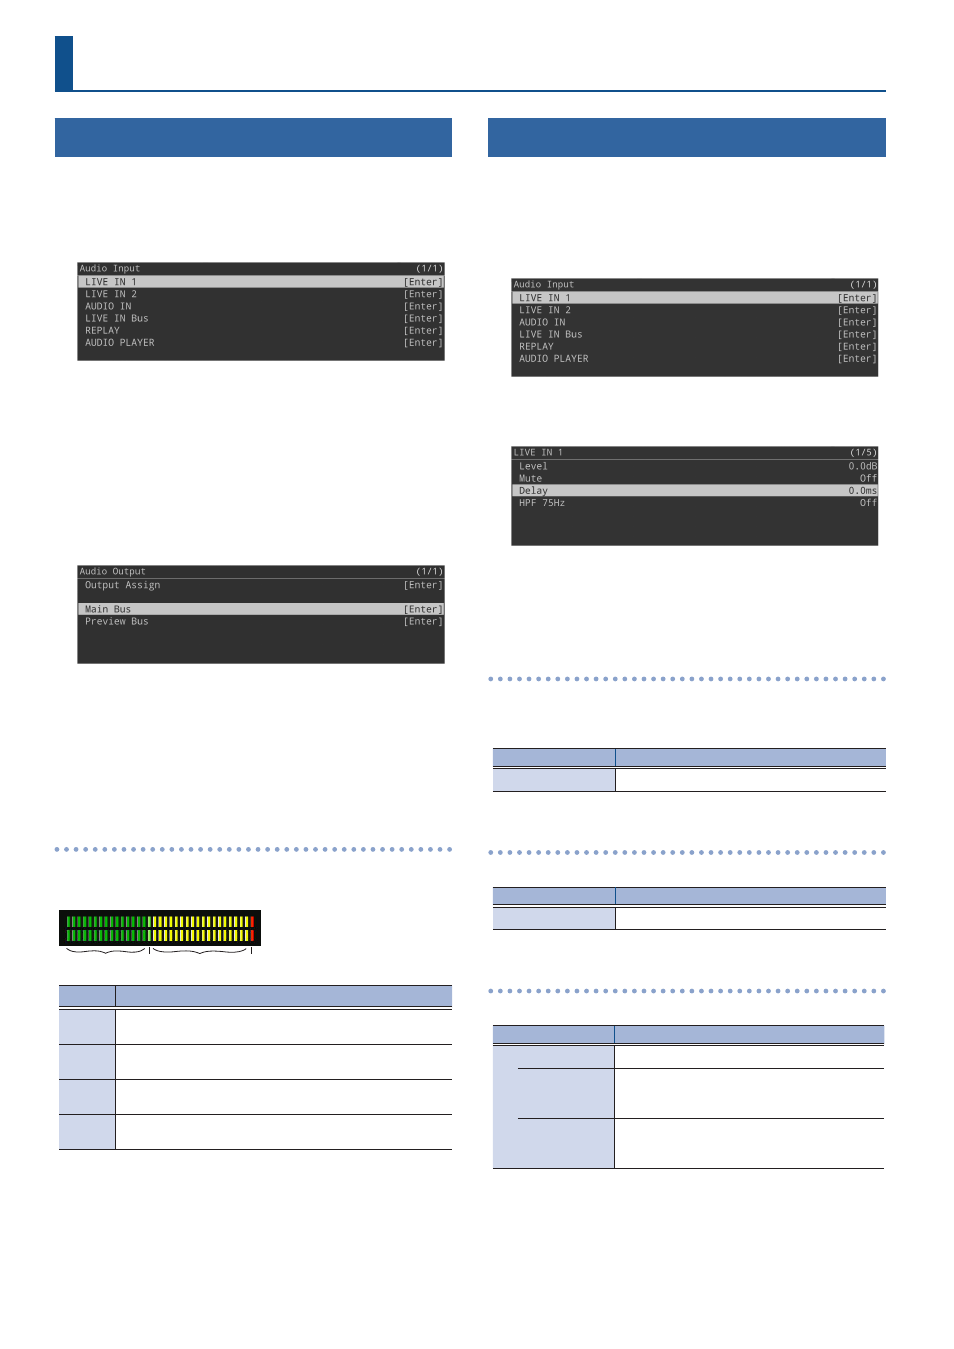
Here’s how to adjust the volume of the input and output audio.
1 .
Press the [MENU] button
Ó
“Audio Input”
Ó
select a
value from “LIVE IN 1” to “AUDIO PLAYER,” and press
the [VALUE] knob.
2 .
Select “Level,” and press the [VALUE] knob.
3 .
Adjusts the input volume, and press the [VALUE]
knob.
4 .
Press the [MENU] button.
5 .
Press the [MENU] button
Ó
“Audio Output”
Ó
select
“Main Bus” or “Preview Bus,” and press the [VALUE]
knob.
6 .
Select “Level,” and press the [VALUE] knob.
7 .
Adjusts the output volume, and press the [VALUE]
knob.
8 .
Press the [MENU] button to close the menu.
Level meter display
The colors on the level meter help you to check whether the volume
is adjusted appropriately.
Red (excessive)
Yellow
(appropriate)
Yellow green
(appropriate)
Green
(insufficient)
(dB)
-30 -20
-6
0
-50
Lit color Status
Red
Lights up at 0 dB or higher. This indicates an excessive
volume level.
Yellow
Lights up at -19 to -1 dB. This indicates an appropriate
volume level.
Yellow
green
Lights up at -20 dB. This indicates an appropriate volume
level.
Green
Lights up at -50 to -21 dB. This indicates that the volume
is too low.
* If the speaker output volume is not where it should be even after
you’ve adjusted the levels so that the level meters light up yellow,
try adjusting the volume on your speakers or amp. Adjusting
the levels using the “OUTPUT LEVEL” parameter may distort or
degrade the audio signal.
Applying Effects to the Input Audio
You can apply effects to the input audio to adjust the character of the
sound.
1 .
Press the [MENU] button
Ó
“Audio Input”
Ó
select
“LIVE IN 1,” “LIVE IN 2” or “AUDIO IN,” and press the
[VALUE] knob.
2 .
Select the menu item of the effect, and press the
[VALUE] knob.
3 .
Edit the setting value, and press the [VALUE] knob.
4 .
Press the [MENU] button to close the menu.
Delay
Delays the audio output.
Use this effect to delay the output of the audio, making the timing of
the video and audio match.
Menu
Explanation
Delay
Adjusts the delay time of the audio.
High-pass filter (HPF, 75 Hz)
Cuts off unneeded low-band audio. The cutoff frequency is 75 Hz.
Menu
Explanation
HPF 75 Hz
Turns the high-pass filter on/off.
Noise gate (Gate)
Eliminates unwanted background noise.
Menu
Explanation
Gate
Turns the noise gate on/off.
Threshold
Specifies the base level used as the threshold
for removing audio. Audio below the level set
here is removed.
Release
Adjusts the length of time until the audio
is fully attenuated after the audio level falls
below the threshold.