Adjusting the video, Adjusting output video, Adjusting the input video – Roland P-20HD Video Instant Replayer User Manual
Page 30
30
Adjusting the Video
Adjusting Output Video
Here’s how to adjust the output video so that it is appropriate for the
device that receives output from the P-20HD.
MEMO
You can output a test pattern, which is useful for adjusting the image
quality of a display.
Press the [MENU] button
Ó
“System”
Ó
“Test Pattern” to select the test
pattern.
1 .
Press the [MENU] button
Ó
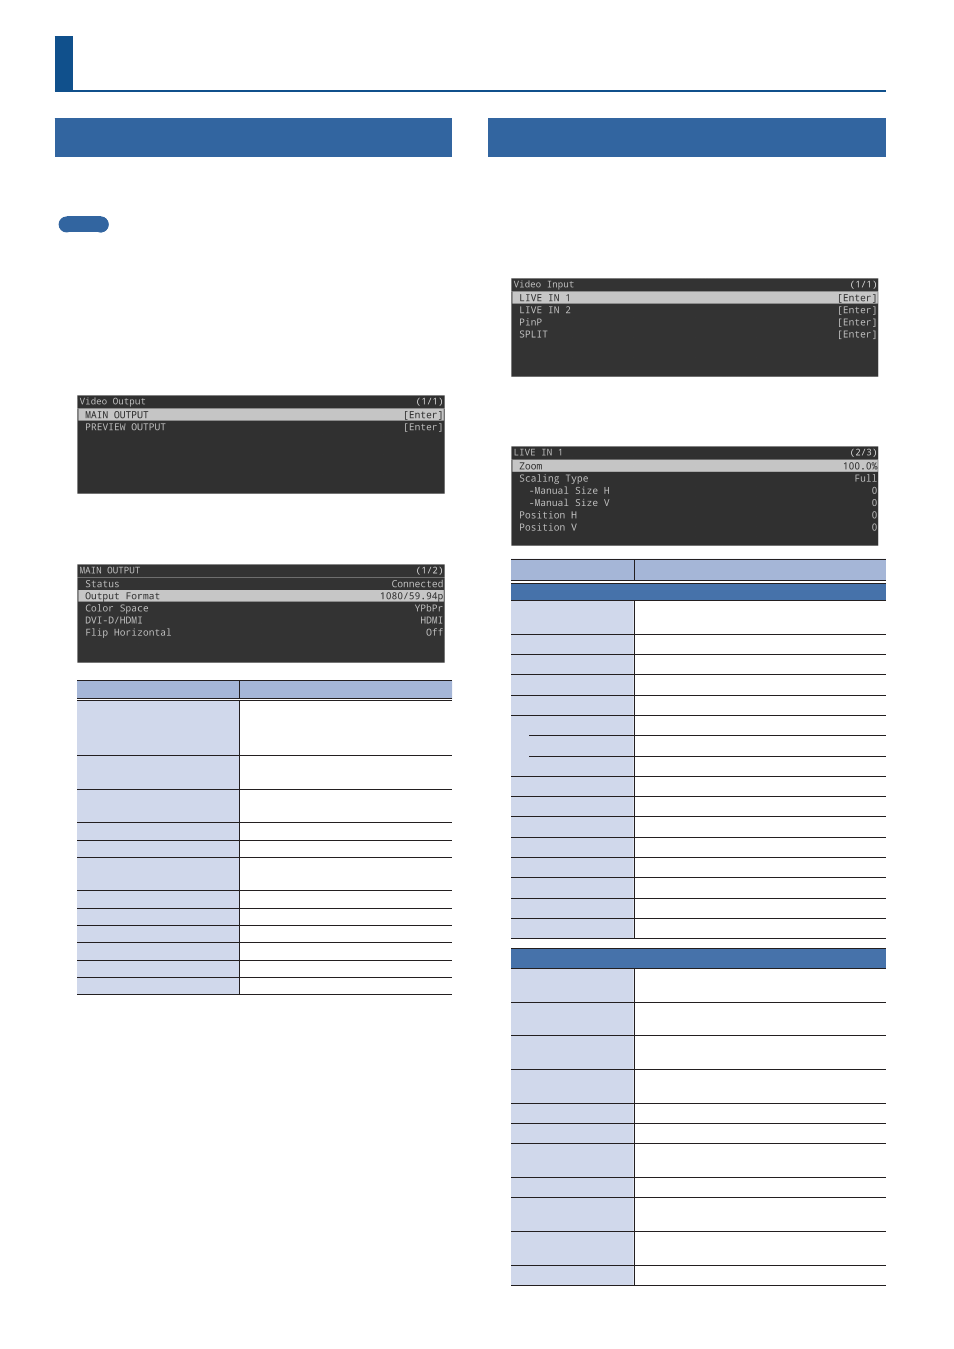
“Video Output”
Ó
select
“MAIN OUTPUT” or “PREVIEW OUTPUT,” and press
the [VALUE] knob.
2 .
Select a menu item shown below, and press the
[VALUE] knob.
Menu
Explanation
Status
Shows the status of the OUTPUT jacks.
If there is no connection, “Not
Connected” is shown.
Output Format
(only for MAIN OUTPUT)
Sets the output format.
Output Assign
(only for PREVIEW OUTPUT)
Specifies the output bus that is
assigned to the PREVIEW OUTPUT.
Color Space
Specifies the color space.
DVI-D/HDMI
Specifies the output mode.
Flip Horizontal
(only for MAIN OUTPUT)
If this is set to “On,” the video is
output with left and right flipped.
Brightness
Adjusts the brightness.
Contrast
Adjusts the contrast.
Saturation
Adjusts the saturation.
Red
Adjusts the red level.
Green
Adjusts the green level.
Blue
Adjusts the blue level.
* For details on the menu items, refer to “7: Video Output” (p. 57).
3 .
Adjust the output video and press the [VALUE] knob.
4 .
Press the [MENU] button to close the menu.
Adjusting the Input Video
Here’s how to adjust the video that is input from the INPUT 1 and 2
connectors.
1 .
Press the [MENU] button
Ó
“Video Input”
Ó
select
“LIVE IN 1” or “LIVE IN 2,” and press the [VALUE]
knob.
2 .
Select a menu item shown below, and press the
[VALUE] knob.
Menu
Explanation
LIVE IN 1, 2
Status
Displays information about the input video
(video format, size, etc.).
Input Source
Selects the input source.
Flicker Filter
If this is set to “On,” flickering is reduced.
EDID
Specifies the input format (EDID).
Zoom
Adjusts the zoom ratio.
Scaling Type
Specifies the scaling type.
Manual Size H
Adjusts the horizontal size.
Manual Size V
Adjusts the vertical size.
Position H
Adjusts the horizontal position.
Position V
Adjusts the vertical position.
Brightness
Adjusts the brightness.
Contrast
Adjusts the contrast.
Saturation
Adjusts the saturation.
Red
Adjusts the red level.
Green
Adjusts the green level.
Blue
Adjusts the blue level.
PinP
Background Ch
Sets the channel for the background video
of the inset screen.
Window Ch
Sets the channel for the video of the inset
screen.
Window Pos H
Adjusts the horizontal position of the inset
screen.
Window Pos V
Adjusts the vertical position of the inset
screen.
Window Aspect
Sets the aspect ratio of the inset screen.
Window Size
Adjusts the size (zoom) of the inset screen.
Window Crop H
Adjusts the horizontal size of the inset
screen.
Window Crop V
Adjusts the vertical size of the inset screen.
View Pos H
Adjusts the horizontal position at which
the inset screen video is shown.
View Pos V
Adjusts the vertical position at which the
inset screen video is shown.
View Zoom
Adjusts the zoom of the inset screen video.