DR Power 3-Point Hitch Rapid-Feed User Manual
Page 17
CONTACT US AT www.DRpower.com or CALL TOLL FREE 1-800-DR-OWNER 13
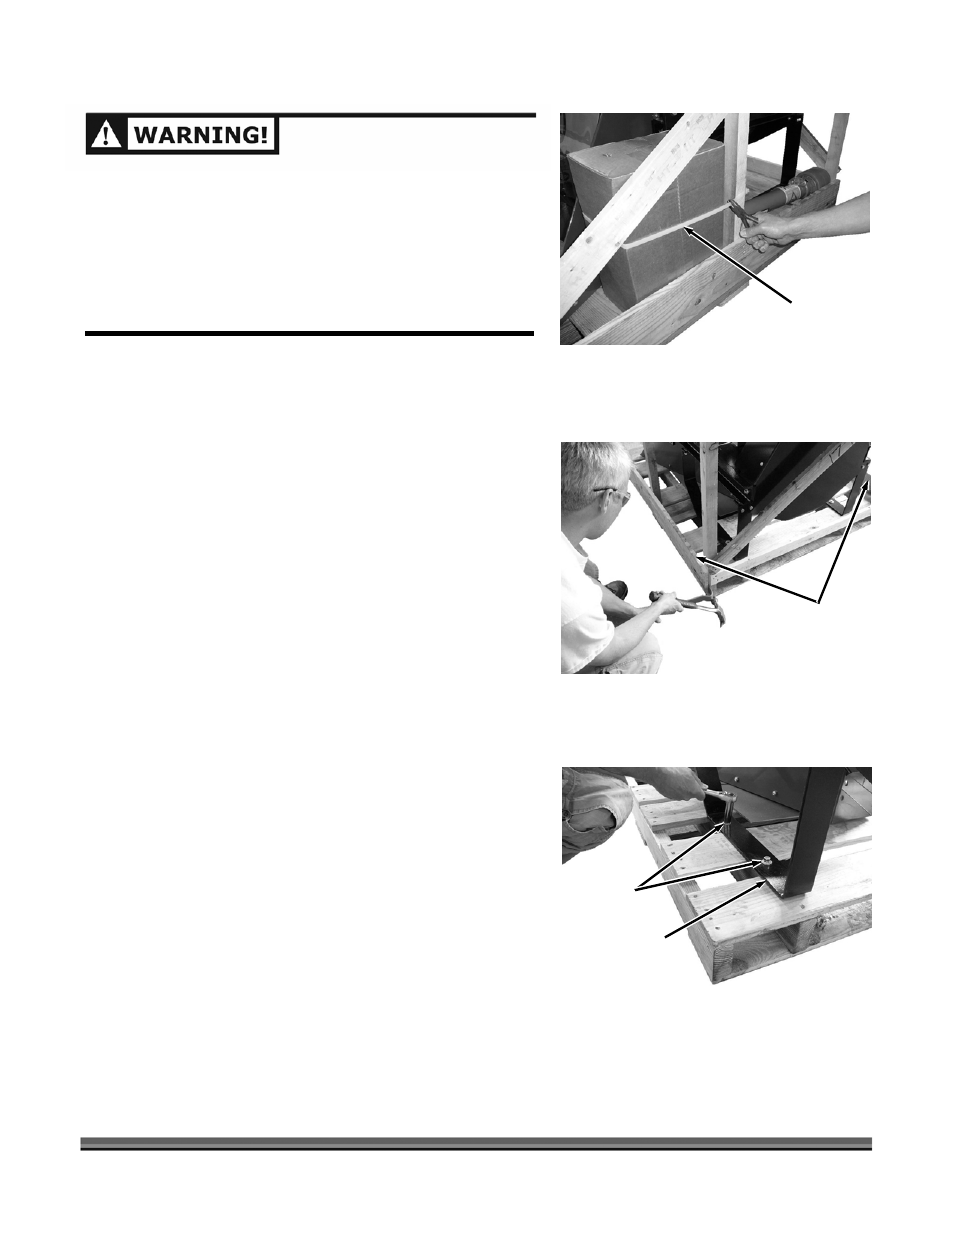
Plastic
Banding
Figure 5
1. Cut the Plastic Banding that is securing the Parts Box,
PTO Shaft Assembly and any Accessories that may be
strapped to the Crate (Figure 5).
2. Remove the Parts Box, PTO Shaft Assembly and any
accessories (if ordered).
3. Pry off the two bottom side boards that connect the
Crate top to the Pallet (Figure 6).
4. With help from another person, lift the Crate Top from
the Pallet.
5. Remove the four Lag Bolts that secure the Chipper
Support Legs to the Pallet (Figure 7).
6. With the help of another person, carefully slide the
Chipper from the shipping pallet, resting it on the
Support Legs.
Bottom
Side
Boards
Figure 6
Lag Bolts
Figure 7
Chipper
Support
Leg
Pallet
• WEAR EYE PROTECTION WHEN REMOVING THE CRATE
TOP TO PROTECT YOUR EYES FROM FLYING DEBRIS.
• STABILIZE THE SHIPPING CONTAINER ON CLEAN FLAT
TERRAIN BEFORE ATTEMPTING TO UNPACK AND
ASSEMBLE THE CHIPPER.
• FOR YOUR SAFETY WE RECOMMEND YOU HAVE TWO
PEOPLE FOR THE FOLLOWING PROCEDURES.