Install the trigger assembly – Hypertherm Duramax Hyamp Long Handheld Torches User Manual
Page 53
Duramax Hyamp Long Handheld Torches Service Manual 808290
53
4 – Component Replacement
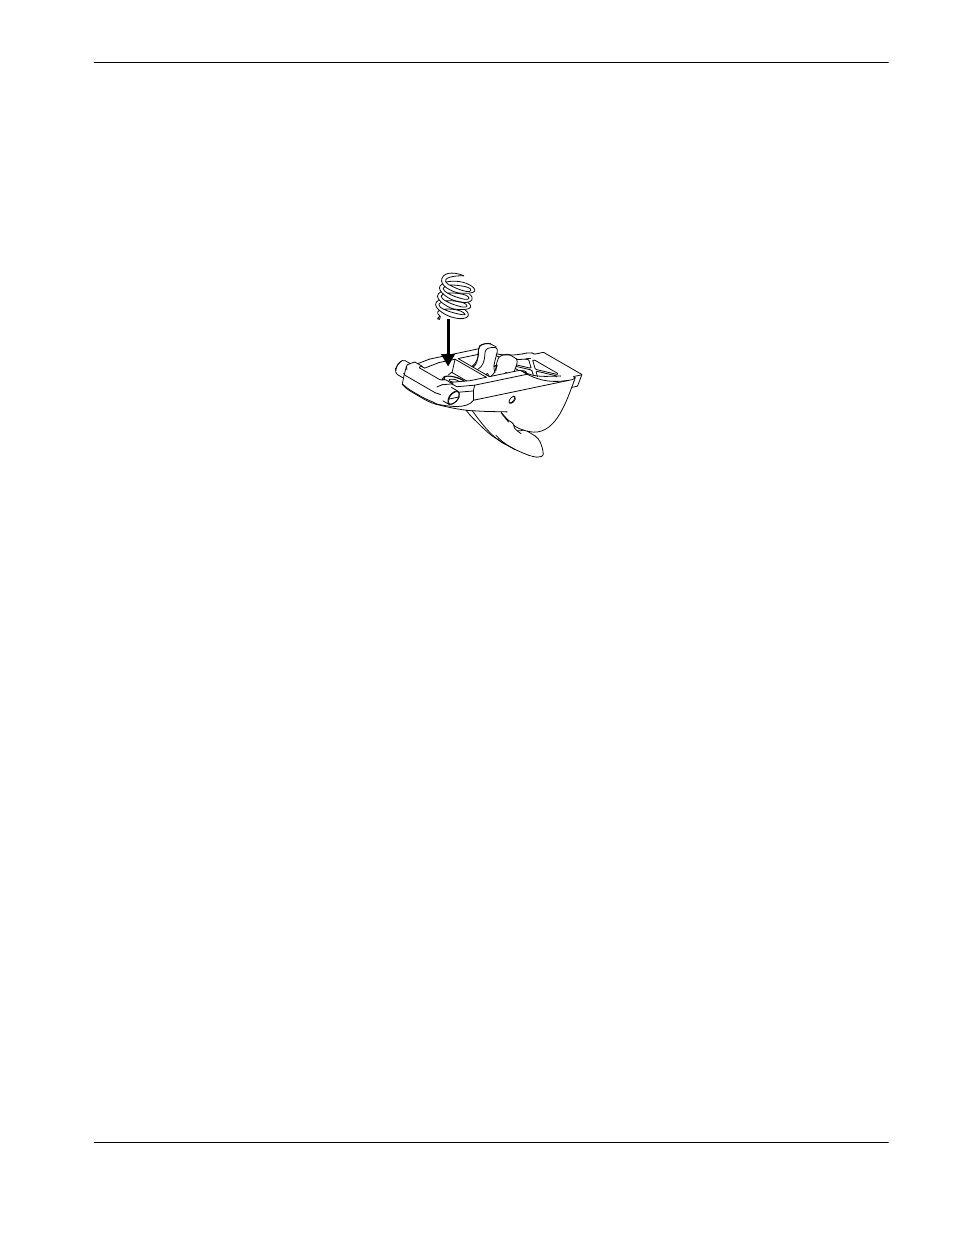
Install the trigger assembly
1. Clamp the torch lead in place, with the white wires facing up, to keep the lead from moving.
2. Compress the new trigger spring into the front half of the new trigger. Slide the trigger and spring into place.
Figure 13
3. Make sure the cap-sensor switch connector and the pilot terminal screw (encased in heatshrink) are completely
inside the extension tube.
4. Being careful that the handle and gas fitting flange do not pinch the wires, align the left half of the handle with the
right half.
5. Install the handle screws loosely, and verify that the:
Trigger pivots are both located in the trigger pivot holes by pulling the trigger a few times. (See
Flat square grooves on the extension tube align with where the handles meet. (See
Wires are not pinched where the handles meet.
6. Tighten the handle screws to 15.0 kg∙cm (13 inch∙pounds).
7. Reconnect the torch and gas supply, and turn ON (I) the power.