Marking events – NewTek 3Play 330 User Manual
Page 35
Page 29
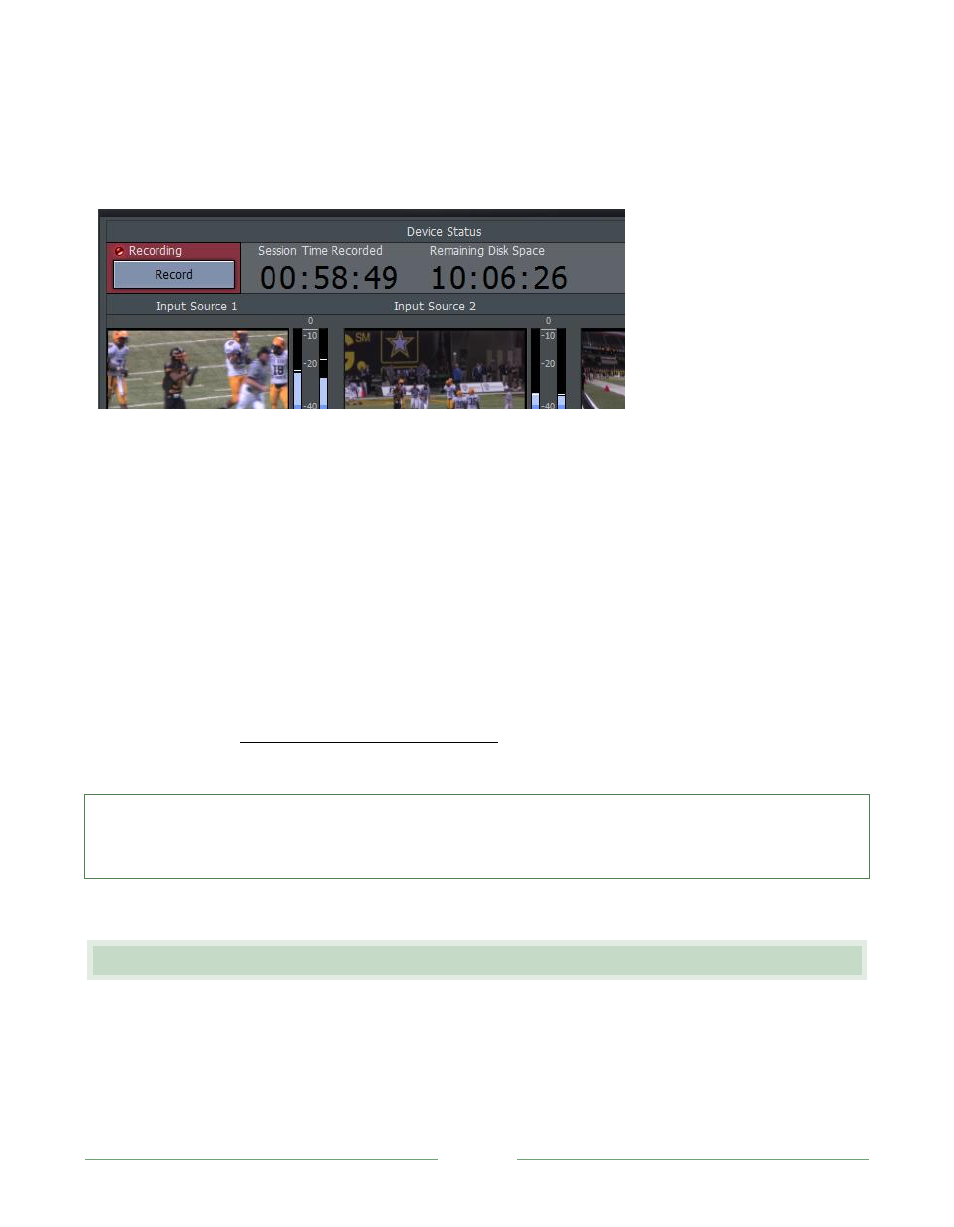
Session Time Recorded - The total duration of audio/video recorded and stored on 3P
LAY
since this session was created
Remaining Disk Space– How much room remains on 3P
LAY
for additional recording
Figure 16
The large Record button at upper-left (Figure 16) is automatically enabled when you press LIVE.
This initiates capture of the source video streams. Recording is confirmed by i) the nearby red
Recording light and ii) the active Session Time Recorded counter.
3P
LAY
captures a continuous record of all three streams of your production. It is not necessary to
toggle recording on and off to capture individual events. Rather, events are marked, as explained
earlier in Section 3.2, Recording, Marking and Events.
We’ll describe the process of marking events in a moment, but first please note – it is permissible
to turn recording on and off during periods of inactivity (such as ‘half-time’). Doing so does save
storage space, but be careful to turn Record back on before action begins again! For short periods
of downtime, it’s likely best to simply let recording continue uninterrupted.
Hint: Enabling Record does one other thing – it automatically adds a special event in the Master
List. A comment added to this special event displays the time recording began, providing a useful
reference.
5.5 MARKING EVENTS
The principal tools you use to create events are the MARK IN and MARK OUT buttons on the 3P-10
control surface. As you’d expect, pressing MARK IN sets an In Point timecode value for an event,
initiating a new event entry in the Master List tab of the Event Panel at the same time. Pressing
MARK OUT sets the Out Point, automatically updating the Duration column to finalize the event.