Print heads tab (head adjustment) – Rena Envelope Imager 3.0 User Manual
Page 30
SECTION 3
OPERATING THE PRINTER
Feed Delay - Used to put more space between the pieces as they are being printed. This will also give
the first piece printed more time to dry before the next piece is printed. The adjustment range is in 0.1-
second increments. This feature works at all speeds.
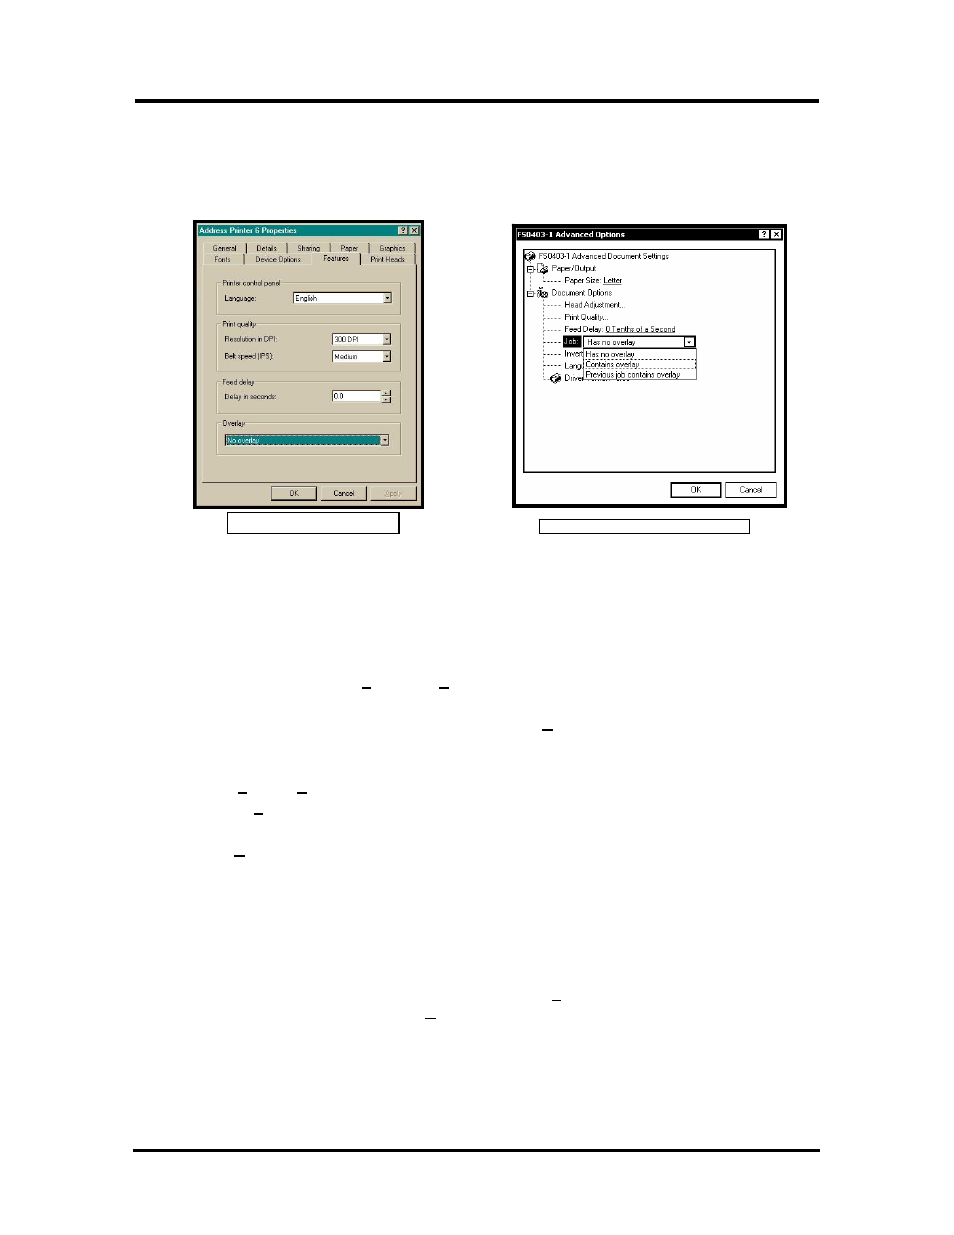
The Overlay feature is used to save time printing when you are combining a database with fixed
information or graphics. The default is “No overlay”.
Windows 98
Windows NT, 2000, XP
Note: Some software programs, such as FlexMail3 and Satori Bulk Mailer can generate and download
the overlay automatically. In these cases, you do not need to perform the following routine.
To use the Overlay feature with software (such as Microsoft Word) that does not automatically generate
and download the overlay to the printer; you must follow this routine.
1. First create a layout in your software application; placing all of the fixed information and graphics
on this layout, where you would like it printed on your media.
2. Open the layout and go to Print in the File menu.
3. Click on Features and then click on Overlay.
4. Select “Contains overlay” from the box, then click on Apply and OK.
5. Next click OK on the “Print” window. The overlay will download to the printer.
6. Now open the job that contains the variable data.
7. Using File then Print, from the drop down menu, open the “Print” window for the application.
8. Click on Properties then on the Features tab.
9. Then click on the drop down menu under Overlay and click on "Previous job contains overlay".
10. Click Apply and then OK.
11. When the Print window reappears, click OK to send the job to the printer.
Overlay Tips:
• To print the next job with a different overlay; repeat the process outlined above.
• If you wish to print additional jobs using the same overlay, simply open the next job and send it to
the printer.
• If the next job does not contain an overlay, then click on Properties in the “Print” window, select
Overlay, then “No overlay”. Click Apply, then OK.
• Turning the printer OFF, then ON will clear the overlay from printer memory.
Print Heads Tab (Head Adjustment)
The purpose of the Print Heads tab is to permit slight (0.001-inch) horizontal adjustment to the position of
the print heads to each other. The adjustment is used to precisely align the three printheads (cartridges)
30
Envelope Imager 3.0/4.0 Operations Rev. 6/7/2007