Rena Envelope Imager 3.0 User Manual
Page 39
SECTION 3
OPERATING THE PRINTER
h. Form Top & Bottom Margins = should be set at 0.100 to insure that none of the data is lost.
i. Height between labels = 0.000
j. Form Height = the height of the printhead area or slightly larger.
5.
Name the form in the Form name box and click OK.
Create Layout
Once the Barcode font supplied with the Printer Driver Disk is installed on your computer and the form is
setup, the layout that you are using in DeskTop Mailer® must be created.
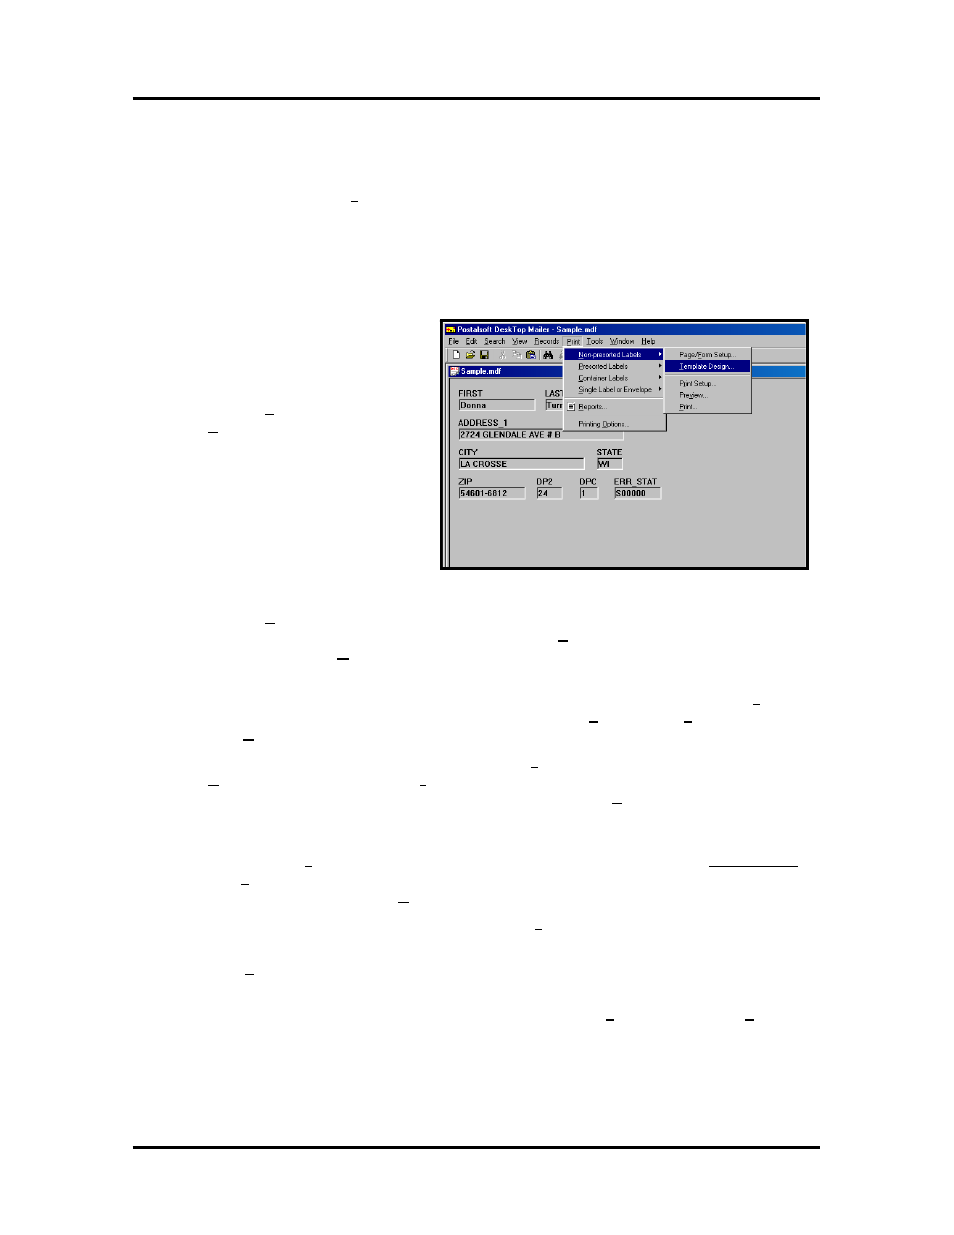
1. Open the DeskTop Mailer
®
application and then open the Data
file.
2. Click on Print and open the
Template Design. (In the
example we are using Non-
presorted Labels. This same step
holds true for Presorted Labels)
3. Click on Template Design and the “Choose Template for Printing” window will open. Select
the template you wish to use from the list, then click on Edit.. and the “Edit Template” window
will open. Or select New... to create a new template.
4. In our sample we are creating a new template and placing the Barcode below the address lines.
When creating a new template first highlight “Define Font” command and click on Insert
command. The “Font Selection” window opens. Select the Font style, the Size, and assign a
Font Number. Then click OK.
5. Highlight the “Font = 1” command and click on Insert command. Then highlight FIRST in the
Database Fields list and click on Insert field. Repeat this for the next field, and press ENTER
to go to the next line. Once the address fields are entered on the Template the next step is to
add the Barcode.
6. The barcode will become Font 2. Begin by highlighting the “Define Font” command and the
click on the Insert command. The “Font Selection” window opens. Select the BarcodeUSPS
font, Size 11 - 12, (choose the correct size for your application, you may use fractional numbers
such as 11.5) and assign Font Number 2 to it. Then click OK.
7. Highlight the “Font = 1” command and click on Insert command. Then change the 1 in {F,1}
to 2.
8. Click Save. Insert a “|” line (bar) next and then build the barcode data. In our example it is ZIP,
DP2, and DPC. Finish this up with another “|”.
9. Now save your template by typing in a unique name in the File name box, then Click Save.
Envelope Imager 3.0/4.0 Operations Rev. 6/7/2007
39