Track import and export, Importing to tracks, 12 – exchanging data with a computer – Teac DP-006 User Manual
Page 88
88
TASCAM DP-006
12 – Exchanging Data with a Computer
NOTE
A File Not Found (the file cannot be found) pop-up message appears
if there are no files on the FAT partition.
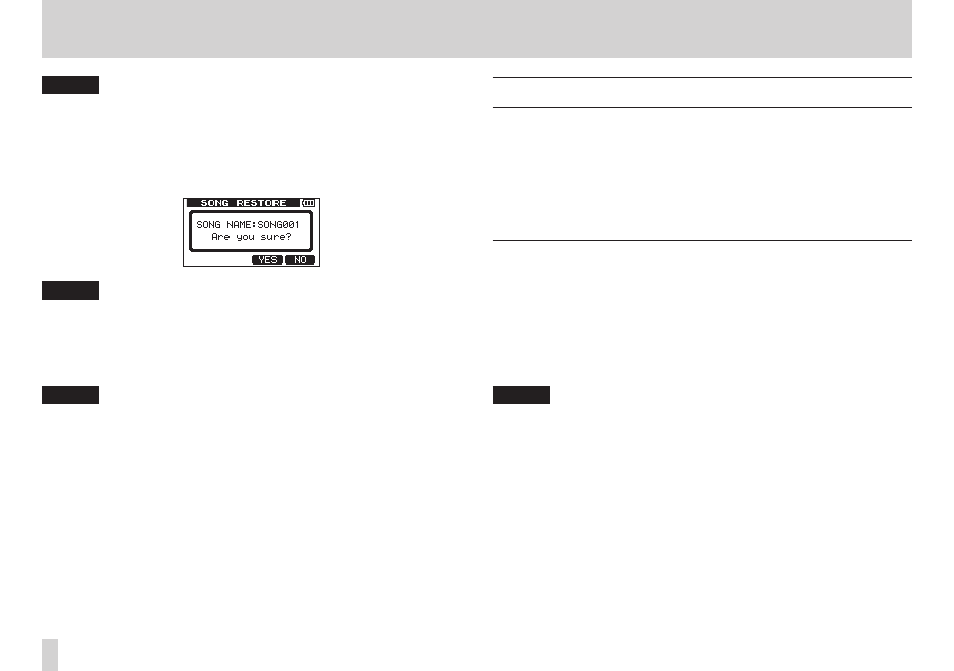
7. Use the DATA wheel to select (highlight) the file that you want to restore,
and press the F2 [EXEC] button.
The actual song name and an Are you sure? confirmation pop-up
message appear.
NOTE
If the file name is short, spaces appear after the file name on the FAT
partition, but those spaces are not included in the actual file name.
8. Press the F3 [YES] button.
After the currently loaded song is saved, the song selected in step 7 is
restored and loaded.
NOTE
If there is not enough open space on the SD card, a Card Full pop-up
message appears.
9. Press the HOME button to reopen the Home Screen.
Track import and export
You can import and export individual tracks between a computer and this
unit’s FAT partition.
Files that can be imported/exported as tracks must be in the WAV format (with
the “.WAV” extension).
You can import and export both mono and stereo files.
If you want to import an audio file that is of a different format, you must first
convert it to a 16-bit, 44.1kHz mono/stereo WAV file.
Importing to tracks
Before importing a track, first select the partition with the song that you want
to import it into as the active partition. Then, load the song that you want to
import tracks into. (See “Selecting the active partition” on page 45.)
1. Connect the unit to a computer using the included USB cable. (See
“Connecting with a computer” on page 84.)
2. Use the computer to copy WAV files on its drive to the WAVE directory in
this unit’s FAT partition.
NOTE
The files to be copied must have single-byte alphanumeric character
names(8 characters or less). If you try to copy a file with double-byte
characters, it cannot be imported because the file name will not appear on
the display in step 6 below.
3. After you have imported the track files from the computer, remove the
USB cable using the proper procedures and disconnect the unit from the
computer. (See “Disconnecting” on page 85.)
4. After this unit restarts automatically, press the MENU button to open the
MENU
screen.