Casio XJ-A142 User Guide User Manual
Page 44
44
To project Windows computer screen contents over a USB
connection for the first time
1.
Press the [INPUT] key. This will display the “Input” dialog box.
2.
Use the [
T] and [S] keys to select “USB Display” and then press the [ENTER]
key.
z This will cause the USB Display standby screen to be projected.
3.
While your computer is running, use a commercially available USB cable to
connect the projector’s USB-B port (Micro USB B type) to your computer’s USB
port.
z The location of the USB-B port of this projector is indicated by “*
2
” in the illustration under
“Connecting Projector Cables” (page 11).
z This will mount the projector onto your computer as a virtual CD-ROM drive, which is
represented by a “USB_DISPLAY” drive icon on your computer’s desktop.
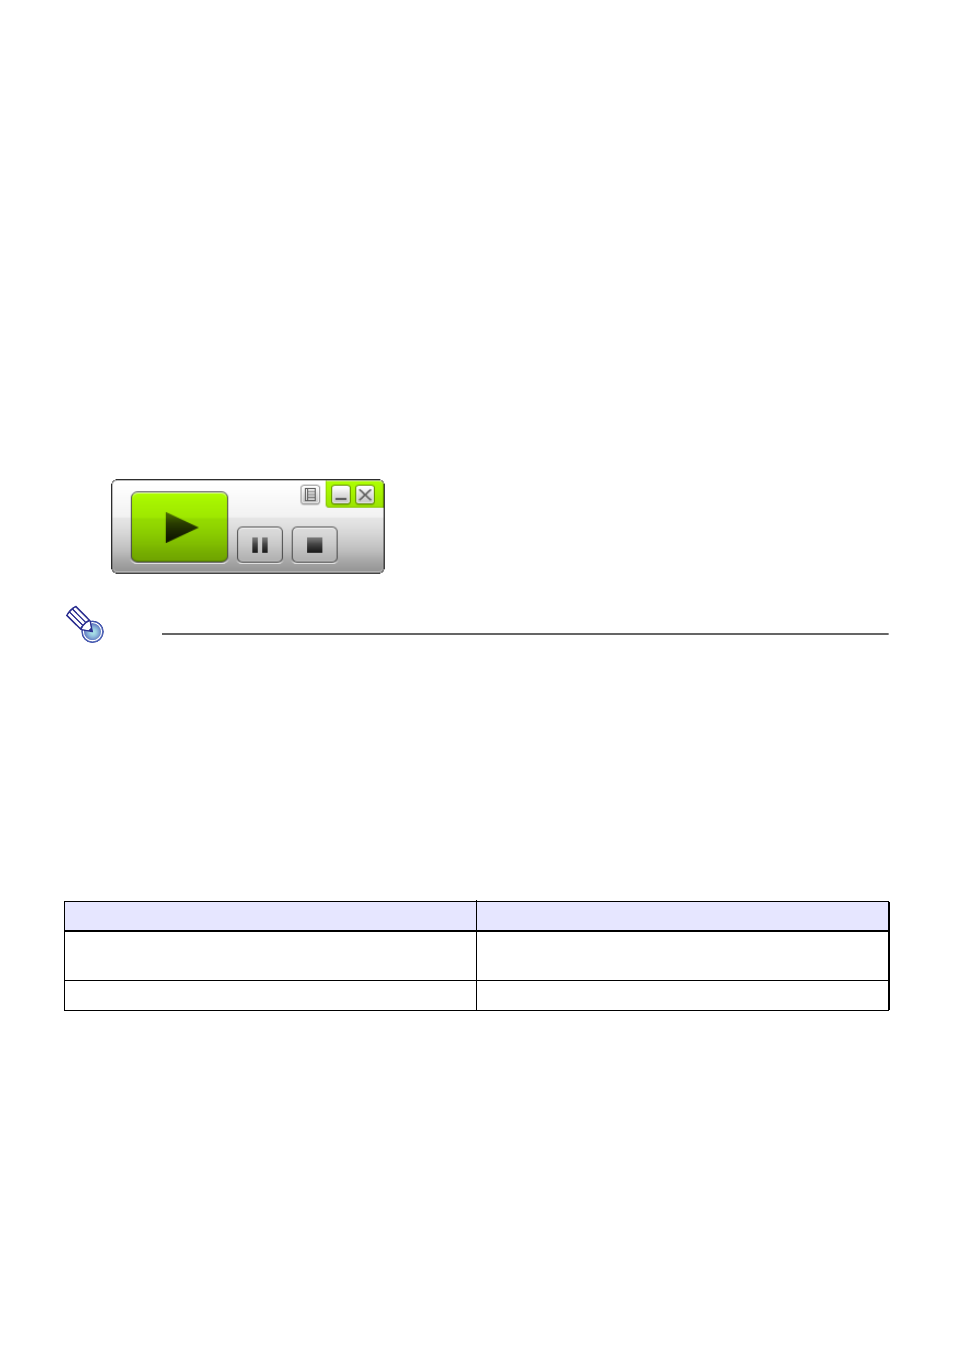
z CASIO USB Display will start up automatically and display a window like the one shown below
on your computer. Projection of the computer screen contents will also start at the same time.
Note
z If CASIO USB Display does not start up automatically, use Explorer to navigate to the
USB_DISPLAY drive. Right-click the drive and then click “Auto Play” on the menu that
appears.
z For information about the types of operations that can be performed at this point, see
“Supported Operations during Projection over a USB connection” (page 46).
Add-on Driver Software for Windows
With Windows, use of some functions of the CASIO USB Display requires installation of the driver
software shown in the table below. For information about how to obtain this software, go to the CASIO
website (http://www.casio-intl.com/support/).
To use this function:
Install this driver software:
Audio output function
VAC driver (for Windows XP version that does not
support audio level mixer functions)
Extended screen output function
VDD driver (for Windows XP and Windows Vista)