TA Triumph-Adler P-C3570DN User Manual
Page 185
4-112
Using the Operation Panel
6
Enter the new account ID. Use or to select a number and then
press [OK] to enter the number. You can go back one character by
pressing [Bckspace] ([Left Select]).
This message appears if the account ID has already been registered.
7
Press [Enter] ([Right Select]). When account ID editing ends, you
are returned to the Detail/Edit menu.
8
To place printing restrictions on this account, press or to select
Restrict.(Total) and then press [OK].
The Restrict.(Total) screen appears.
• Off
• Counter Limit
• Reject Usage
9
Press or to select a setting and then press [OK]. When the
setting has been completed, the Detail/Edit menu screen
appears.
10
When Counter Limit is set for Restrict.(Total) in step 9, set
the limit on the total number of pages that can be printed using this
account. Press or to select Limit(Total) and then press
[OK]. The Limit(Total) menu screen appears.
IMPORTANT Limit(Total) is displayed when Counter Limit
is set for Restrict.(Total).
11
Enter the limit you want to set for this account. Use or to select
a number and then press [OK] to enter the number. When you have
finished, press [Enter] ([Right Select]). The Detail/Edit menu
screen appears.
Press or to increase or decrease, respectively, the value at the
blinking cursor.
Use and to move the cursor right and left.
After you have entered the limit on the number of pages, press [OK].
The setting is stored and the Detail/Edit menu reappears.
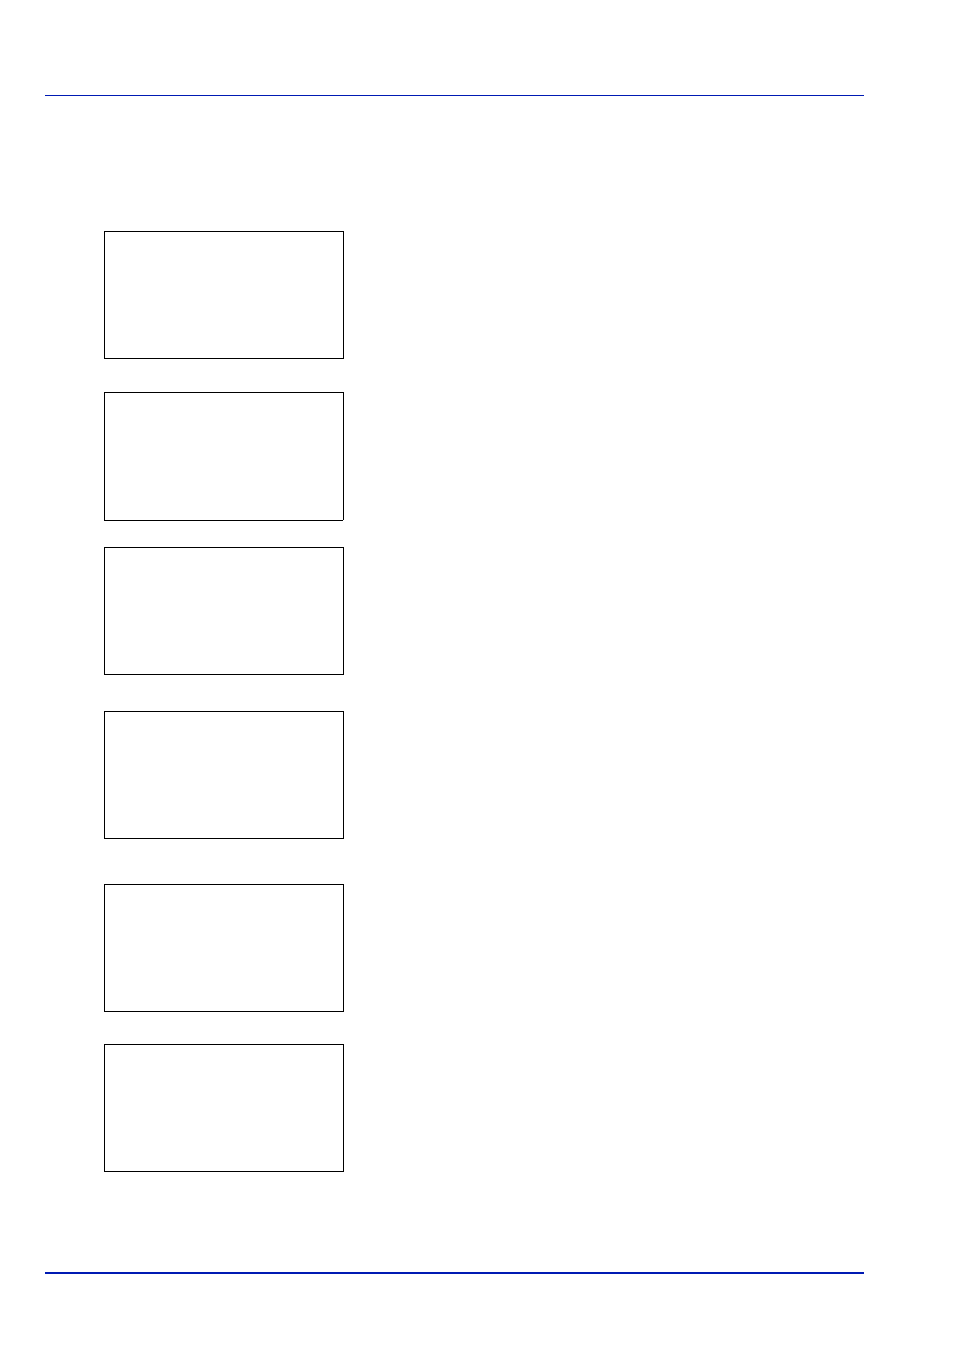
This account ID is
already registered.
Detail/Edit:
a
b
1 Account ID
2 Restrict.(Total)
3 Limit(Total)
Restrict.(Total): a
b
1 *Off
2 Counter Limit
3 Reject Usage
Detail/Edit:
a
b
1 Account ID
2 Restrict.(Total)
3 Limit(Total)
Limit(Total):
a
b
(1 - 9999999)
/1000000-pages
M
Detail/Edit:
a
b
1 Account ID
2 Restrict.(Total)
3 Limit(Total)