Myqnapcloud, Getting started, Account setup – QNAP TVS-472XT 4-Bay NAS Enclosure User Manual
Page 323: Creating a qnap id with email or phone number
7. myQNAPcloud
myQNAPcloud is a service that allows you to access, manage, and share files stored on your QNAP devices
remotely through the internet.
Getting Started
1. Create a QNAP ID.
For details, see
Creating a QNAP ID With Email or Phone Number
.
2. Register the device to myQNAPcloud.
For details, see
Registering a Device to myQNAPcloud
3. Optional: Configure any of the following settings.
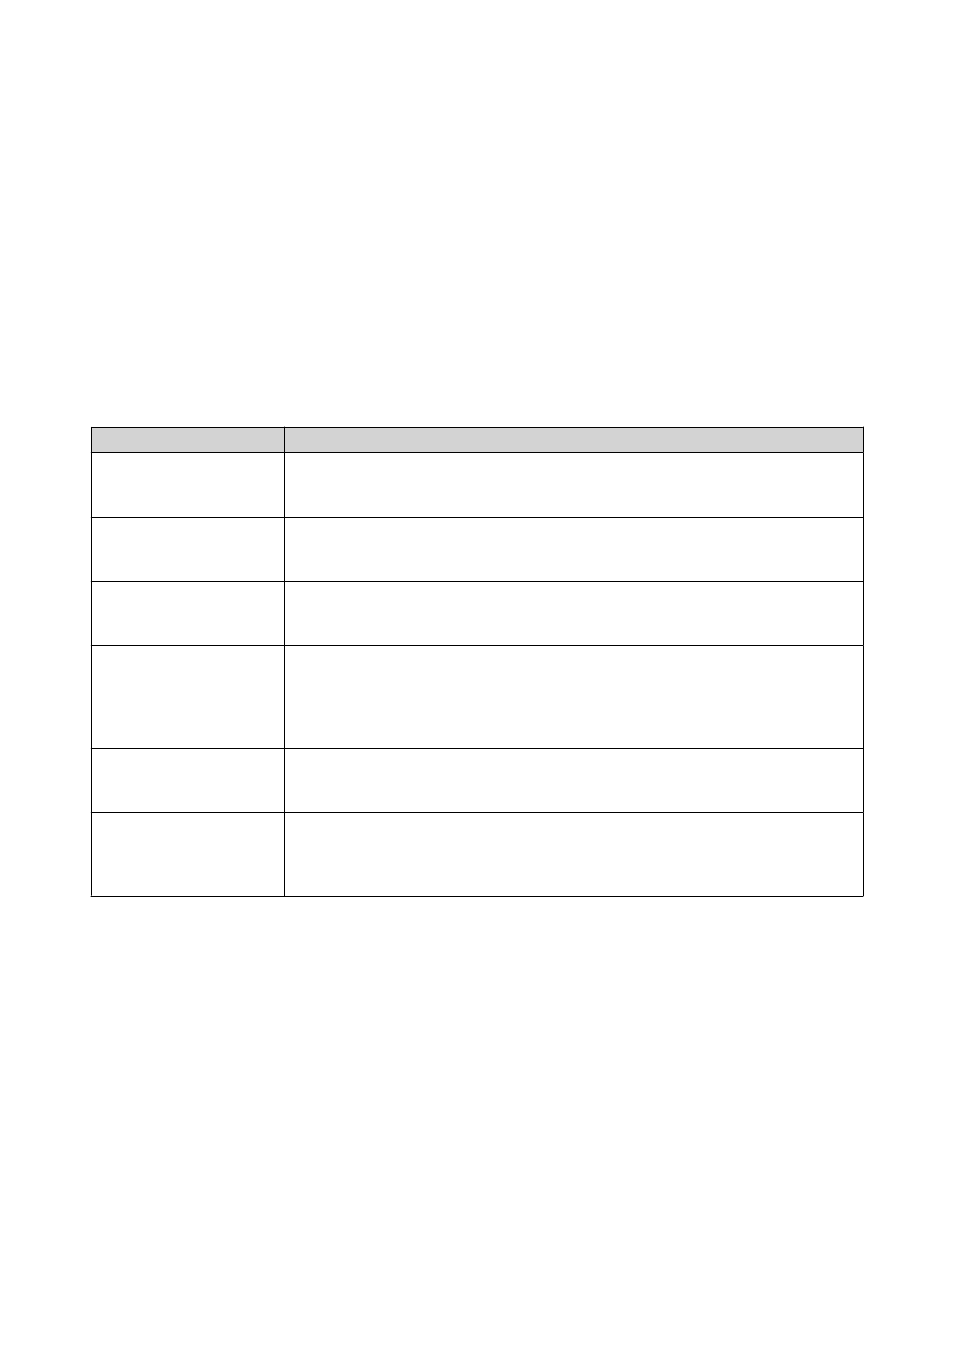
Settings
Description
Port forwarding
Port forwarding allows you to access your device on the internet through a
UPnP router.
For details, see
My DDNS
My DDNS allows you to specify a dedicated myQNAPcloud subdomain name
that you can use to access your device on the internet.
For details, see
Published services
You can publish QNAP services on your device, such as the QNAP desktop and
File Station, so they can be accessible on myQNAPcloud.
For details,
Configuring Published Services
myQNAPcloud Link
myQNAPcloud Link allows you to access your device on the myQNAPcloud
website or through mobile apps and client utilities without changing your
router settings. Using shared links, you can also simultaneously download and
sync files to a remote NAS without needing to first save them to client device.
For details, see
Access controls
Access controls allow you to configure device access permissions for
myQNAPcloud users.
For details, see
Configuring Device Access Controls
.
SSL certificates
myQNAPcloud allows you to add SSL certificates to help secure your network
communication. You can either download and install a myQNAPcloud or Let's
Encrypt certificate.
For details, see
Account Setup
Creating a QNAP ID With Email or Phone Number
1. Go to
.
The QNAP Account login page displays.
2. Click Create Account.
The Create Account screen appears.
3. Specify a nickname, a valid email address or phone number, and a password.
4. Read and acknowledge the Terms of Service and Privacy Policy.
5. Click Sign Up.
The Data Privacy Notice box appears.
QTS 4.4.x User Guide
myQNAPcloud
322