Downloading the .xcg identification file, Ownloading the, Xcg identification file – CIRCUTOR CIRe3 Series User Manual
Page 19
CIR-e
3
Instructions manual
Pag. 19 of 50
The undersigned can exert their right to access, rectification, cancellation and objection of the
mentioned data at any time by writing to the address of the file's manager, CIRCUTOR, S.A.,
Vial Sant Jordi, s/n, 08232 de Viladecavalls (Barcelona).
After filling in the form, the user has to accept the conditions for use and click on “Create user”
to validate the data and register the new user.
This is when the user is created with the registration form and already has access to the CIR-
e³Web page. You will be able to send a maximum of 10 files and access the page an unlimited
number of times to check and handle the information sent to the server.
Select “Cancel” to stop the user registration process and the application will return to the
previous screen.
6.2 Downloading the .xcg identification file:
Once the registration is complete, the data will be submitted to the web application semi-
automatically. To do that, the SD card must have a file that is used by the system to know the
address to send data and the Web space (user area) where the information must be located.
Therefore, once the user has created the identification file and has been registered in the web
system, he must download, from the Web, the file that will identify him during subsequent logins
and which will be used to send data to the right server and user area. The downloaded file that
identifies the user's ID and the recording address, must be stored in the SD card. The file has
.xcg extension.
From this point, the files generated by CIR-e³ and sent by the user will be automatically sent to
and they will be located in the corresponding user space, in order to
allow the user to access the data sent and display them in the graphs or tables provided by the
Web page.
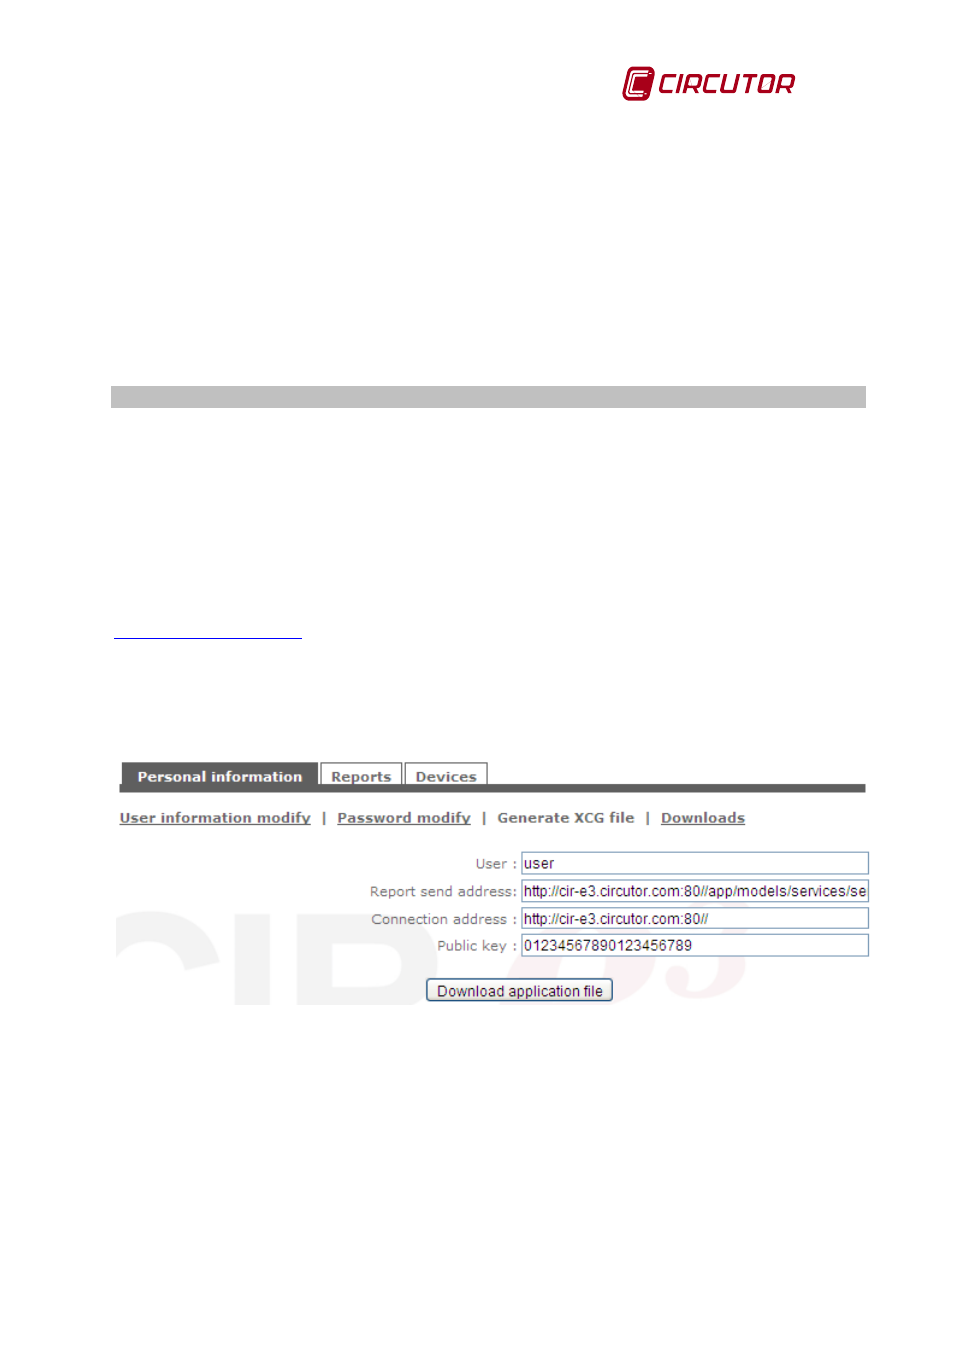
To generate and download the xcg file, access the Web page and fill in the “login” and
“password” fields. Open the menu in the “Personal information” and select the tab called
“Generate XCG file”, see Fig. 6-4.
Fig. 6-4.- XCG file generation
The information displayed on the screen is generated automatically, absorbing the data entered
by the user during his registration. You must NOT modify the data shown on the screen to
prevent future errors when transferring files or preventing user identification errors in the
CIRe³Web application.
User:
User name
Address:
Web space address destined to the user
Connection address:
Connection address of the data server
Public key:
Data encryption key