Televes HD DTT STB TV on demand access ZAS Hbb User Manual
Page 49
49
EN
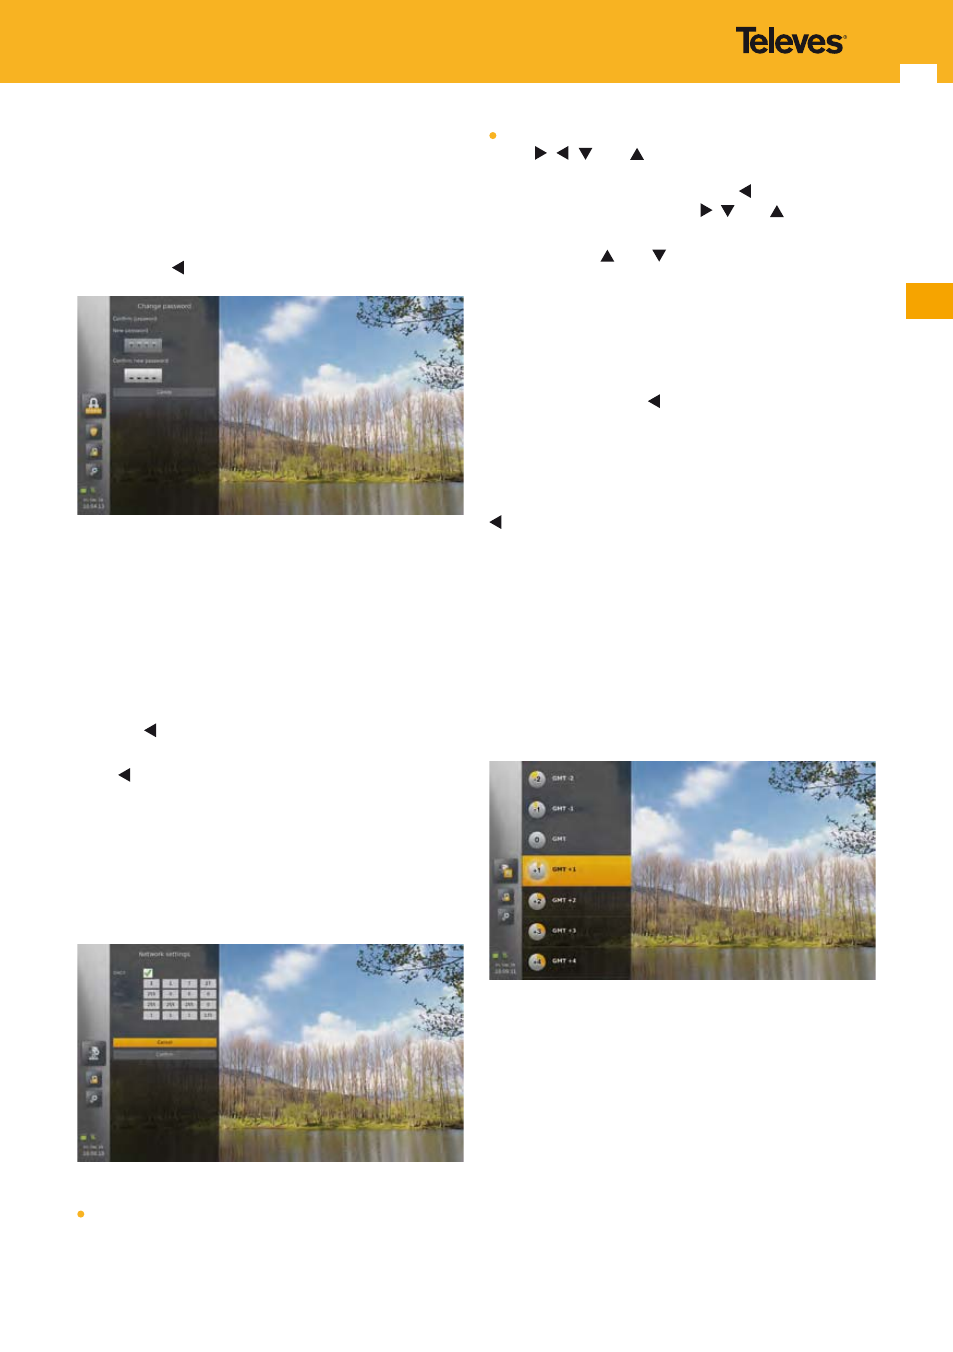
15.6.1.3 Change password
Note: Default password is “1 2 3 4”.
This screen allows you to change the password value. The
same unique password of 4 digits is used for all protected
actions with the adapter interface.
Use the numeric keys of the remote control to set the value.
Use left arrow key to remove last digit entered.
Once you have entered the new password in the first
edition box, the focus is automatically set to the second
edition box to enter it a second time.
In case of error or invalid value (“0000” for instance) you can
choose to try again or to cancel.
In case of success, a message is displayed indicating that
the password was changed with success, and you can go
back to the previous menu using the “Close” button or the
left arrow key.
Note: When both edition boxes are empty, pressing left arrow
key goes back to previous menu.
Note: As long as the password was not entered twice, you can
cancel the change by selecting the “Cancel” button.
15.6.2 Network configuration
This screen allows you to configure your internet
connection.
The screen is a form made of the following elements:
A check box. Check it (using OK key) to specify that you
want to use DHCP (default). In this case, the other fields
(IP, Mask, Gateway and DNS) are not accessible anymore.
4 numeric fields IP, Mask, Gateway and DNS. Use arrow
keys , ,
and to navigate in the fields and the
numeric keys of the remote control to set the values.
While setting a value, use left arrow key to remove last
digit entered, use arrow keys ,
and or OK key to
validate a value.
Use arrow keys and
to move among the different
elements of the form, then confirm or cancel your changes
by pressing OK key on “Cancel” or “Confirm” buttons.
If the form is empty, by default the focus is positioned on
the check box. Otherwise it is on the “Cancel” button.
When the focus is on the check box, on the “Cancel” or
“Confirm” buttons, or on the numeric fields when they are
all empty, use left arrow key to go back to previous menu
without changes.
If DHCP is selected when you confirm, in case of success,
the fields IP, Mask, Gateway and DNS are updated with the
values allocated to the adapter, and you can go back to the
previous menu using the “Close” button or the left arrow
key.
If DHCP is not selected when you confirm, in case of
success, you go back automatically to the previous menu.
Note: This setting is not impacted by a factory reset.
15.6.3 Time zone
This setting allows you to change the time zone specified
during first time installation.
Possible values are from GMT -12 to GMT +14. By default
the focus is on the offset corresponding to the current date.
15.6.4 Channels search
Through this menu, you can execute a new scanning.
The sequence of screens (and the associated actions) is
similar to one displayed during the first time installation
(see “Installation Wizard” section).