Hardware setup, Etermining the, Ddress – JLCooper Eclipse Ethernet 2.6 for OSX User Manual
Page 13
Hardware Setup
Eclipse Series modules with Ethernet need to have their IP address, subnet mask and
port set so that they are able to communicate on your network. Most of the following
setup information applies to all Eclipse Series modules that can operate standalone with
an Ethernet connection, such as the Eclipse CX, Eclipse CX Midnight, Eclipse SX
Midnight, and Eclipse MX-SA. For convenience, Eclipse will be used to refer to any of
these modules, except when the setup information is different for a particular module.
First, plug an ethernet cable into the back of the Eclipse then connect the other end of
the cable either directly to your Mac or to a router, switch or hub connected to your Mac.
If your Mac has two ethernet ports, use the first one. Turn on the Eclipse.
Determining the Mac’s IP Address
The IP Address consists of four groups of numbers separated by periods. Each number
can be 1 to 3 digits, with a maximum value of 255, as in 192.168.1.6.
On your Mac, open the System Preferences, either from the Dock or from the Apple
Menu. Click on the Network icon.
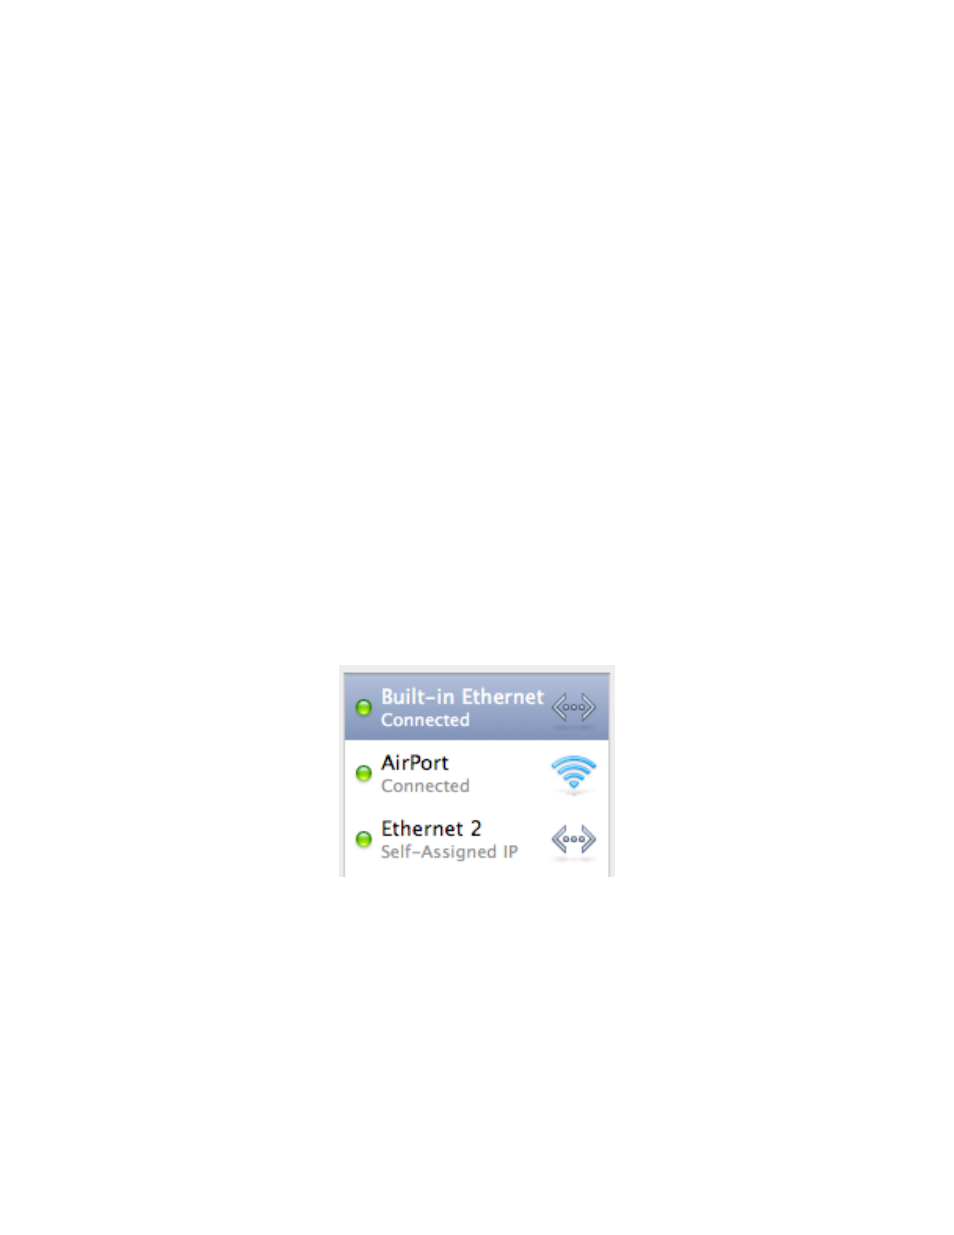
On the left side of the window find and select the ethernet port. If your Mac has two
ethernet ports the first port (which is the one you should be connected to) will probably
be referred to as Built-in Ethernet.
Eclipse Ethernet Software
10