MacroSystem PIP-Studio User Manual
Page 11
1 . 7
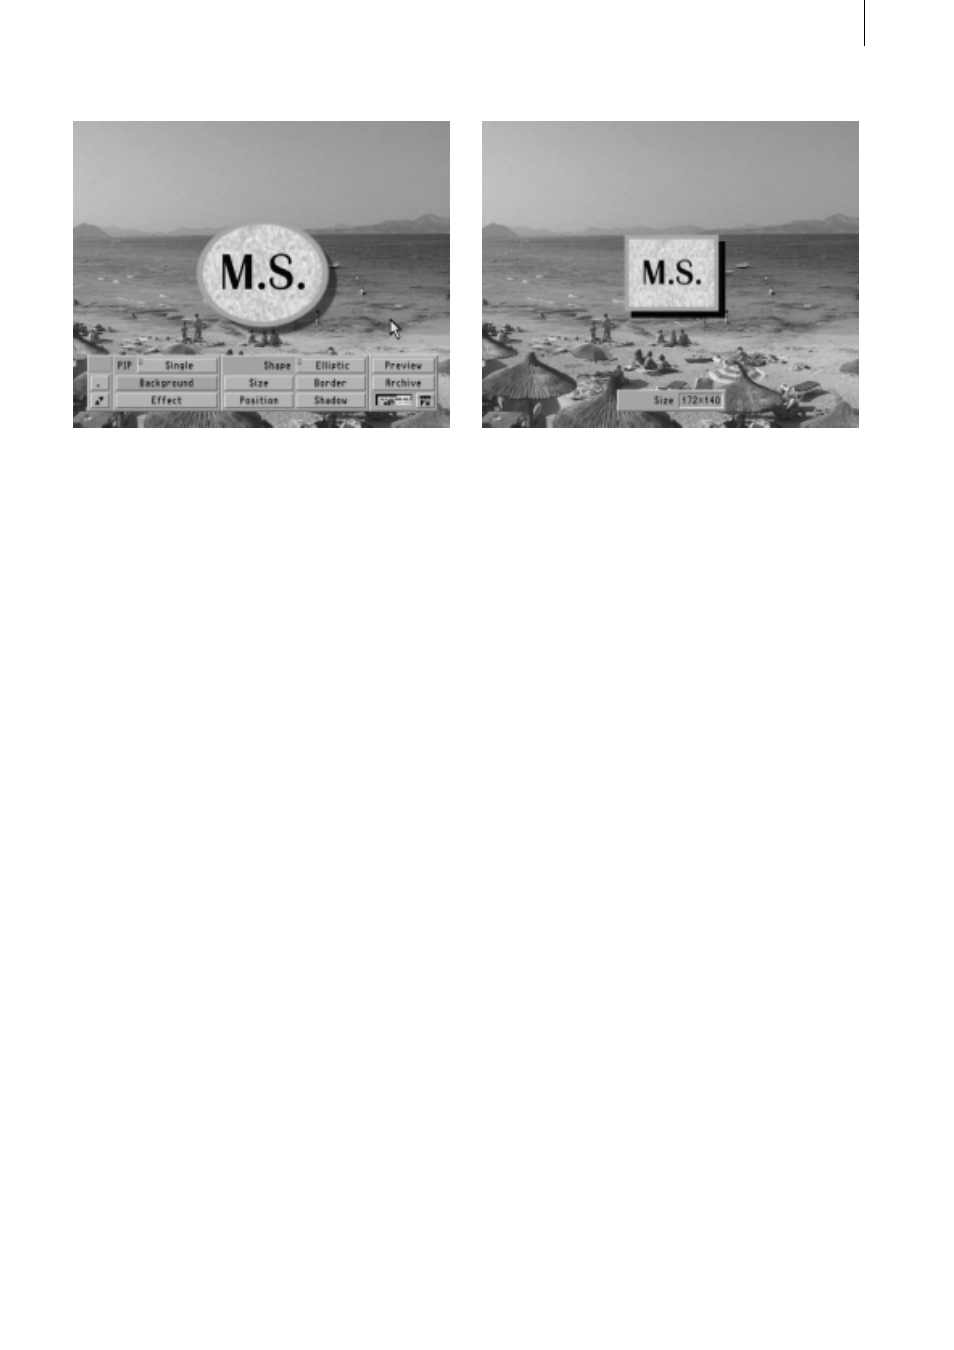
Next, click on Size to turn off the toolbar so
you can read the size in pixels at the bottom
edge of the screen. The size ranges from
0 x 0 to 636 x 520.
You will no doubt have noticed that your logo
is now framed by a rectangle again. This will
only happen (for technical reasons) whilst
you are changing various settings – thereaf-
ter it will of course return to the shape that
you selected.
Now move the trackball and you will notice
the little box containing your logo moves as
well. If you roll the trackball to the right the
little box increases in size, if you roll the
trackball to the left it shrinks.
After you have set the required size (let us
take, for instance, the size 172 x 140), click
on the left trackball button to confirm the size
setting and return to the toolbar. (Although
you can also return to the toolbar by pressing
the right trackball button, your size settings
will, however, not be applied.)
The logo is now framed again by an ellipse.
Since your logo is still located in the center of
the video footage picture, now click on the
Position button.
The toolbar is turned off and you will see the
coordinates at the bottom edge of the screen
(please note that the coordinates refer to the
center of the PIP).
Now position your logo in the top left corner
but make sure that you don’t move it too far
off the edge of the screen! (If this does hap-
pen, however, the screen display changes
and you will see a gray area.)
Since we won’t be going into this function in
this tutorial, move your ellipse back into the
displayed background picture. (Further infor-
mation on this function can be found in Tuto-
rial 6.)