MacroSystem PIP-Studio User Manual
Page 18
3 . 2
select the twelfth pattern in the list (Color:
White, Mode: Positive). Once you’ve set the
background picture, close the Select Pattern
window by clicking on “OK.“ You’ll see that
the background is no longer black, but now
has a marbled pattern. You can now move on
to configuring the other settings. Define the
shape of the first scene by clicking on
“Shape“ and selecting “Circle.“
Next, click on the Size button and select the
636 x 520 setting. You can then click on the
“Position” button to set the position of the
bride and groom scene to 468, 320. You will
now see your second PIP again in the top
right corner.
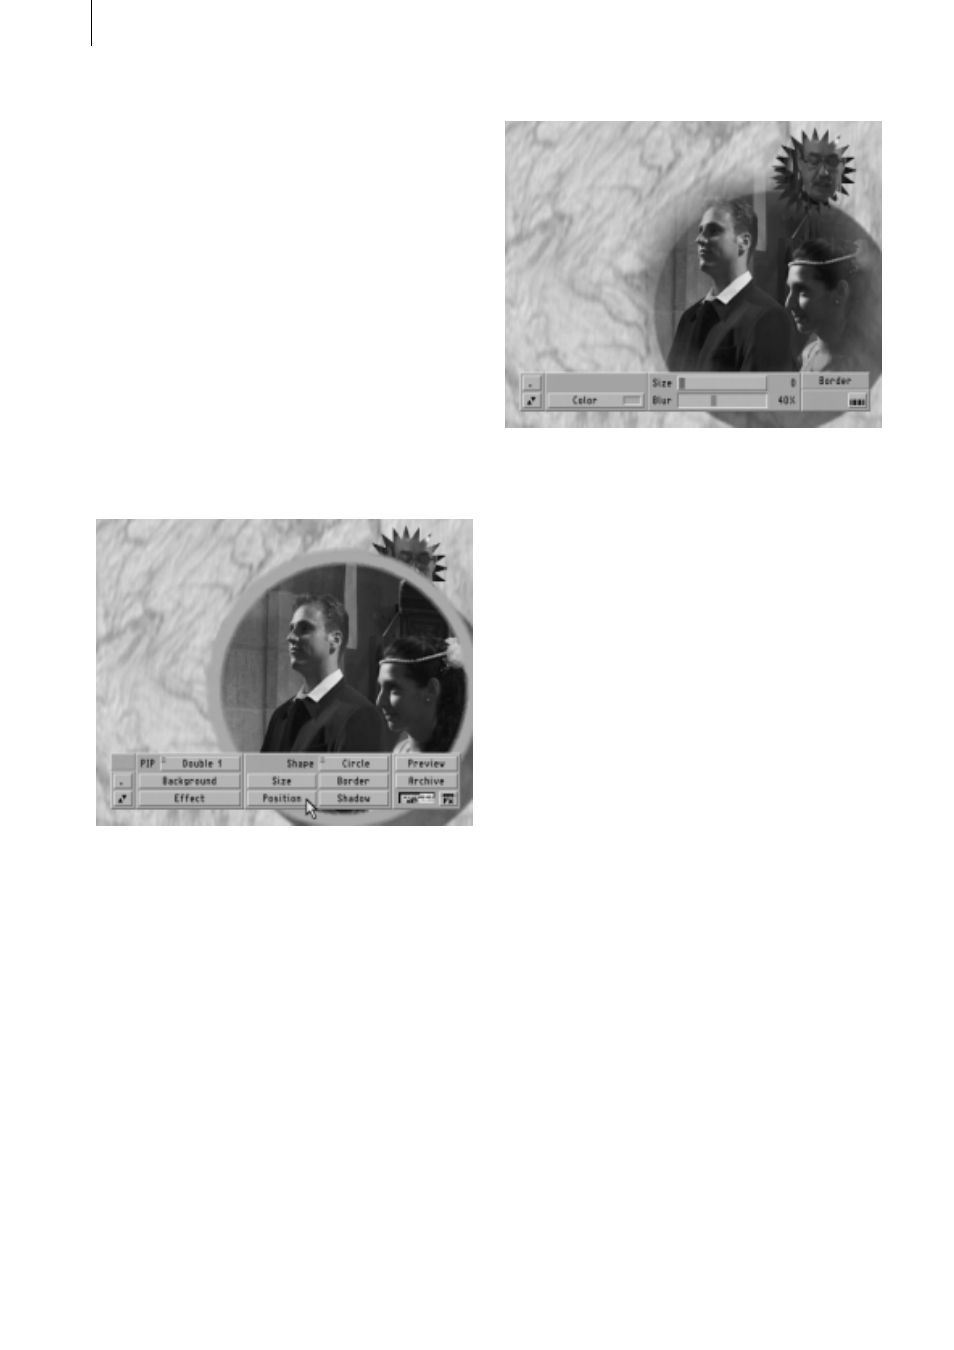
Now you’re going to configure the Border
setting. Since we won’t be placing a border
around the video scene, you should set the
Size to 0. In this case, the Color setting is
irrelevant. You can, however, use the Blur
button to adjust the contour of the scene’s
edge. In this tutorial, set it to 40%.
Since you won’t be applying a shadow in this
tutorial, set the distance to 0 in the Shadow
menu. The remaining settings in this menu
(direction, color and blur) are irrelevant, so
you can leave the current settings as they
are. Close the Shadow menu.
Once you’ve finished configuring the settings
for the first scene and positioned it in the
bottom right corner, you can proceed to the
second scene. Click on the PIP button and
select “Double 2.” In a moment you’ll see the
scene of the priest brought into the fore-
ground, thus allowing you to edit it.
Click on “Shape” for this scene and select
“Elliptic.”