MacroSystem PIP-Studio User Manual
Page 12
1 . 8
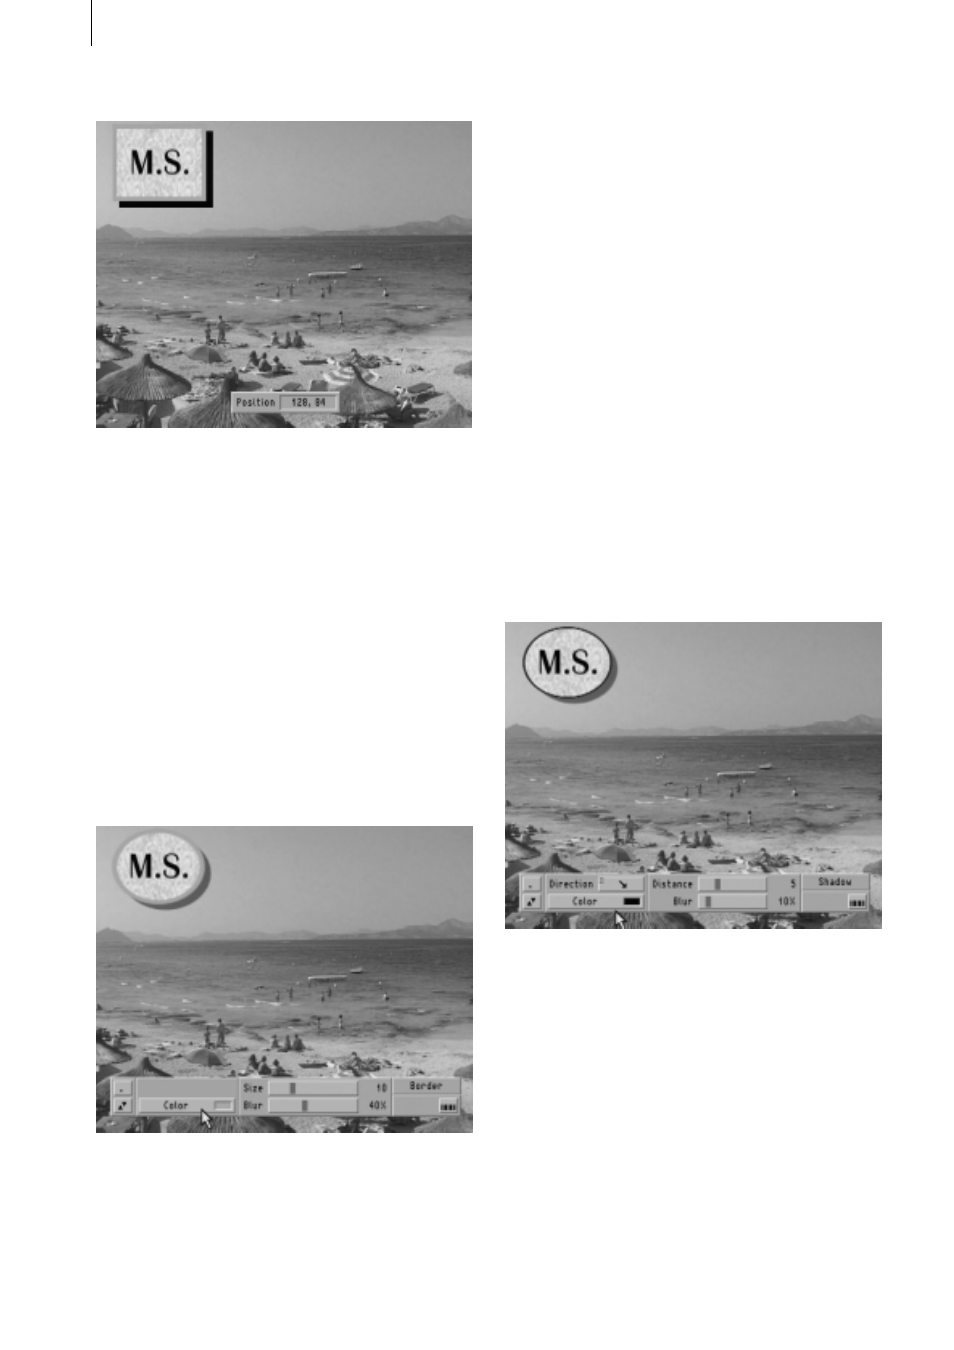
Once you have found the right position for
your logo (e.g. at the coordinates 128, 84),
confirm it by pressing the left trackball button
and the toolbar is turned on again.
Now you have already placed your elliptically
shaped logo in the top left corner and config-
ured its size settings. The next button is
labeled “Border.” Click on it to replace the
existing toolbar with a new one. This new
toolbar contains settings that refer to the
border that is displayed in the top right corner
of the toolbar.
You will now see the Color button. Click on it
and open the color box.
Select the color blue with an alpha value of
100% (i.e. not transparent) and confirm these
settings. Now click on the next button (Size)
to activate the slider control.
As you can see, you can adjust the thickness
of the border to between 0 and 40. Select a
setting of 5 here.
Finally, you can see the Blur button, which
allows you to set the edge blur to between 0
and 100%. Simply select any setting you like
or leave the default setting as it is.
Once you have made your settings changes,
you can leave this toolbar by pressing the
button in the bottom right corner and return
to the original toolbar. You can now select the
Shadow button which in turn opens a new
toolbar dealing with the shadow settings.
The first button in this toolbar is labeled
“Direction“. Click on it to display a selection
of 8 directions. Select the fifth in the list, i.e.
the one pointing downwards. You can then
open the color box again using the “Color“
button and select the color black. You can
configure the transparency here as well –
this time select an alpha value of 50%.
Using the next button labeled (Distance), you
can determine how long the shadow should
be beginning from the edge of the logo.
Select a value of 5 here.