MacroSystem PIP-Studio User Manual
Page 26
5 . 2
You’ll see your background picture without
the PIP (e.g. image of your car) superim-
posed on it (unless, of course, the PIP button
was activated).
Instead of the PIP, you now see either one or
two small dots. Depending on the effect
(Fade, Zoom, etc.) you selected in a previous
exercise, the display will be modified by that
effect in this menu. If you only see one dot, it
will be green in color and will be located in
the same position at which you previously
placed your PIP. If you see two dots next to
one another, the active dot is green and the
other is yellow
.
If you worked through our tutorial exercises
in the order in which they were presented,
you’ll see two dots displayed one on top of
the other. You can recognize that this is the
case by looking at the slider control on the
right – it is now no longer completely gray but
can be adjusted. You can decide which of the
two dots to activate using this slider or by
clicking the separate buttons next to the
slider.
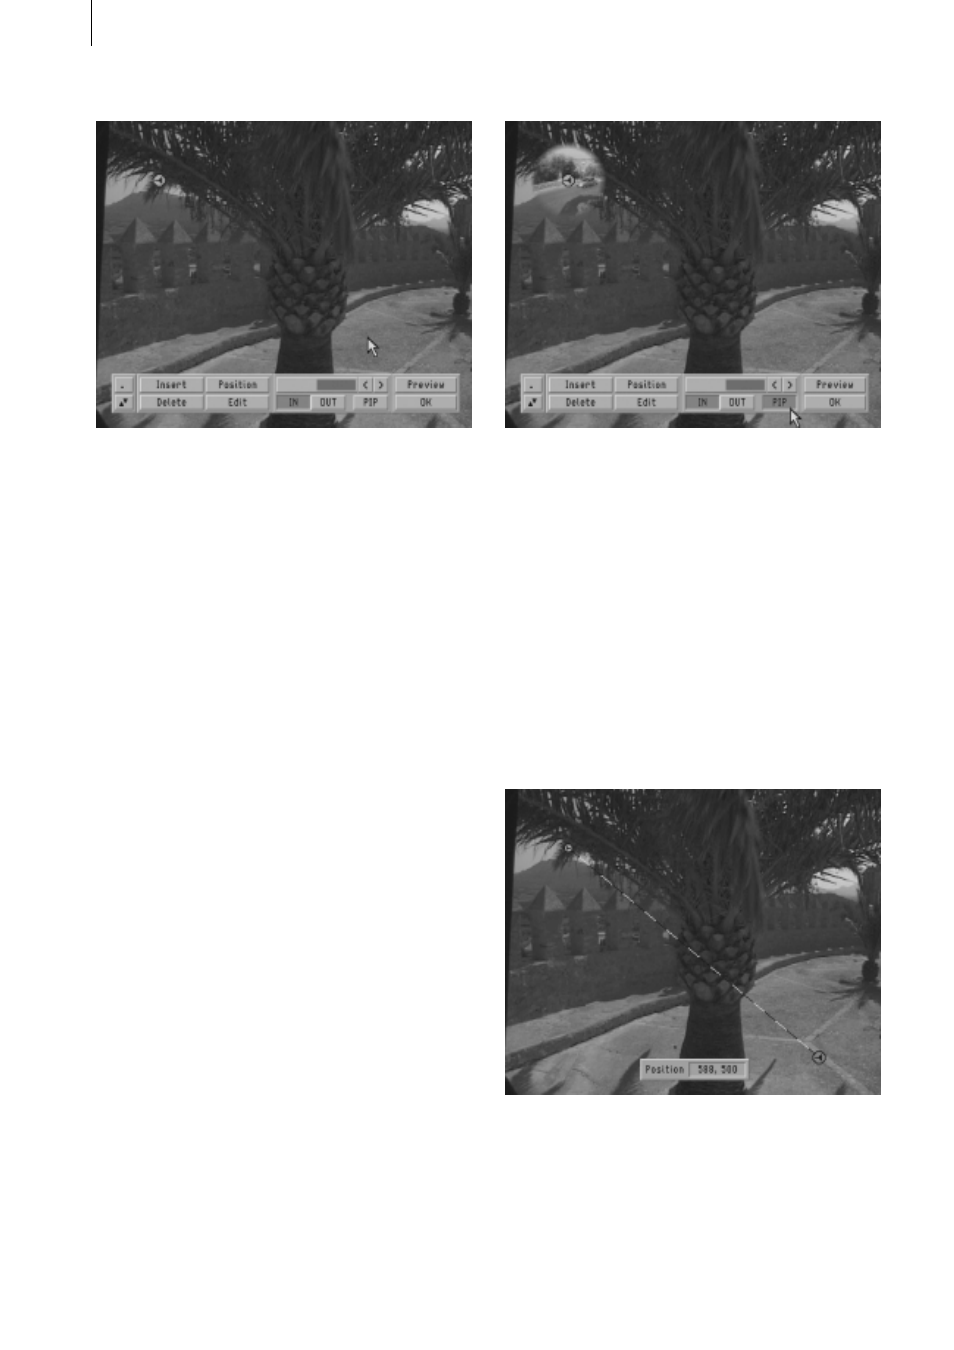
First, activate the PIP button to provide a
clearer display – your PIP will now appear
around the active (green) dot. (You can
deactivate this function by clicking on PIP
again).
You can see your video scene still in the
same position in which you previously placed
it (i.e. at the top left). If you like, you can
reposition it with the Position button or move
one of the two dots to another position. Since
the first dot is located in the top left corner,
activate the second dot and reposition it with
the Position (or by clicking on it again) in the
bottom right corner. When the dot is shown
blue it means it can be moved. The dot’s
coordinates are also displayed at the edge of
the screen.
The line indicates the path which the video
will later follow. After you’ve repositioned the
point that you selected, confirm the setting by
pressing the left trackball button.