MacroSystem PIP-Studio User Manual
Page 38
7 . 4
thinner as well. Again, the PIP is displayed
as a rectangle while the size setting is being
configured.
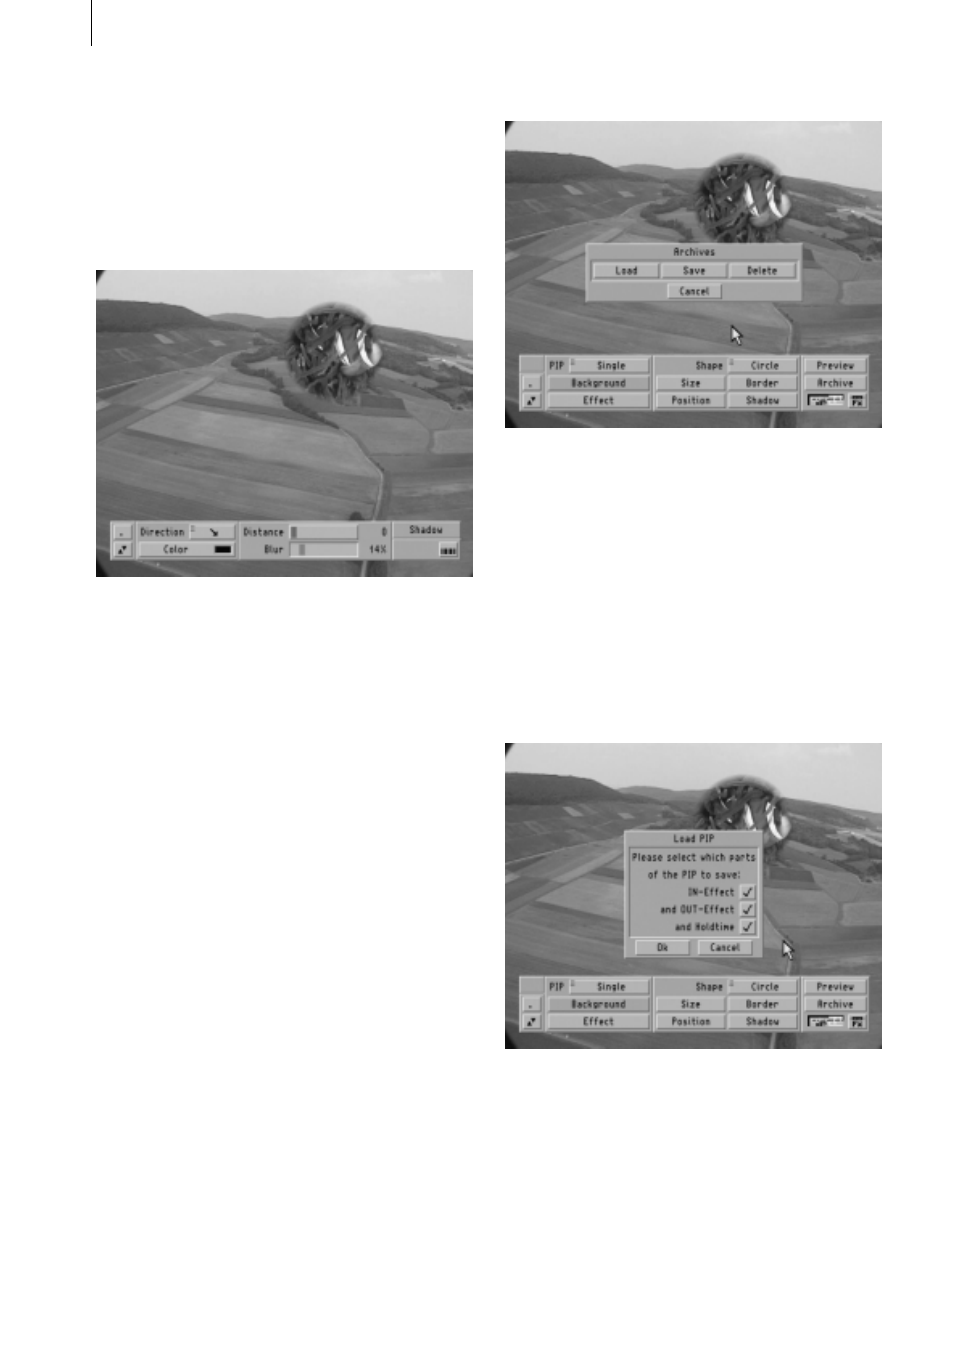
7.) Shadow: If you click on this button a new
toolbar will appear.
Here you are given the option of setting a
Direction (from a selection of eight different
ones). You can also set a Color using the
color box (including alpha value and archive).
In addition, this toolbar allows you to set the
Distance of the shadow from the PIP using
the slider control (between 0 and 20). In this
case too, the PIP is displayed as a rectangle
while its settings are being configured. The
Blur can be set to a value between 0 and
100%.
8.) Preview: If you click on this button you will
be shown a preview using the settings that
you have configured so far. You can also
view this preview from the Transition Effects
screen, though to do so you must first close
the PIP-Studio program.
9.) Archive: If you click on this button you will
be presented a selection of four familiar
functions: Load, Save, Delete and Cancel.
If you click on Load, a window appears which
you will not yet be familiar with: Load PIP.
Here you have the option of deciding which
of the PIP’s components (fade-IN, fade-OUT
or hold-time) should be loaded. You can of
course activate all three items if you wish.
Simply click on the yellow field alongside the
required function so that either a dash mark
(will not be loaded) or a check mark (will be
loaded) appears.
For fade-in and fade-out, parameters such as
size and alpha value will be loaded. The
hold-time relates to parameters like the
thickness of the border or the shape. If you
confirm your selection with OK, an additional
window will appear in which the saved set-
tings are displayed and from where they can