Clip status indicators – Grass Valley EDIUS Neo 2 User Manual
Page 244
244
EDIUS Neo — User Reference Guide
Section 5 — Timeline Operations
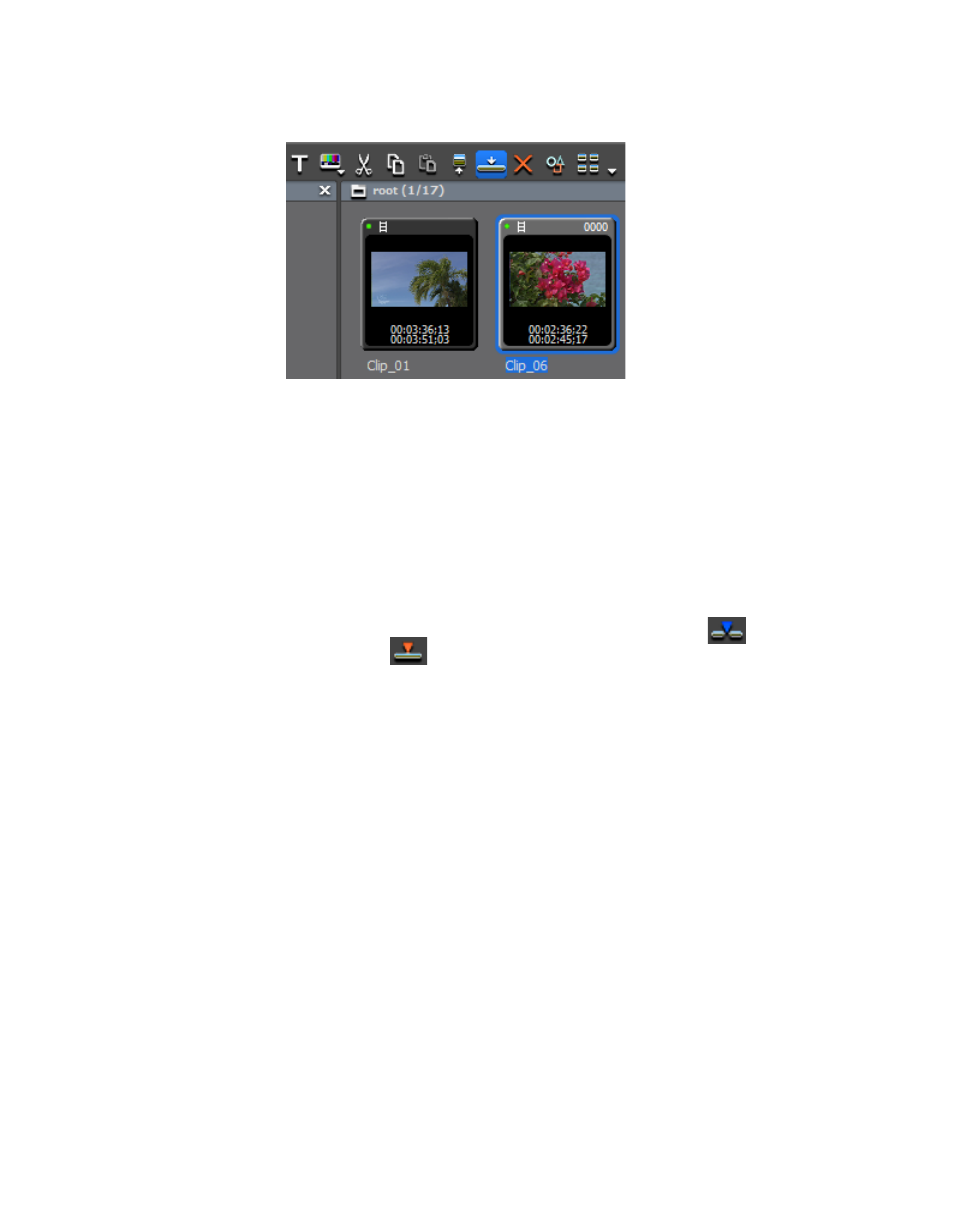
Figure 277. Asset Bin - Add Clip to Timeline
The clip is added to the Timeline at the cursor position.
Alternative Methods:
•
Press [
SHIFT
]+[
ENTER
] on the keyboard.
•
Drag and drop the clip from the Asset bin to the Timeline.
•
Right-click on a clip in the Asset Bin and select “Add to Timeline.”
•
Play the clip in the Player and drag and drop it to the Timeline.
•
Play the clip in the Player and click the
Insert to Timeline
or
Overwrite
to Timeline
button.
•
Add the video displayed in the Player to the Timeline by pressing
[E]
on
the keyboard.
•
Select a track and move the Timeline cursor to the desired clip insertion
point. Drag and drop a clip to the Recorder - the clip will also be placed
in the Timeline at the cursor position with the cursor position as the In
point.
•
Move the Timeline cursor to the desired clip insertion point. Right-click
a track (not the Track Panel) and select “Add Clip.”An “Open” dialog
appears; navigate to the source location and click the
Open
button. The
clip is placed in the Timeline at the cursor position with the cursor posi-
tion as the In point.
Clip Status Indicators
Clips placed on the Timeline may have the status indicators explained
below depending upon editing actions and other operations performed
with these clips.