Exporting a cartridge – Grass Valley PDR v.2.2 User Manual
Page 129
Exporting a Cartridge
Profile Family
111
Exporting a Cartridge
To export a cartridge is to eject or remove it from the library system:
1. In the tree pane, select the icon for the cartridge you want to export.
2. Choose
Export Cartridge
from the
File
menu, or from the shortcut menu
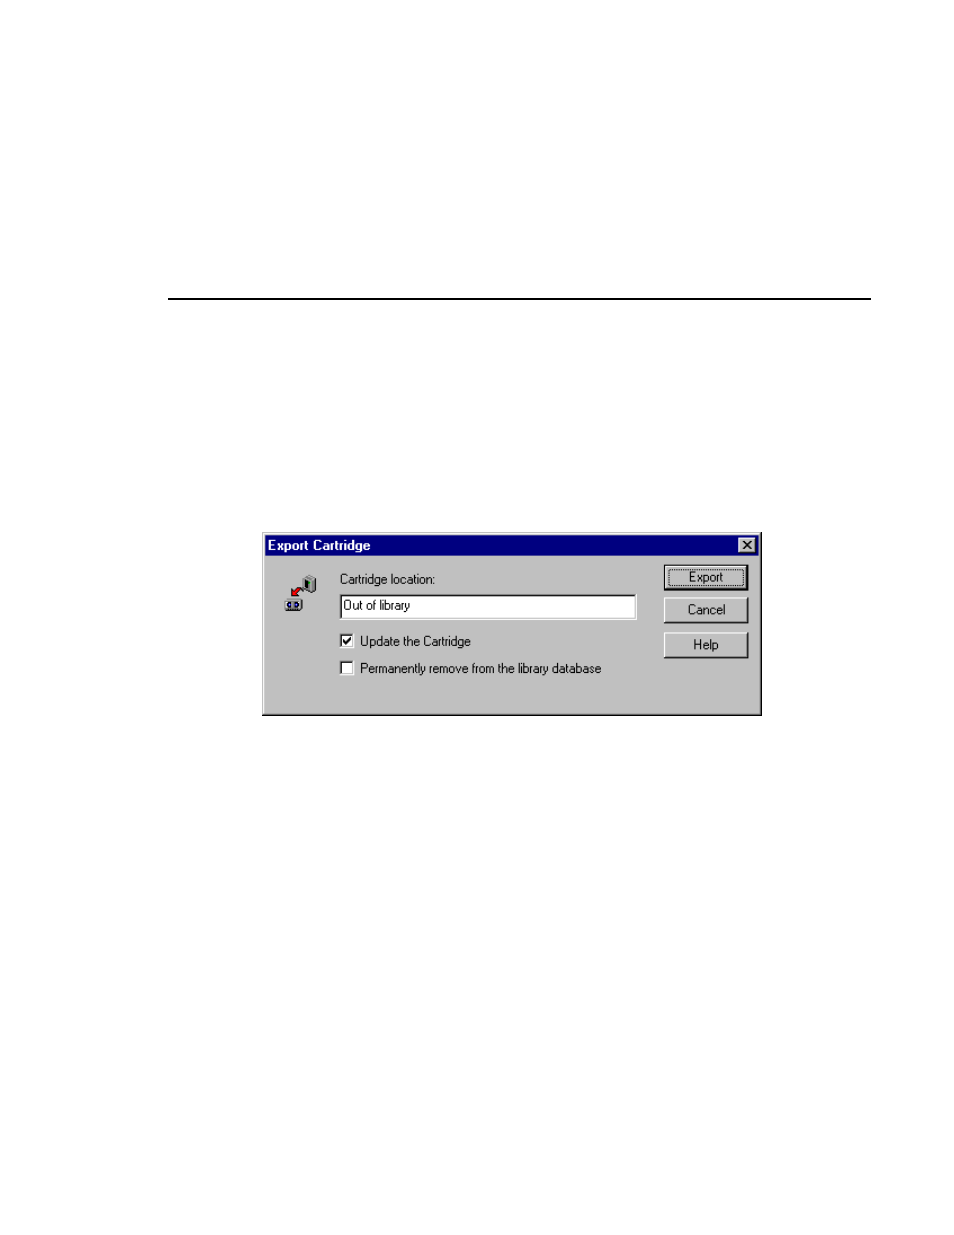
with a right-click, and the Export Cartridge dialog box appears. By default,
the cartridge location is Out of library.
Figure 59.
Export Cartridge dialog box
3. Select the appropriate box:
-
If you select
Update the cartridge
, the cartridge is loaded into a transport
and its directory is updated to reflect clip name changes or deletions. Then
the cartridge is ejected.
- If you select
Permanently remove from the library database
, all
references to the cartridge are deleted from the library database, then the
cartridge is ejected.
- If you select both boxes, the cartridge is loaded into a transport and its
directory is updated to reflect clip name changes or deletions. This
information is saved on the cartridge. Then all references to the cartridge
are deleted from the library database and the cartridge is ejected.
4. Click
Export
.
5. A prompt appears requesting that you physically remove the cartridge from
the library. Once the robot is in position and you remove the cartridge, press
any button on the library’s control panel.
6. The Exporting Cartridge dialog box remains on the screen until the robot
ejects the cartridge. Since this is done in the background, click
OK
at any
time.