Afinia H+1 3D Printer User Manual
Page 35
Advertising
2. Network Connection
Ethernet Connection
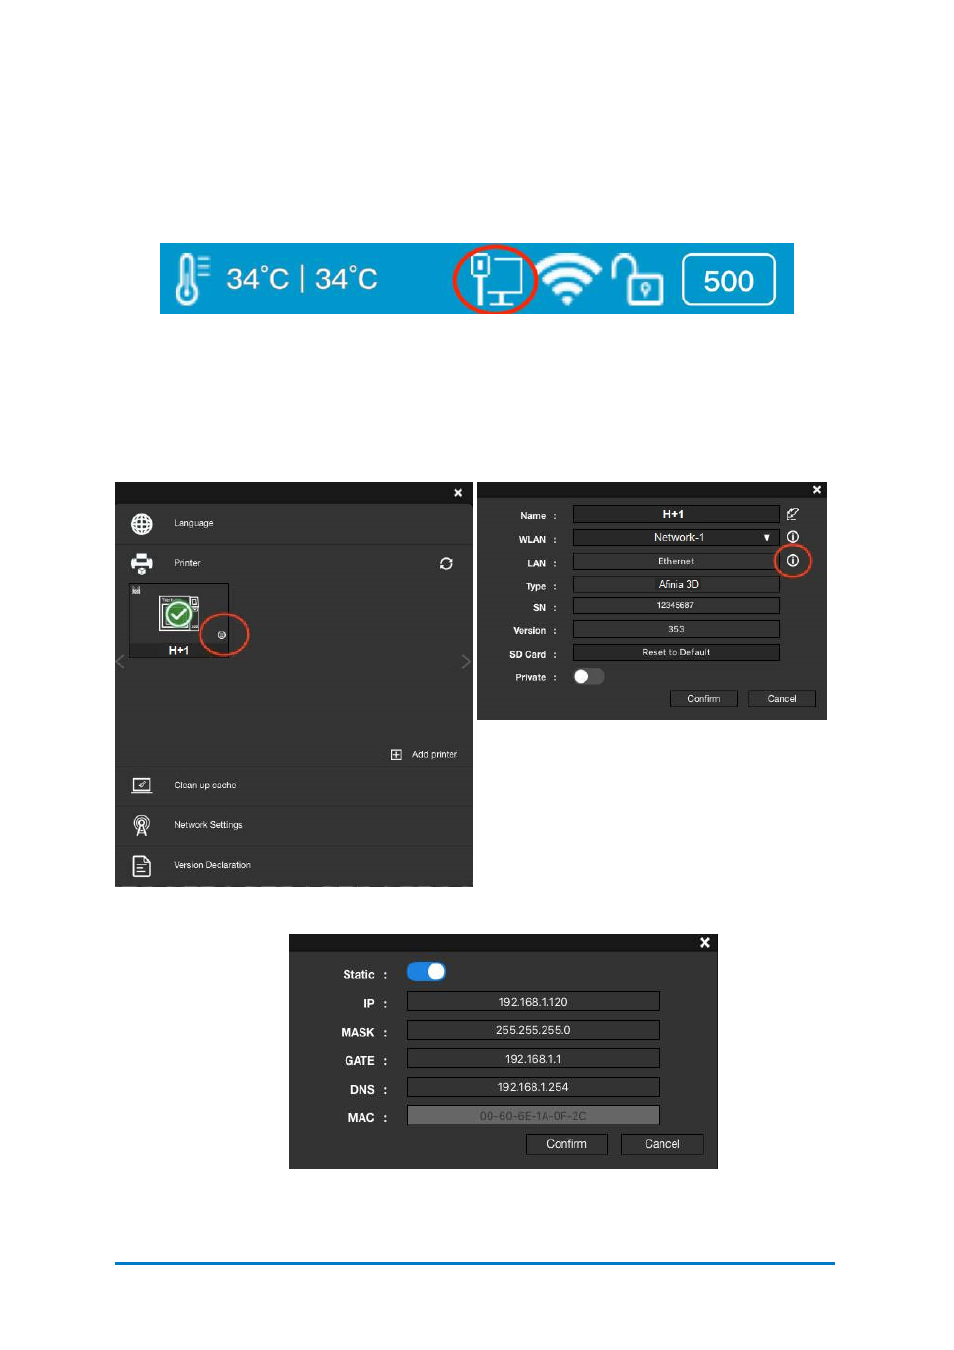
Find a Ethernet cable, insert the connector into the LAN socket on the back of
your
H+1
, and a LAN icon will appear on the touchscreen.
To edit the Ethernet Network Settings in
Afinia
Studio: Open
Afinia
Studio in
you computer, and go to
Settings
,
find
the printer under
the
Printer
section,
click
More (circled in the red in Figure 6.6 )
and then click
the
Information
button to make further changes.
Contact
Afinia 3D
34
Figure 6.5
Ethernet Connection Icon in Printer Status Bar
Figure 6.6
Ethernet Connection
Figure 6.8
Ethernet Network Settings
Figure 6.7
Information
Advertising