Measurement information, Ideas for using the oscilloscope – MOTU Track16 - Desktop Studio FireWire/USB 2.0 Interface User Manual
Page 89

C U E M I X F X
89
Trigger indicator re-arms the trigger. When the
Trigger mode is
None,
clicking on the Trigger
indicator has no effect.
Measurement information
You can view detailed information about a
particular time range by using the measurement
bars.
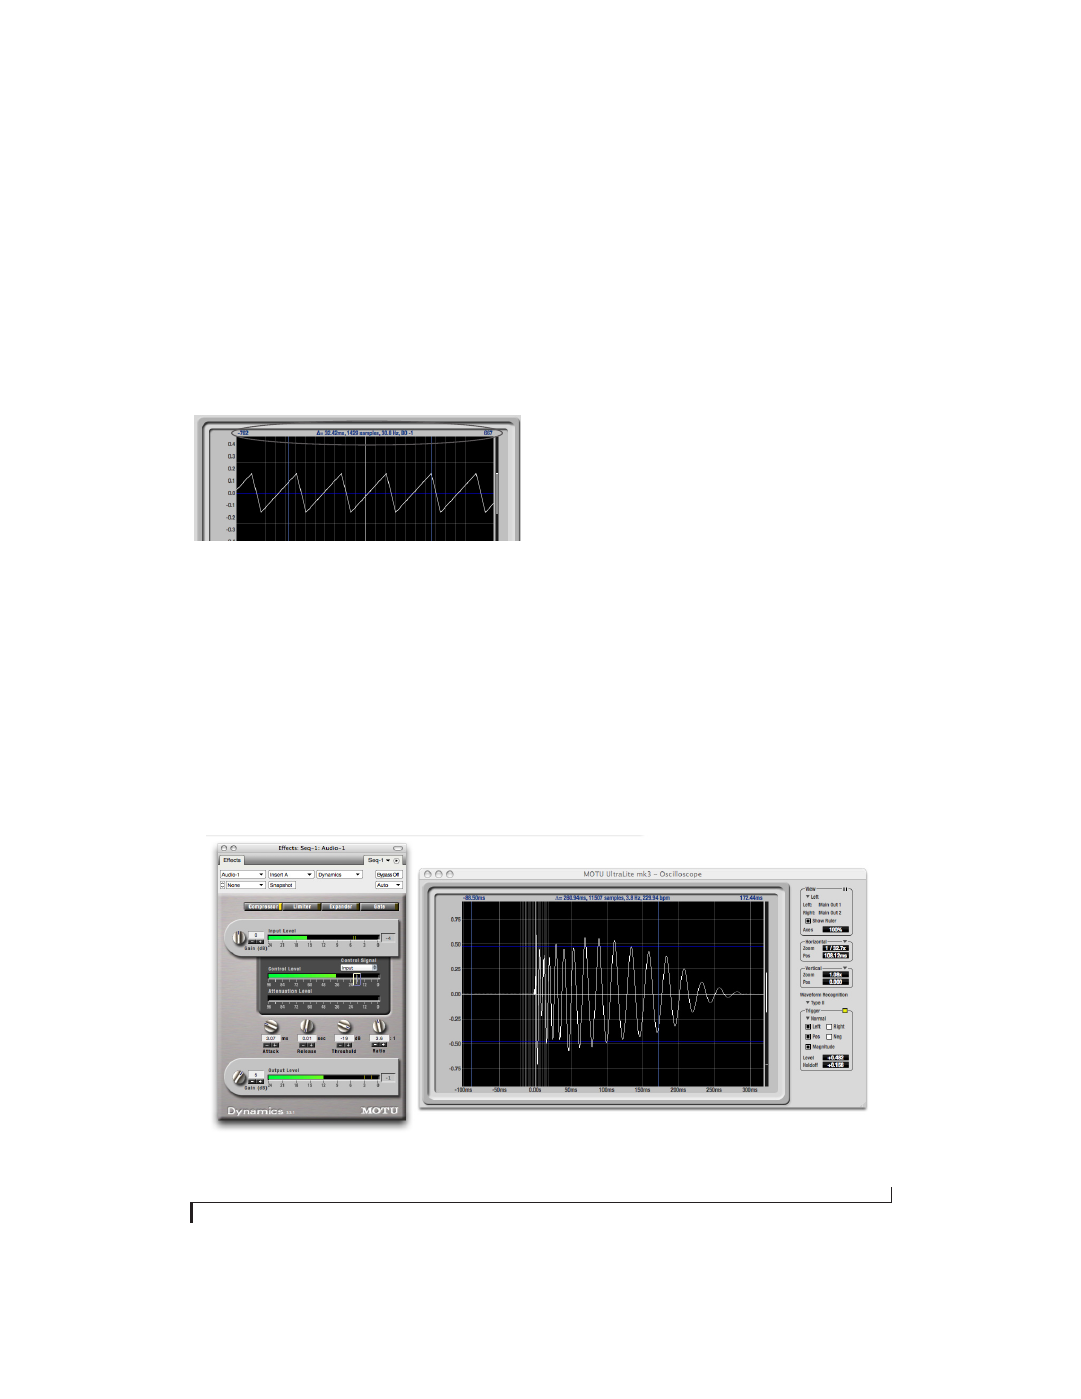
Figure 9-40: Measurement information
To adjust the left and right edges of the
measurement area, click and drag the blue bars in
the graph, or click and drag the blue numbers in
the upper left or right corners. To reset them to the
default value, double-click the numbers.
Information about the measured area is displayed
at the center of the top ruler: the duration (in
seconds and samples), the approximate frequency,
and the scientific note name. If the measured area is
long enough, the approximate beats per minute
(bpm) is displayed.
Ideas for using the Oscilloscope
The Oscilloscope can be used in many useful ways
during the routine operation of your recording
studio. Here are just a few examples.
Analyzing and comparing harmonic content
The oscilloscope lets you “see” the nature of the
harmonic profile in any audio material. You can
also view two signals side by side (in stereo mode)
to compare their profiles and, if necessary, make
adjustments to the source of each signal and view
your changes in real time.
Viewing transients such as drum hits
If you loop a snare hit or other similar transient
audio clip and feed it through the oscilloscope, you
can more or less “freeze” the transient waveform in
the oscilloscope frame. This can be useful, for
example, for viewing the results of real-time
compression that you are applying with an effects
plug-in, as demonstrated in Figure 9-41. In this
example, a snare hit is being compressed by Digital
Performer’s Dynamics plug-in. As you make
Figure 9-41: Viewing transients in the Oscilloscope