Ivoclar Vivadent Telio CS C User Manual
Page 2
fabrication of a wax-up in the laboratory may additionally be required prior
to taking the impression.
Plastic template. When using a vacuum-formed plastic matrix care should
be taken that the plastic material does not bond chemically to Telio CS
C&B. Suitable plastic sheets (e.g. polyethylene sheets) should be selected,
so that the vacuum-formed matrix can be reused.
If a bond between the plastic and Telio CS C&B is desired, plastic sheets
should be chosen that are especially designed for this purpose. The inter-
dental aspect of the matrix can be conditioned with AdheSE
®
Bond prior to
applying the temporary restoration composite for adhesion.
2. Cartridge system
1. Press the black release lever located below the plunger
on the back of the dispenser and pull the plunger as far
back as possible (Fig. 1).
2. Lift the cartridge lock and insert the cartridge. Lower
the cartridge lock (Fig. 2). Push slide forward until it
touches the cartridge.
3. Remove the sealing cap or used mixing tip by turning it
a 1/4 turn counter clockwise and discard it, do not
reuse it (Fig. 3).
4. Insert a new mixing tip in a clean motion, so that the
“V”-shaped notch on the colored base is aligned with
the “V”-shaped notch on the housing of the cartridge.
While gripping the colored base, and not the mixing
tip, turn the mixing tip base 1/4 turn clockwise (Fig. 4).
5. The material is mixed and dispensed through the mix-
ing tip by pulling the trigger and can be applied direct-
ly into the matrix.
Removal of the cartridge
Lift the release lever below the plunger on the back of the dispenser and
pull the plunger. Lift the cartridge lock on the front side on top of the dis-
penser and remove the cartridge.
Leave the used mixing tip on the syringe as a cap until the next
application.
3. Application
Telio CS C&B is automatically mixed when it is dispensed with slight pres-
sure directly into the impression or vacuum-formed matrix.
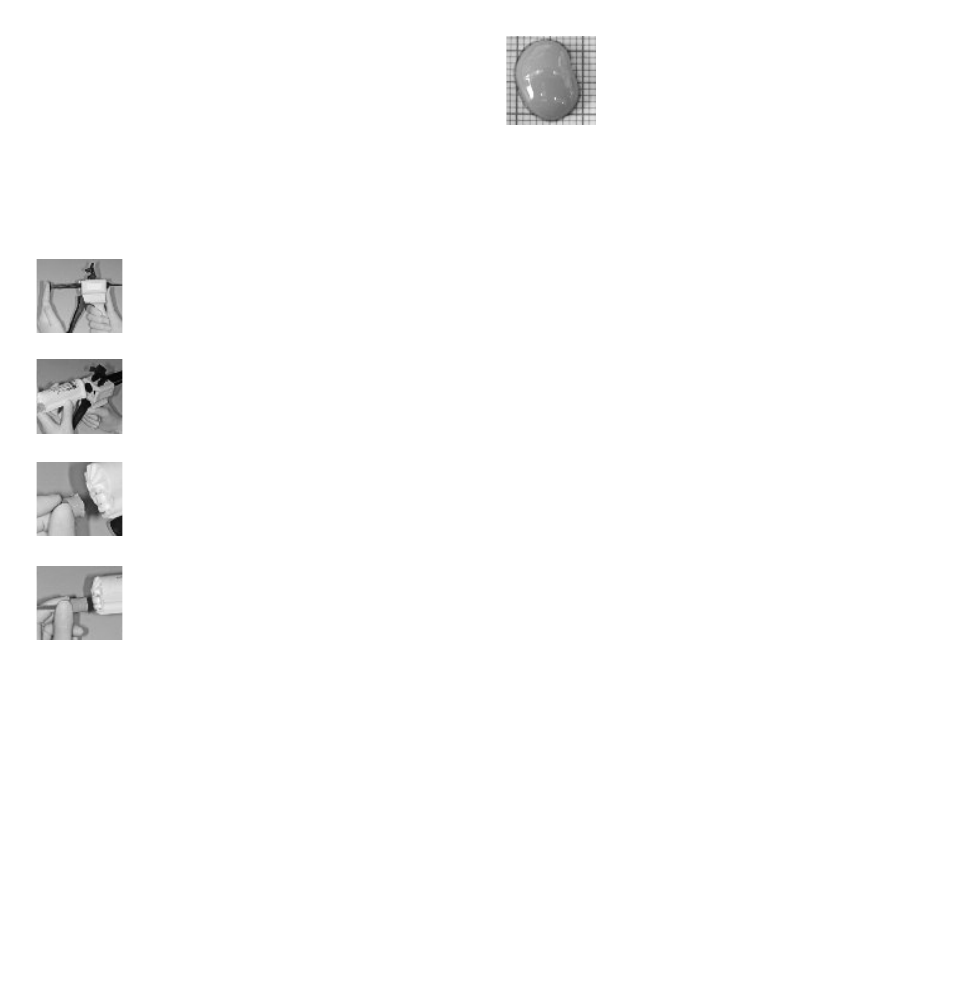
Prior to each application, extrude and discard a pea-sized
amount of material (Fig 5). To prevent voids, apply Telio
CS C&B to the occlusal surfaces first, then proceed by fill-
ing the gingival areas. Keep the mixing tip immersed in
the material to prevent bubbles.
If required, Telio CS C&B may also be syringed around the prepared teeth
to avoid bubble formation along the preparation margin. The working time
of the material is approx. 1 minute at room temperature (23 °C / 73 °F).
4. Shaping of temporaries
a) Fabrication in the mouth
The prepared teeth should be slightly moist. This can be achieved by
painting them with water-soluble glycerine gel (e.g. Liquid Strip).
Undercut areas of the tooth preparation or adjacent teeth may have to
be blocked out with appropriate materials (e.g. with wax). Carefully
reposition the impression filled with Telio CS C&B on the prepared
teeth. The setting time in the mouth (37 °C / 98 °F) is approximately
1 to 2 minutes. By then, Telio CS C&B has attained a hard-elastic
consistency and can be removed from the mouth together with the
impression.
b) Fabrication on the model
Lubricate the preparation areas on the model with separator (e.g. Vase-
line). Carefully reposition the impression filled with Telio CS C&B on the
model. After approx. 3 minutes (at 23 °C / 73 °F), Telio CS C&B attains
a hard-elastic, partially-set consistency and can be removed from the
model together with the impression.
5. Post-curing and finishing
After removing the temporary restoration from the impression (or from the
tooth preparation), remove excess material using rotary instruments once
the material is cured completely (after 4 to 5 minutes). Suitable finishing
instruments are fissured carbide burs. Remove the oxygen-inhibited layer
with e.g. alcohol or by polishing the surface of the restoration. Polish using
e.g. silicon carbide rubber polishers (e.g Astropol
®
).
6. Cementation of the temporary
In order to reduce the sensitivity of the prepared dentin surfaces during the
temporization phase, Telio CS Desensitizer may be applied prior to cement-
ing the temporary restoration. Brush Telio CS Desensitizer into the dentin
surfaces for 10 seconds using a suitable instrument (brush, application aid).
Cautiously disperse excess to a thin layer with a stream of air. Subsequently
seat the temporary restoration, preferably using a non-eugenol temporary
cement (e.g. Telio CS Link)
7. Relining, repairs, addition of material
If Telio CS C&B temporaries are relined, repaired or adjusted, the following
procedure is recommended:
Telio CS C&B temporaries can be repaired with freshly mixed Telio CS C&B
material after having conditioned them with AdheSE Bond / Heliobond.
1. Grind the areas of the Telio CS C&B temporary which need to be
relined, repaired or adjusted with a coarse diamond.
2. Apply AdheSE Bond / Heliobond.
Fig. 5
Fig. 1
Fig. 2
Fig. 3
Fig. 4