2 skype calling – NewTek TalkShow VS-100 User Manual
Page 39
Page | 31
3. Select a group for the new contact. Four different groups are available, allowing
you to organize your contacts conveniently for many different purposes.
4. Click the checkmark (Apply) button to complete the process of adding the contact.
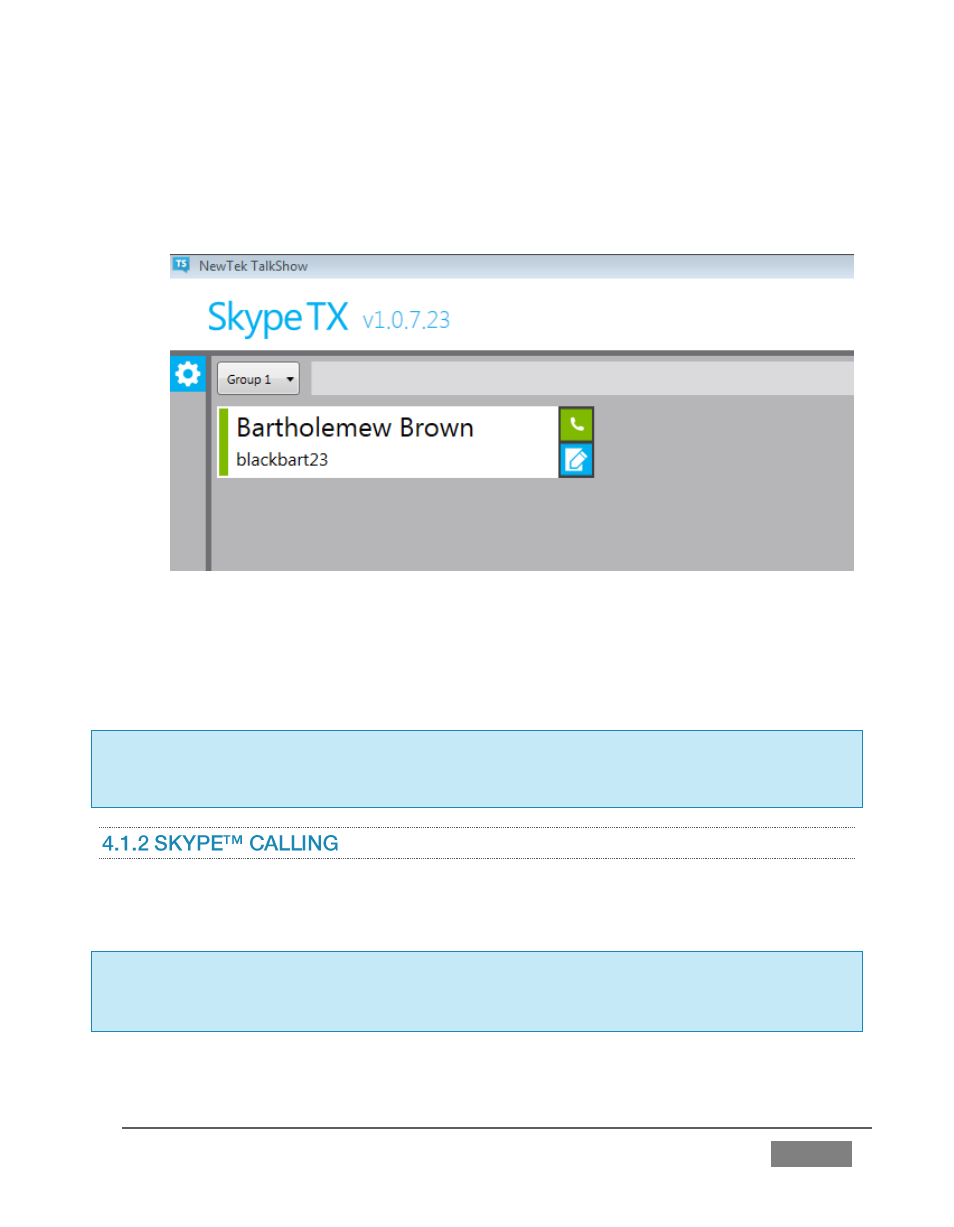
FIGURE 28
Your newly created ‘contact card’ now appears in the Contacts List (Figure 28), ready to
be called. (If the contact is actually online and accepting calls, the vertical bar running up
the left border of the contact card is green.)
Hint: To modify an existing entry in the Contacts panel, click the pencil (Edit) button shown at
right beside the contact details. This will re-open the contact dialog (Figure 27). To delete the
contact, click the trashcan (Delete) button in this dialogue – or click the X to cancel changes.
1.
Click the green ‘phone’ button at right in the Contact card to make a call. Skype
TX™ will then attempt to initialize the call.
Hint:
You can monitor the
progress of the connection request by watching the Call Status text
box and Connection Status indicators. These occupy the top central area of the screen, just
beneath the wide white Skype TX header (Figure 29).